






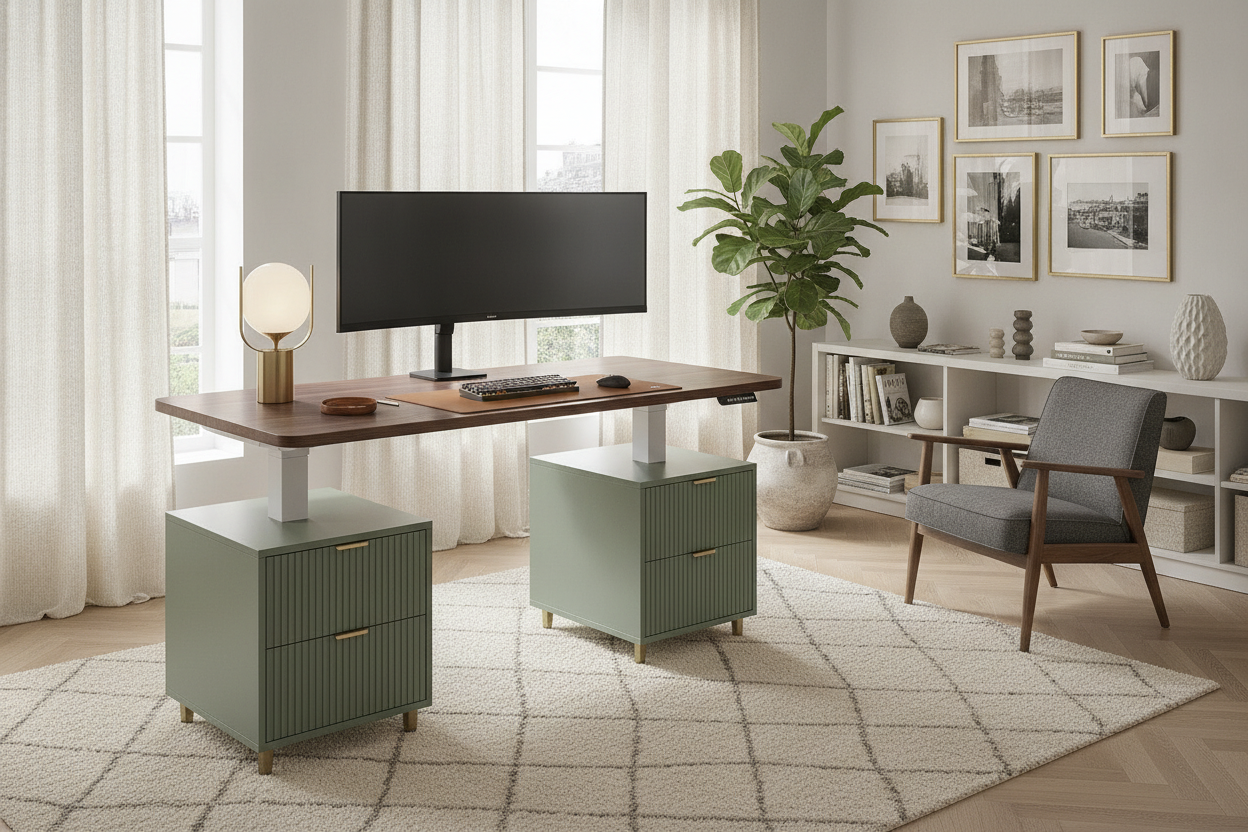
I remember sitting on my floor three years ago, surrounded by a sea of cardboard and a half-assembled bookshelf, staring at my laptop perched on a stack of moving crates. I needed a desk, but I wasn't about to drop a month's rent on a solid walnut heirloom. I wanted a curated, architectural look, but my bank account was firmly in the 'flat-pack' territory. That's how I ended up at the local blue-and-yellow warehouse, eyeing a stand up workstation ikea display and wondering if I could actually make it look like it belonged in a design magazine.
- Choose the frame separately from the top to avoid the 'office-in-a-box' aesthetic.
- Aftermarket steel drawers provide better utility and a higher-end feel than IKEA’s plastic bins.
- Cable management is the difference between a 'hack' and a professional workspace.
- Be wary of weight limits—heavy custom tops can eventually burn out budget motors.
The Irresistible Pull of Budget Flat-Pack Furniture
We've all been there. You're scrolling through Pinterest feeds filled with $3,000 custom-built oak desks, but your reality is a 600-square-foot rental with uneven floors. When you decide to make the jump from a standard sturdy writing computer desk to something that lets you stand, the price tag is usually the first thing that hits you. IKEA is the inevitable destination because they've made ikea stand up desks accessible to everyone, not just tech CEOs with ergonomic stipends.
The problem is the 'IKEA look.' It is that specific shade of sterile white or the thin, hollow-core particle board that feels like it might snap if you lean on it too hard. We accept these aesthetic sacrifices because we want the health benefits of standing, but your home office shouldn't have to look like a corporate call center. I realized early on that if I treated the IKEA components as a chassis rather than a finished product, I could build something that felt heavy, intentional, and expensive.
Most people just buy the bundle and call it a day, but that’s where the mistake happens. The default tops are usually too thin to feel premium. By separating the mechanical legs from the surface, you open up a world of customization that makes the desk feel like a bespoke piece of furniture rather than something that came out of a box labeled 'A-102.'
Why I Chose the Simplest Stand Up Table IKEA Offered
My strategy was to buy the most bare-bones mechanical frame they had. I viewed the stand up table ikea sells as a blank canvas. I skipped the pre-drilled, honeycomb-filled tops entirely. While some of my friends preferred a mobile black rolling counter table for its flexibility in small apartments, I wanted something that felt anchored and architectural. I went with the Idåsen frame because it has a sturdier base than the Bekant, which tends to wobble once you raise it past your belly button.
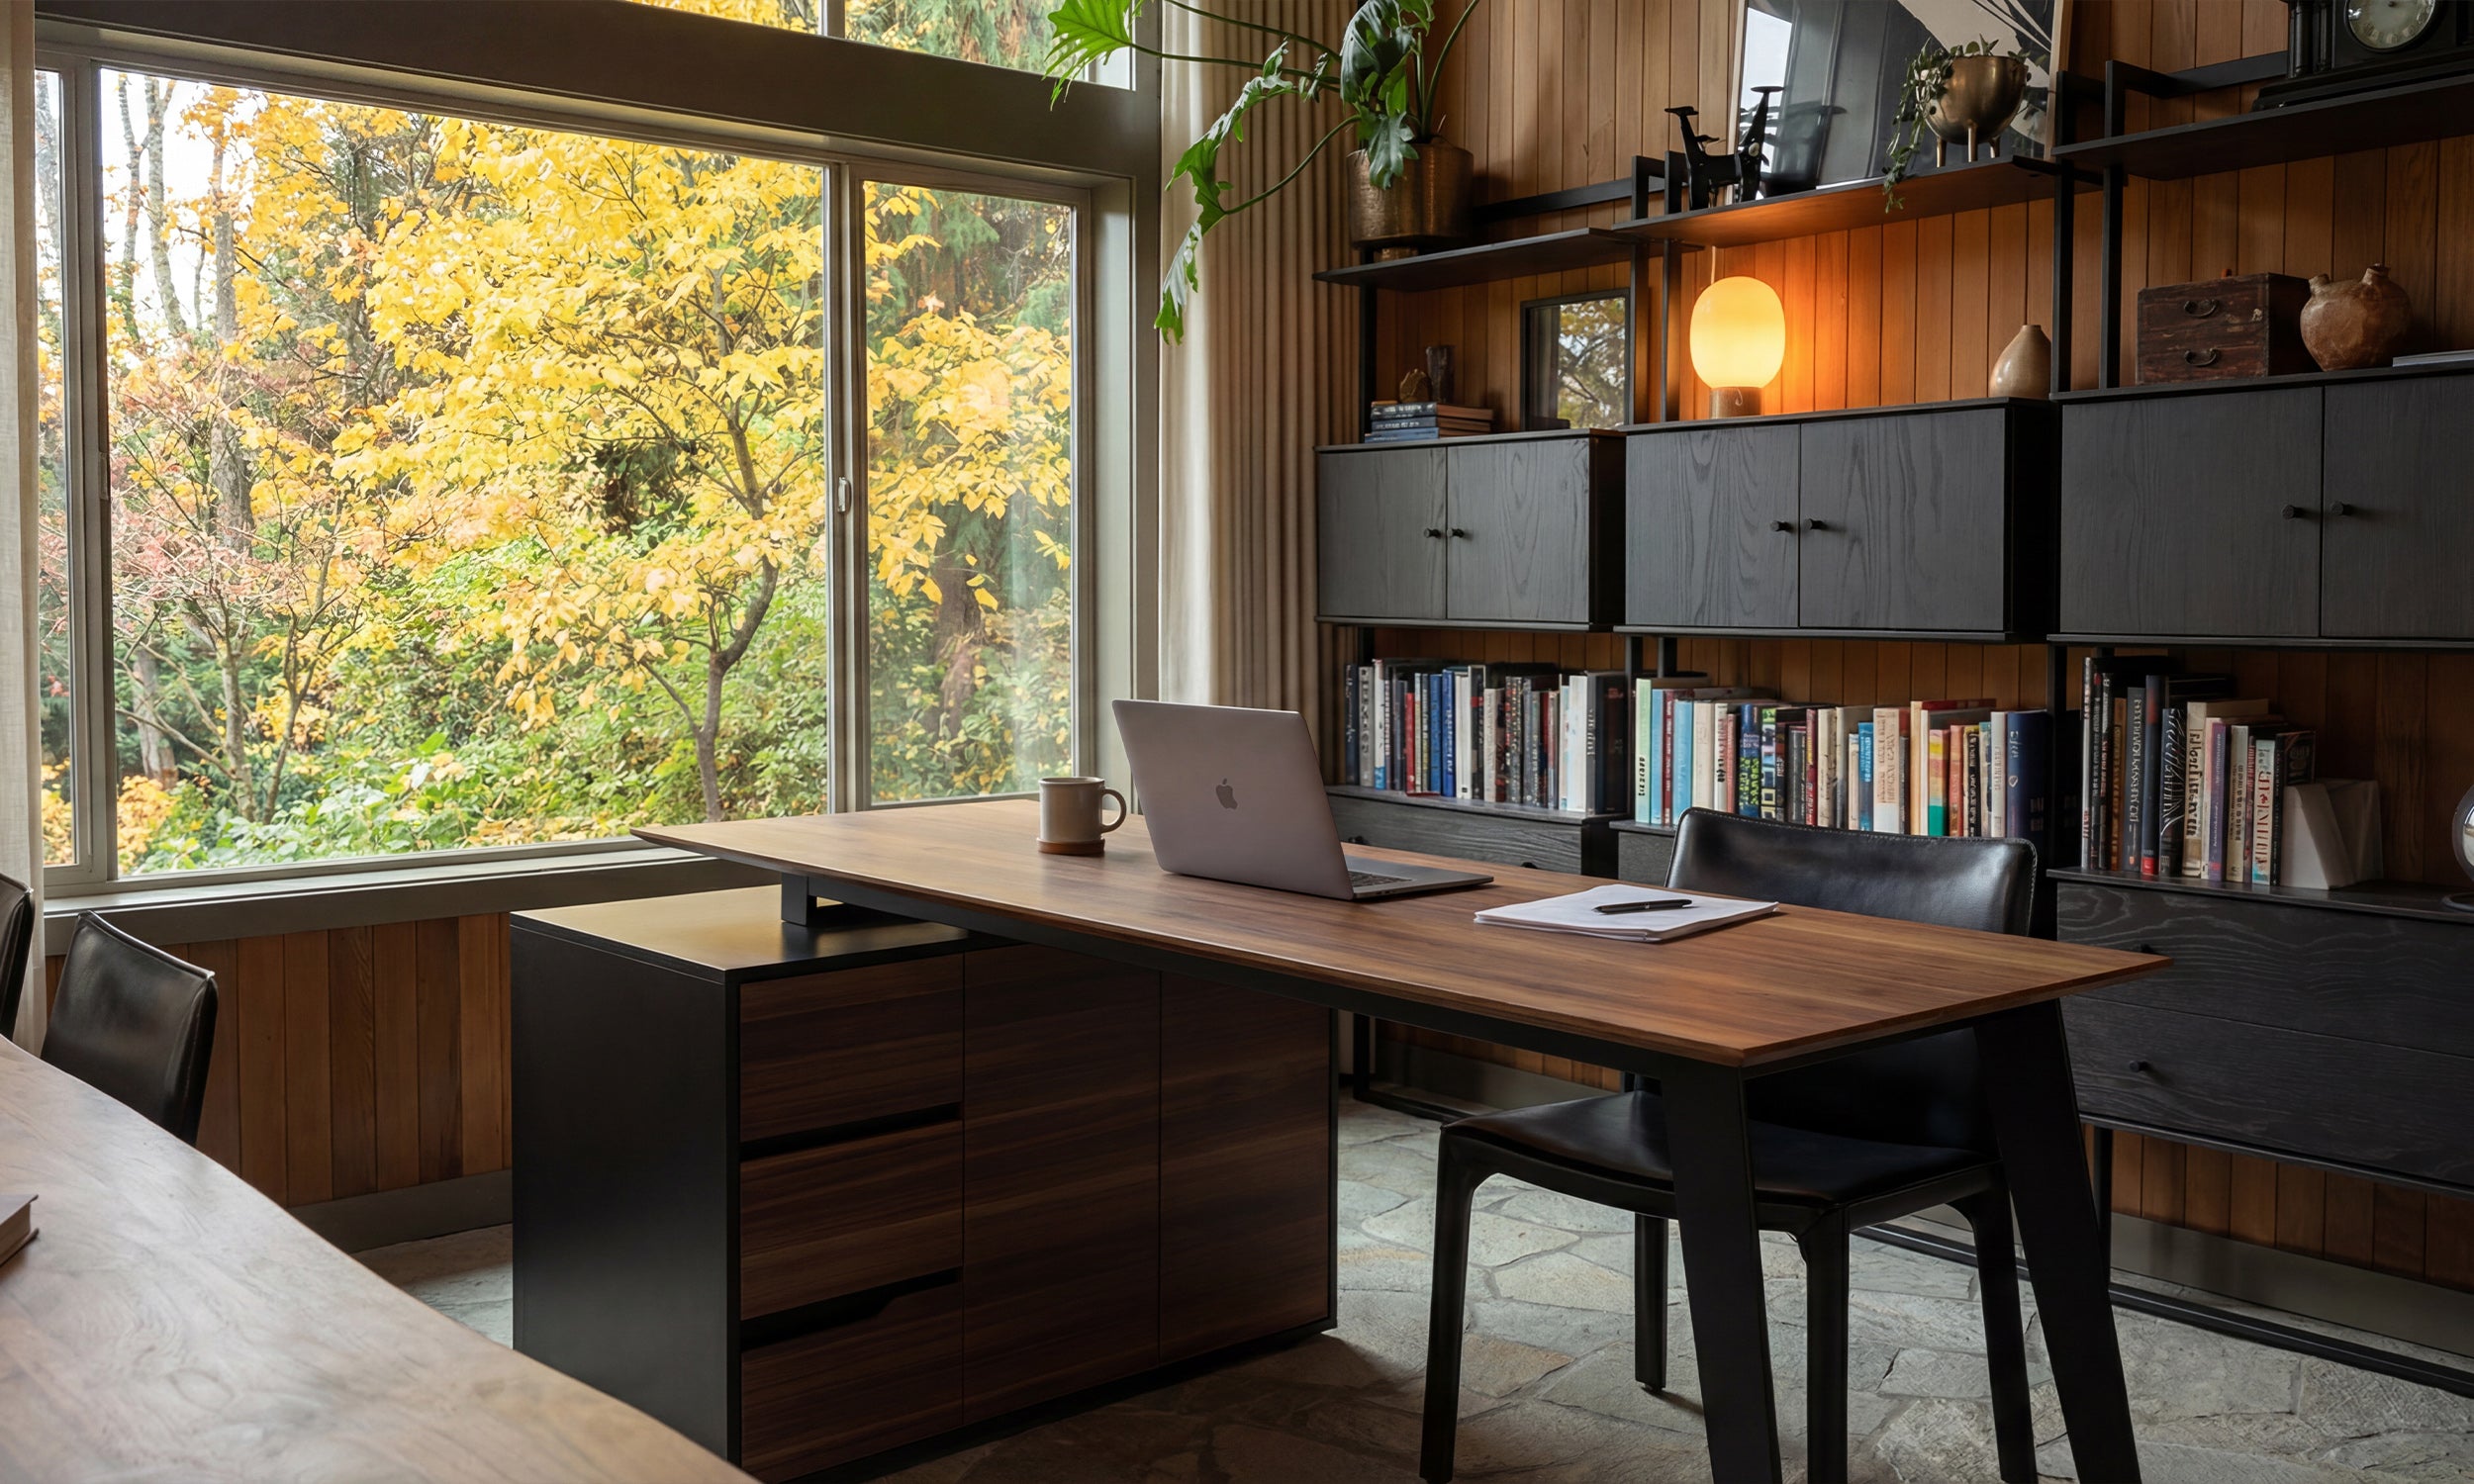
Instead of the matching IKEA top, I took a trip to a local lumber yard. I picked up a 1.5-inch thick birch butcher block for about $130. It was raw, heavy, and smelled like actual trees. I spent a weekend sanding it down and applying three coats of a matte hard-wax oil. The difference was night and day. A solid wood top on an IKEA frame immediately tricks the brain. It adds a tactile quality that plastic-laminate tops can never replicate.
When you go this route, you aren't just buying furniture; you're assembling a kit. The frame provides the utility—the ikea adjustable desk height functionality—while the wood provides the soul. It’s a hybrid approach that saves you hundreds of dollars while giving you a surface that actually ages well. If you scratch a laminate top, it’s ruined. If you scratch a birch block, it just adds character.
The Hack: Creating a Faux IKEA Standing Desk With Drawer
The biggest gripe I have with most budget desks is the total lack of storage. Finding an ikea standing desk with drawer that doesn't look like a plastic filing cabinet is nearly impossible. To solve this, I went off-script. I bought a slim, industrial steel drawer meant for a machinist's workbench. It was only two inches deep—just enough for my MacBook, a notebook, and a few pens—but it looked incredibly sleek.
I spray-painted the drawer a matte charcoal to match the desk legs and bolted it directly into the underside of my birch top. This is the beauty of using a solid wood top: you can screw things into it wherever you want without worrying about hitting a hollow spot. I even swapped out the metal drawer pull for a cognac leather strap I found on Etsy. That one small detail—leather against wood—is what makes people ask, 'Where did you buy this?'
This setup gave me the clean, minimalist look of a high-end designer desk while keeping my daily clutter out of sight. It’s a far cry from the 'drawer units on wheels' that IKEA usually suggests, which always seem to get in the way of your feet when you’re sitting down. By keeping the storage attached to the underside of the desk, everything moves with you when you transition from sitting to standing.
Dialing in the Perfect IKEA Adjustable Desk Height
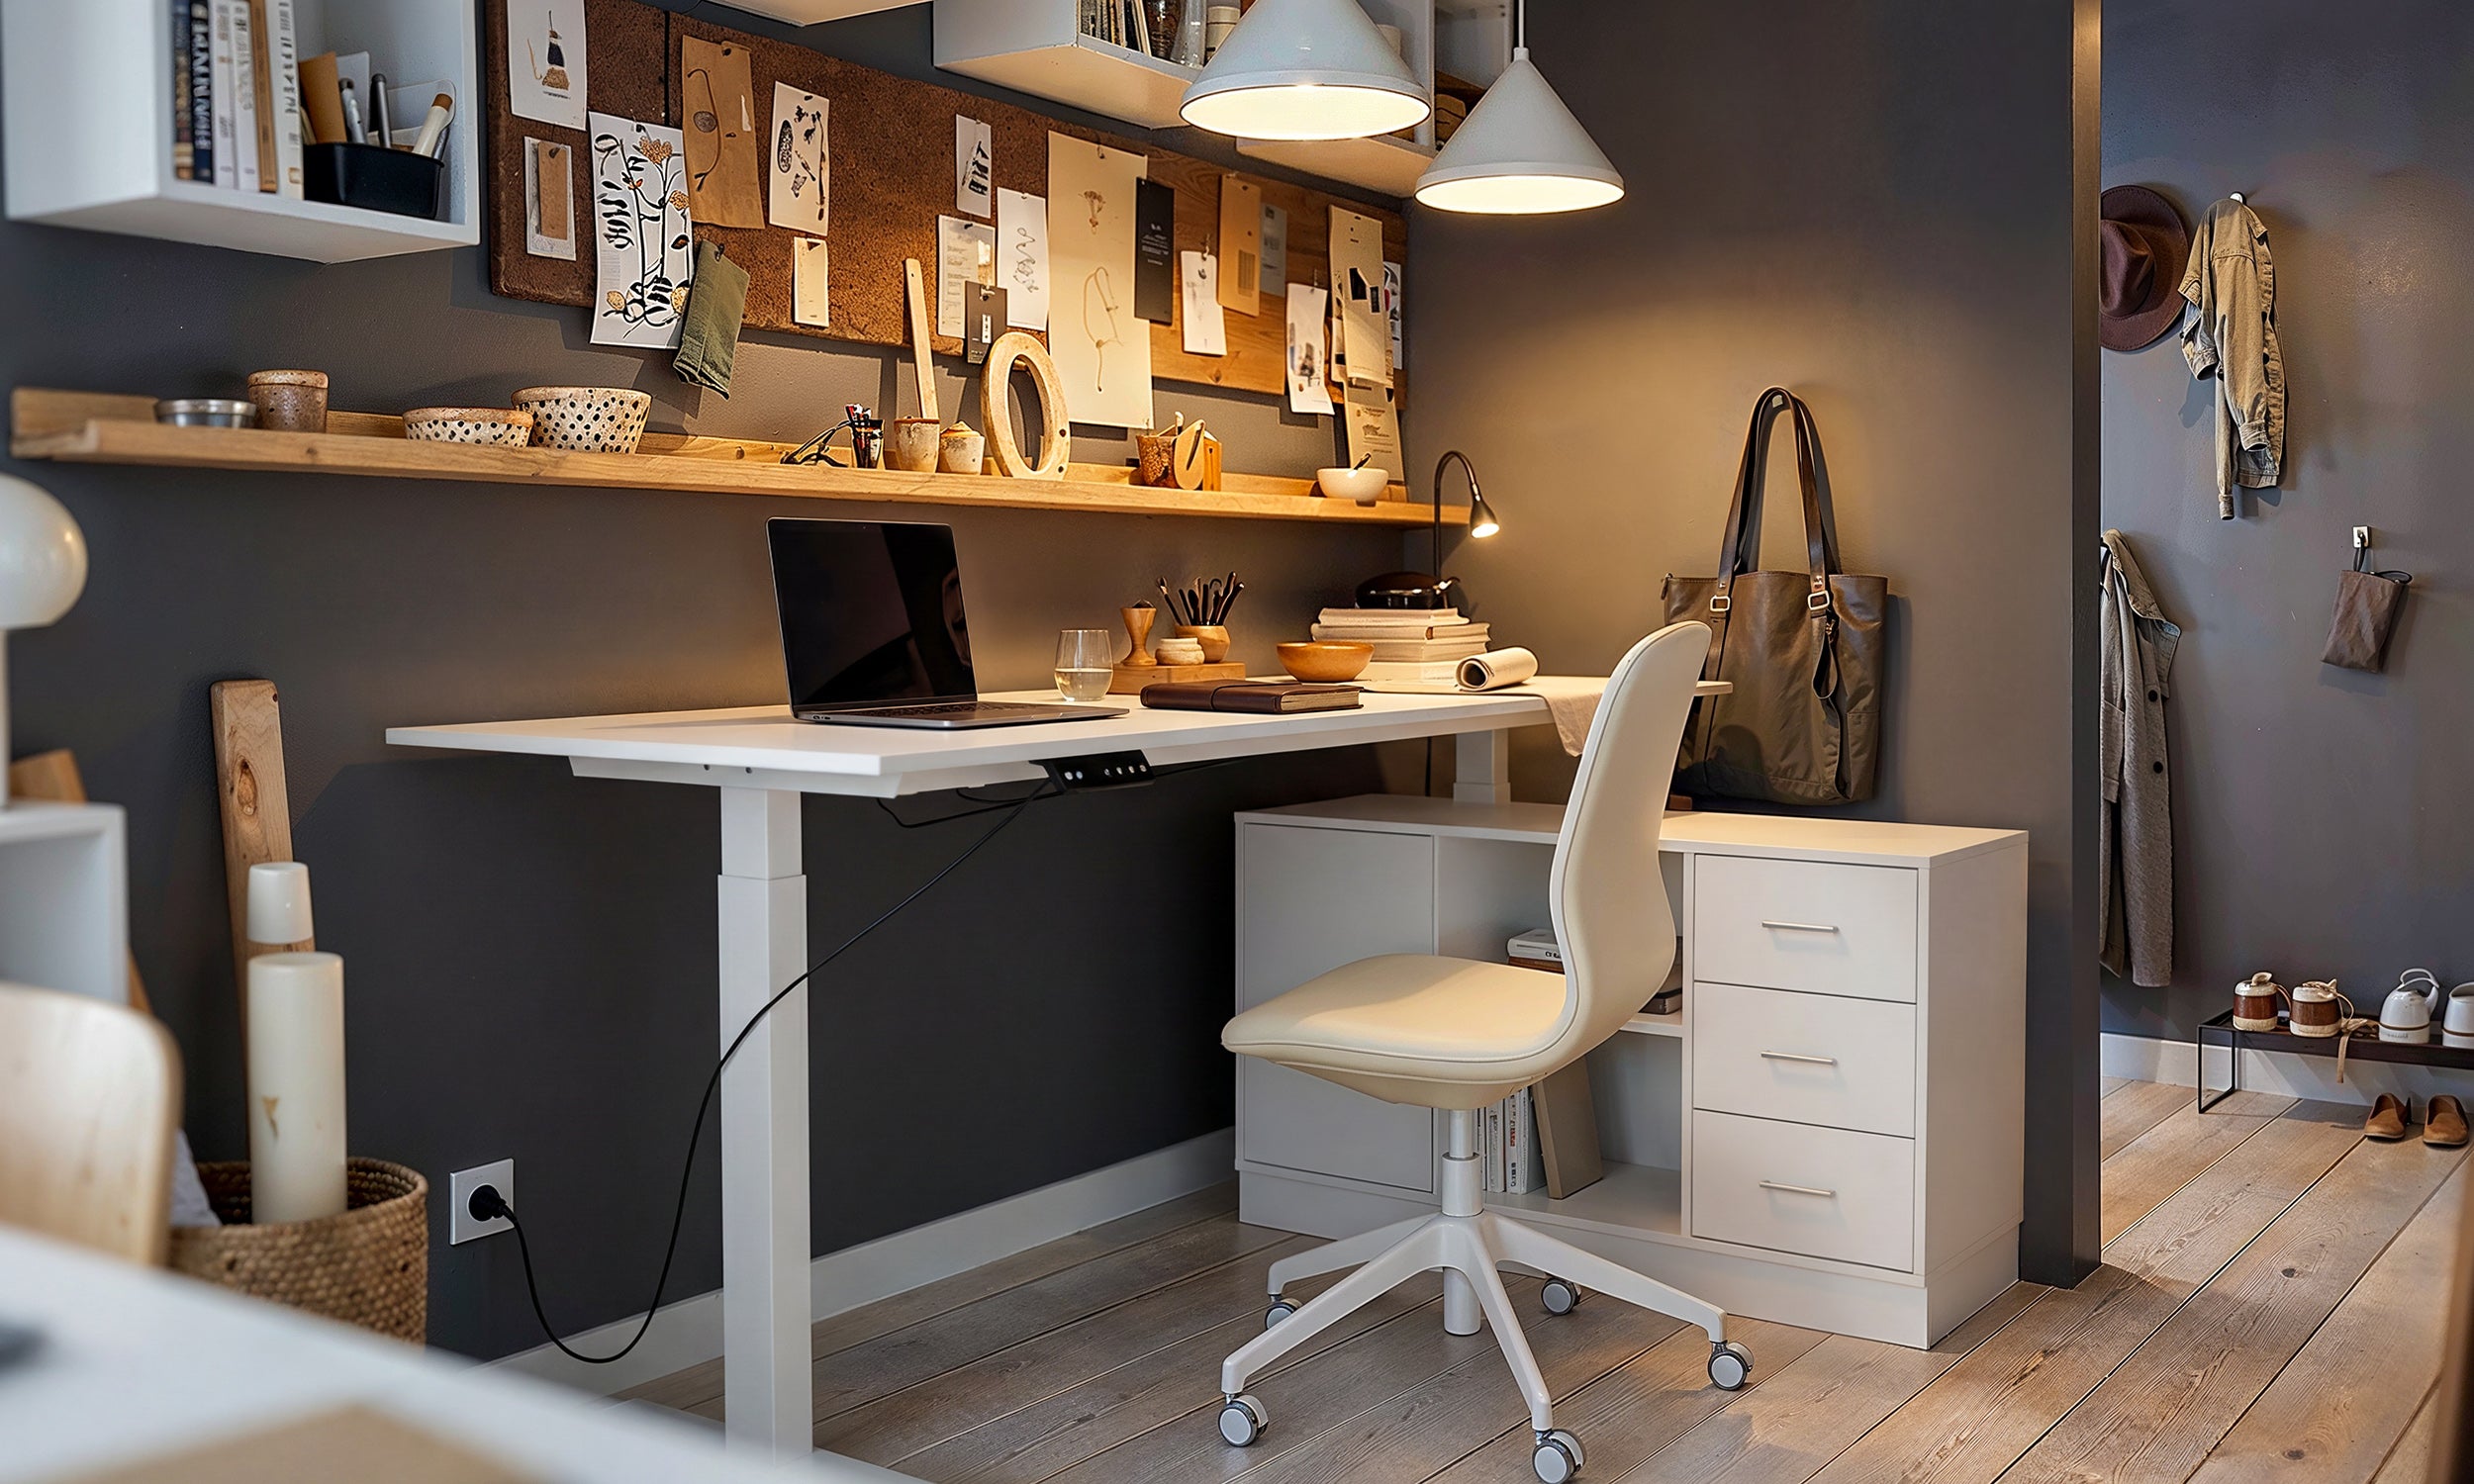
Cable management is where most office setups go to die. If you have your ikea adjustable desk height set to 44 inches and there’s a 'waterfall' of black power strips and tangled USB cords hanging off the back, the whole aesthetic is ruined. I spent a full afternoon with a drill and a J-channel cable racer. I mounted a heavy-duty power strip to the underside of the desk using industrial-strength Velcro so that only one single cord—wrapped in a grey braided sleeve—travels to the wall outlet.
I also marked my 'perfect' heights. For me, 29 inches is the sweet spot for sitting, and 43.5 inches is where my elbows hit the 90-degree angle for typing while standing. If you’re using a manual crank IKEA desk, I highly suggest marking these spots with a tiny piece of metallic tape on the leg. It saves you from that awkward 'too high, now too low' dance every morning. If you’re using the motorized version, the lack of memory presets is the one thing you'll truly miss, but you can eyeball it once you get the hang of it.
The goal is to make the desk look like a piece of art in your room, even when it’s at its tallest. When the cables are hidden and the proportions are right, the desk looks like it’s floating. It’s a clean, intentional look that makes you actually want to sit down (or stand up) and get to work.
When You Finally Outgrow the Starter Frame
There is a limit to how much you can 'hack' a budget frame. After a year of adding a heavy butcher block top, two 27-inch monitors on a dual-arm mount, and my heavy steel drawer, I started to notice that my IKEA desk stand kept sinking. The internal clutch in the budget motor simply wasn't designed to hold 120 pounds of custom upgrades indefinitely. I’d set it in the morning, and by lunch, it would have dropped half an inch.
If you find yourself loading up your desk with heavy gear, you might eventually need to admit that the entry-level motor has met its match. When that day comes, I recommend keeping your beautiful custom top and drawer, but swapping the legs for a high-performance sit stand up desk with memory preset controller. These dual-motor frames can handle significantly more weight and move much smoother than the basic IKEA versions.
In the end, starting with the IKEA setup was the best decision I made. It allowed me to figure out my workflow and customize the aesthetics without a massive upfront investment. It’s the perfect 'gateway' desk—just be prepared for the fact that once you get a taste of a truly beautiful, customized workspace, you’ll never be able to go back to a basic laminate rectangle again.
Can I put a different top on an IKEA standing desk frame?
Yes, and you should. Just make sure you check the weight capacity of the specific frame you bought. Most IKEA motors are rated for about 150 lbs, so if your custom wood top weighs 80 lbs, you only have 70 lbs left for monitors and gear.
How do I hide the big power brick for my monitor?
Industrial-strength Velcro is your best friend. Stick the brick to the underside of the desktop or inside a cable management tray. Never let it hang; it’s the fastest way to ruin the look of the desk.
Is the manual crank IKEA desk worth it?
Honestly? No. You'll use it for a week, get tired of cranking it 50 times to change positions, and then it will just stay a sitting desk forever. Save up the extra $100 for the motorized version.


Dejar un comentario
Este sitio está protegido por hCaptcha y se aplican la Política de privacidad de hCaptcha y los Términos del servicio.