





Setting up an L-shaped desk offers one of the most effective ways to expand usable surface area while structuring a clear division between different daily workflows. Whether furnishing a dedicated home office or carving out a study nook within a multi-purpose room, understanding how to orient, assemble, and zone an angled workstation ensures long-term comfort and visual order.
Evaluating Room Architecture and Desk Orientation
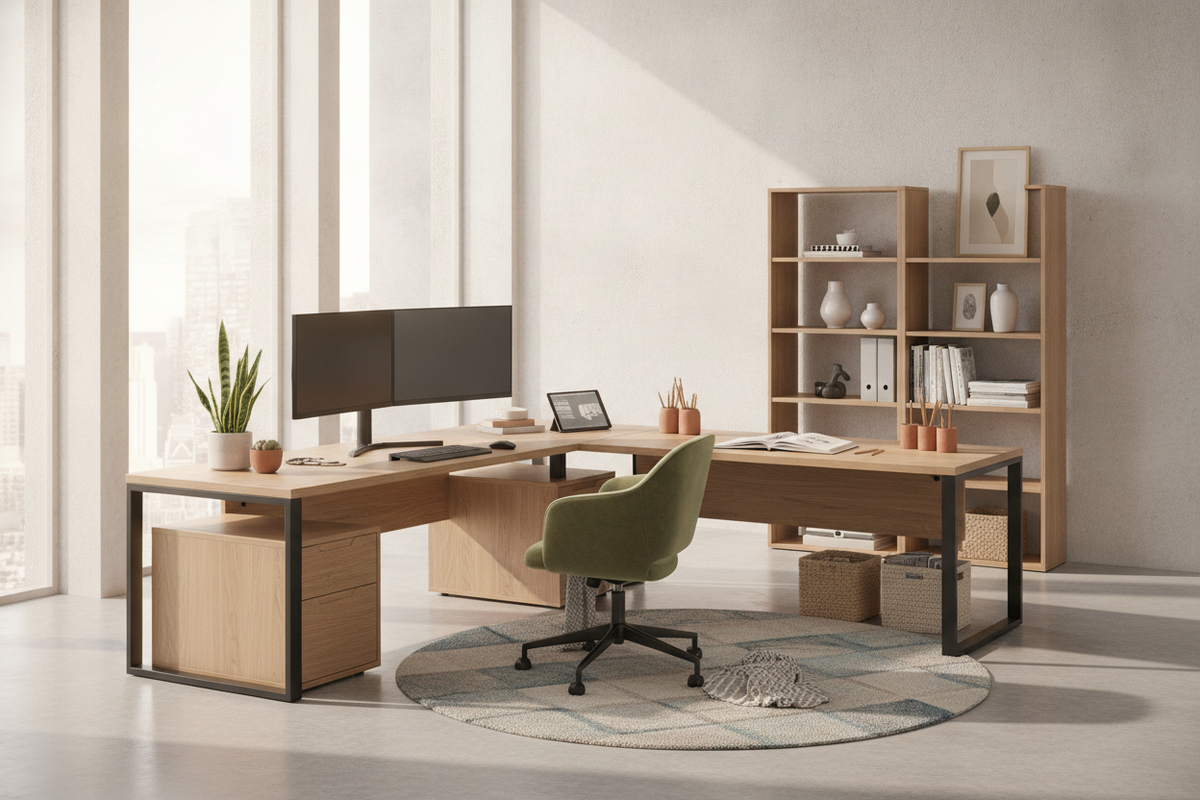
Before unboxing components or assembling hardware, assessing the architectural layout of the room is essential. An L-shaped workstation can anchor a room in several distinct configurations, depending on floor space, traffic lanes, and window placement.
- Corner Placement: Pushing both outer edges flush against meeting walls maximizes open floor area in smaller rooms. A compact design, such as a 55-1-wide l-shaped corner desk white, nests neatly into corner junctions while keeping central circulation pathways open.
- Floating Peninsula: Positioning the primary desk wing against a wall while allowing the return wing to extend outward creates a natural room divider. This layout defines the office zone within an open-concept living area or bedroom.
- Executive Command Position: Facing the desk outward toward the room entrance with your back to a solid wall or window provides clear visual control of the space and prevents screen glare from behind.
When selecting your orientation, verify proximity to electrical outlets and note the path of natural daylight throughout the day to prevent direct glare across computer monitors.
Establishing Primary and Secondary Task Zones
The primary spatial advantage of an L-shaped profile is its natural division into two discrete operational planes. Establishing intentional task zones keeps everyday clutter isolated and preserves an uncluttered field of view.
Designate the main run of the desk as the primary focus zone. This surface holds your primary display, keyboard, mouse, and daily peripherals. Because this area receives continuous direct use, maintain minimal tabletop accessories here to allow full forearm support and neutral arm angles.
Use the return wing as the secondary utility zone. This side accommodates analog tasks such as reviewing printed documents, taking handwritten notes, or staging peripheral equipment like secondary laptops, desktop printers, audio interfaces, or charging docks. Separating digital computing from administrative paperwork prevents physical overlapping and makes switching between tasks seamless.
Step-by-Step Assembly and Structural Alignment Logic
Assembling an L-shaped desk requires methodical sequencing to ensure the two joining tabletop sections align evenly without gaps or height discrepancies.
- Unpack and Stage: Clear ample floor space and lay down a soft blanket or cardboard layer to protect tabletop finishes from scratches during assembly. Group hardware fasteners by type.
- Determine Handedness: Many modern configurations offer reversible return wings. Review your room layout to decide whether a left-hand or right-hand return best accommodates your primary hand, door swings, and wall clearances before tightening frame brackets.
- Assemble the Base Frame Loosely: Fasten the structural legs and horizontal support beams using finger-tight torque initially. Leaving hardware slightly loose allows subtle flex when joining the corner intersection.
- Secure Tabletop Surfaces: Mount the desktop slabs onto the frame, ensuring the connecting seam between the primary desk and the return wing is completely flush. Tighten joining plates underneath first before securing the outer frame bolts.
- Adjust Leveling Glides: Once moved into its final resting place, adjust the leveling feet beneath each leg. Uneven flooring can create joint strain; fine-tuning the glides ensures stable, wobble-free contact across all structural points.
Ergonomic Sightlines and Peripheral Placement
Proper peripheral arrangement around an L-shaped layout prevents awkward neck rotation and repetitive torso twisting during long working sessions.
If utilizing a single or dual-monitor setup, you have two ergonomic layout choices. The first is centering your primary monitor squarely along the straight run of the main desk, rotating your task chair entirely when engaging with the return wing. The second is positioning the main display directly in the corner vertex, creating an inward-facing curved workstation that keeps both side wings within easy forearm reach.
When placing secondary monitors or laptops on the return wing, angle them inward toward your primary sitting position. Maintain task lighting positioned opposite your writing hand to eliminate casting harsh hand shadows across notebooks and paperwork.
Cable Routing and Kinetic Cleanliness Around the Return
Because L-shaped desks possess an expansive footprint, unmanaged power cords and display cables can quickly tangle around support legs or hang into knee clearance zones. Establishing a clean cable pathway keeps the aesthetic refined and prevents accidental disconnections.
- Mount Under-Desk Power Strips: Fasten surge protectors to the underside of the main surface or inside cable trays along the rear frame rails. Running one master power cord to the wall outlet minimizes drop lines.
- Route Along Corner Frame Channels: Use adhesive conduit clips or hook-and-loop straps to trace cables along the structural steel under-frame rather than letting them dangle across the open corner.
- Maintain Slack for Swivel Motion: Ensure monitor arm cables and keyboard leads have adequate slack to account for task chair movement and peripheral repositioning without pulling against connector ports.
Integrating Modular Storage and Vertical Shelving
An organized workstation relies on dedicated storage solutions that integrate cleanly with the desk geometry without obstructing legroom or swivel clearance.
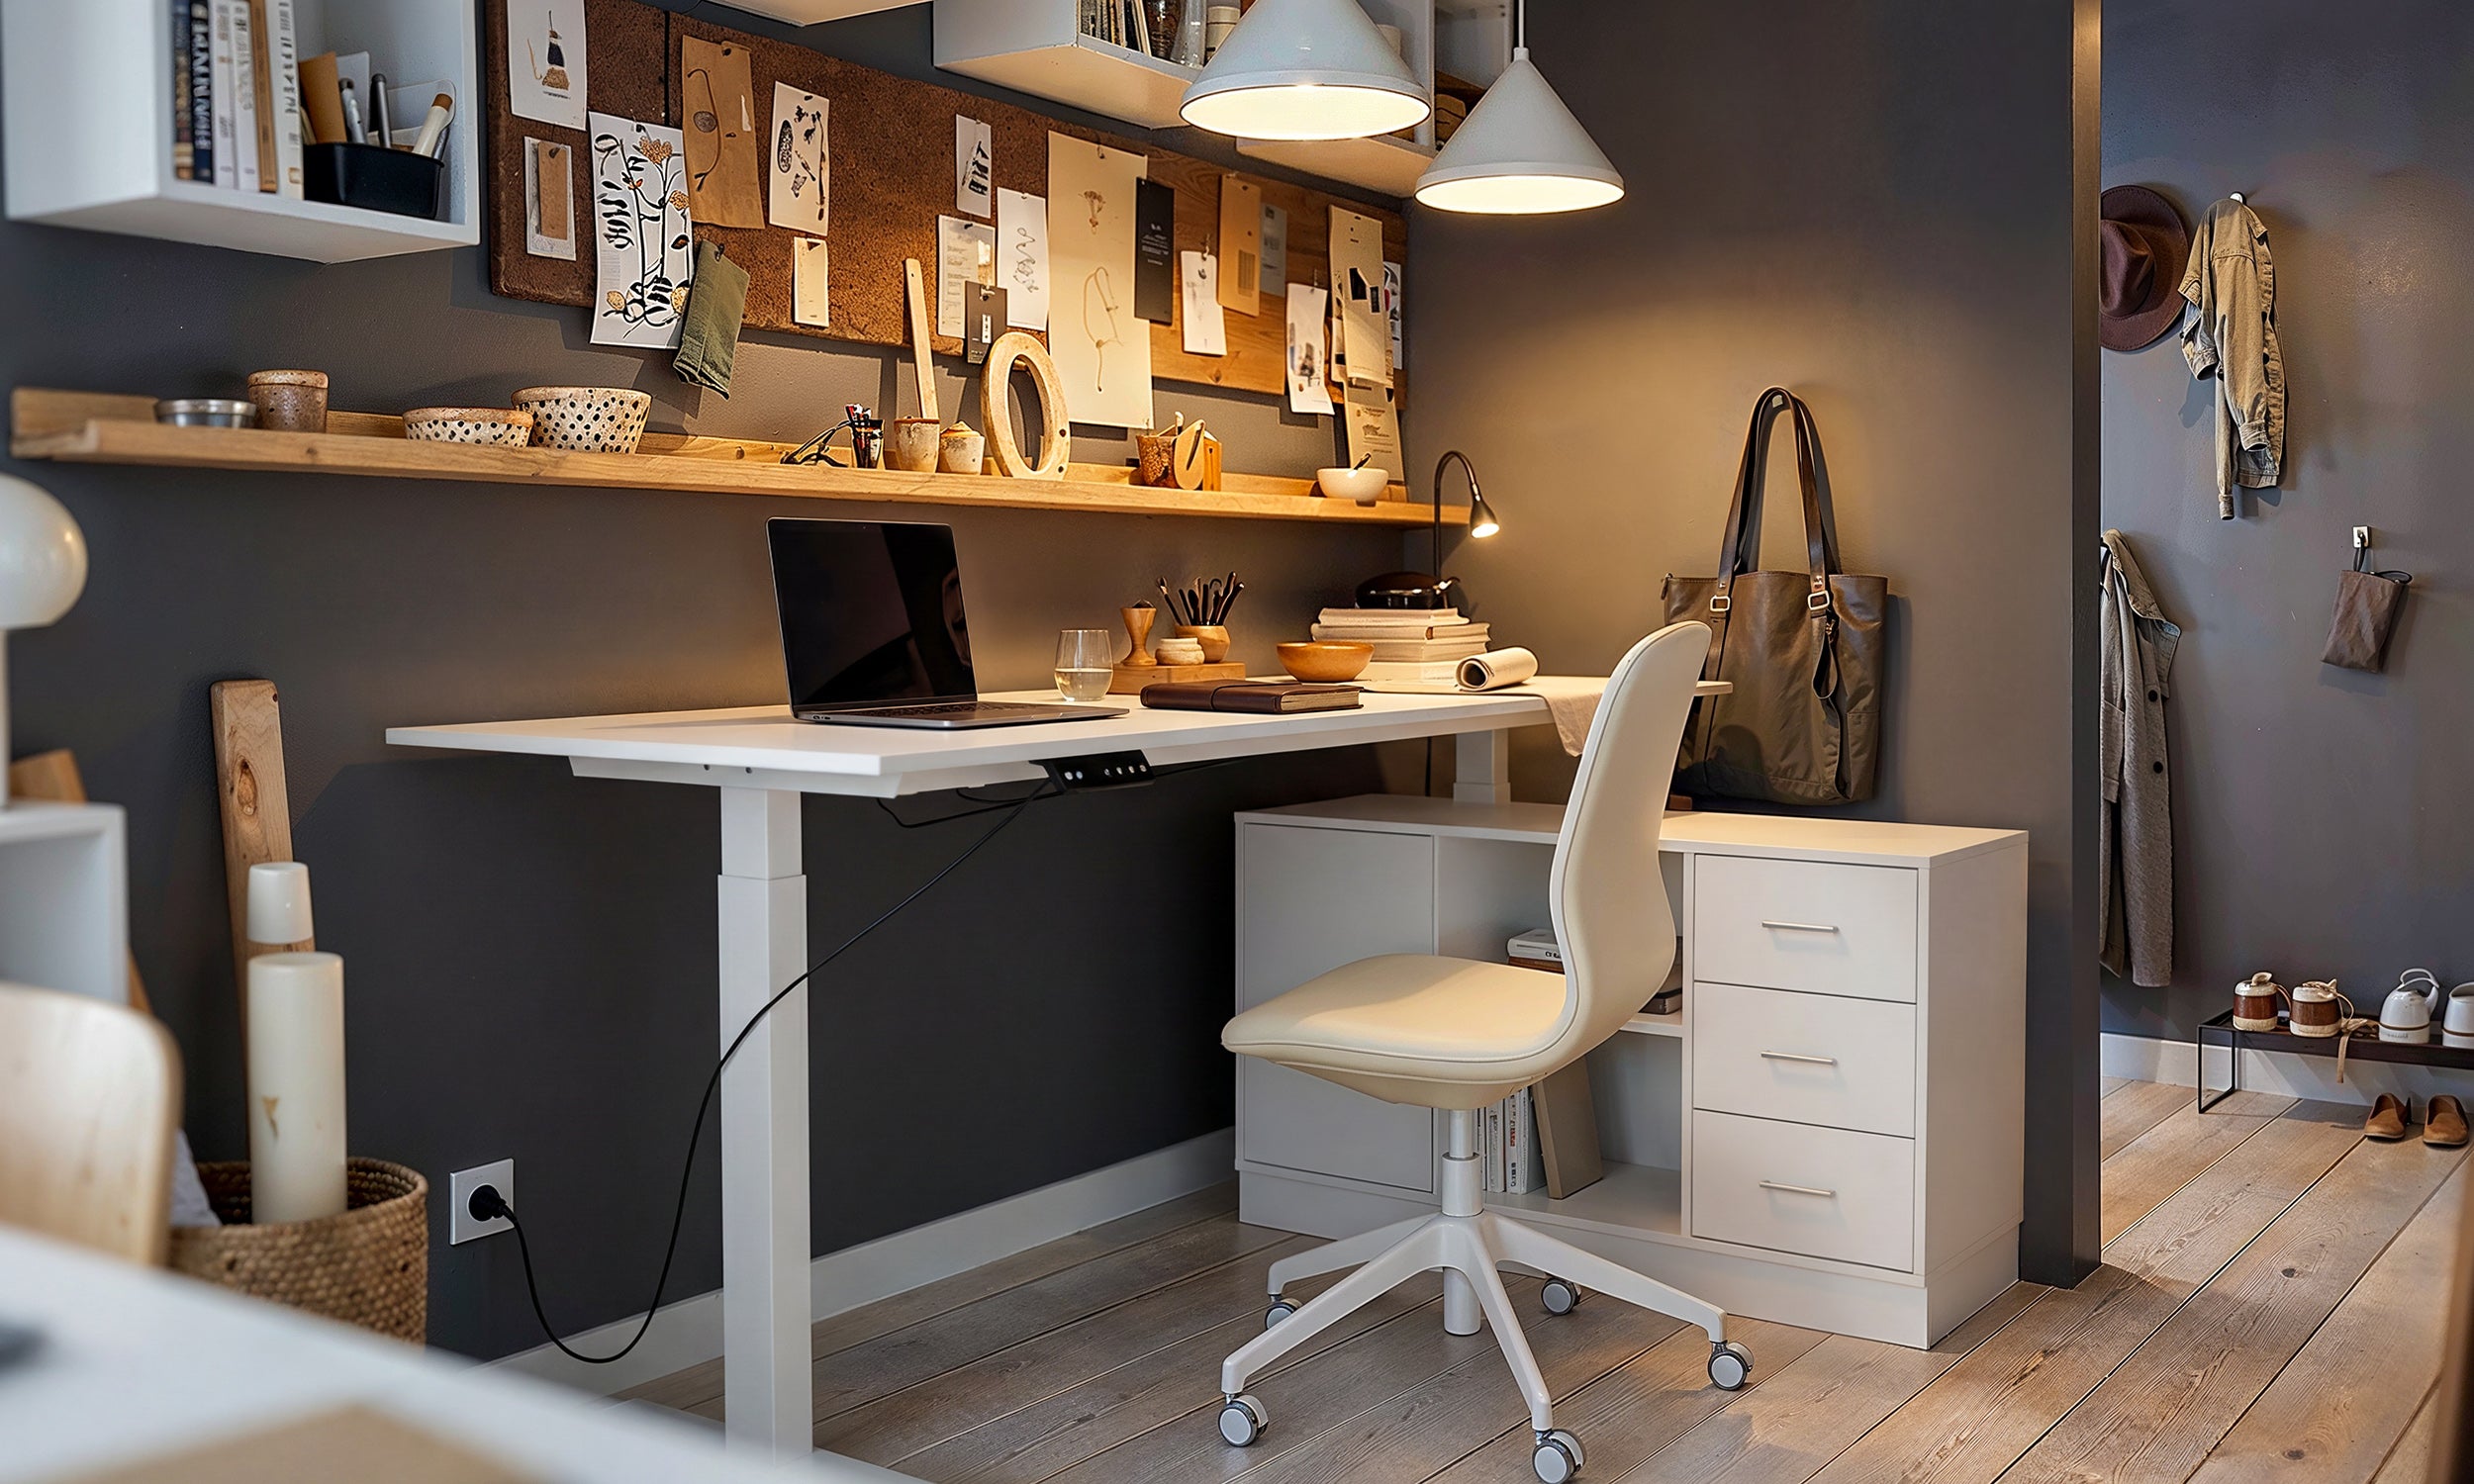
A specialized configuration, such as a 55-inch l-shaped corner desk with storage, incorporates integrated lower shelving or lateral storage bays directly into the return structure. Positioning stationary storage beneath the secondary wing leaves the central under-desk footwell completely clear for unimpeded leg movement.
For additional organization, review our comprehensive desk set guide to explore how matching lateral file cabinets, credenzas, and overhead shelving can create visual unity throughout the room. Vertical wall shelving placed directly above the return wing provides rapid access to reference materials, reference binders, and decorative accents while keeping primary desk surfaces clear for daily productivity.

Dejar un comentario
Este sitio está protegido por hCaptcha y se aplican la Política de privacidad de hCaptcha y los Términos del servicio.