




To assemble flat pack furniture, unpack it in the room where it will stand, lay the panels on a soft surface, check every part against the parts list and sort the hardware. Read the instructions all the way through, gather the tools the product calls for (usually just a Phillips screwdriver), then build in order, leaving cam locks and screws slightly loose until the frame is square. Finish by fitting the back panel, standing the piece up with a helper, leveling it and anchoring it to the wall.
This guide is for anyone facing a box of panels and a bag of hardware for the first time, or anyone who wants the next build to go faster. It explains how flat pack fasteners work, which steps need two people and the common mistakes that cause wobbly furniture. The examples come from cabinets in the FUFU&GAGA storage cabinet collection, but the method applies to any ready to assemble furniture, from a bookcase or desk to IKEA furniture and other brands. Good preparation makes the whole process smoother and much less time consuming.
Before You Start: Check the Assembly Specs
Most product pages list a few assembly fields. Reading them first tells you how big the job is and what to have on hand.
| Spec field | What it tells you | Example |
|---|---|---|
| Suggested Number of People | How many people the manufacturer recommends for safe assembly and installation | Most of our storage cabinets that list it say 2 (192 of 243 models) |
| Additional Tools Required (Not Included) | Tools you need that are not in the box | Usually a screwdriver; some add a hammer, power drill, pliers or Allen wrench; some say "All Tools Included" |
| Avoid Power Tools | Whether driving screws with a drill risks stripping holes or cracking panels | Many cabinets say "Yes": tighten by hand |
| Tipover Restraint Device Included | Whether an anti-tip kit is in the box | Included with 322 of the 366 storage cabinets that list it |
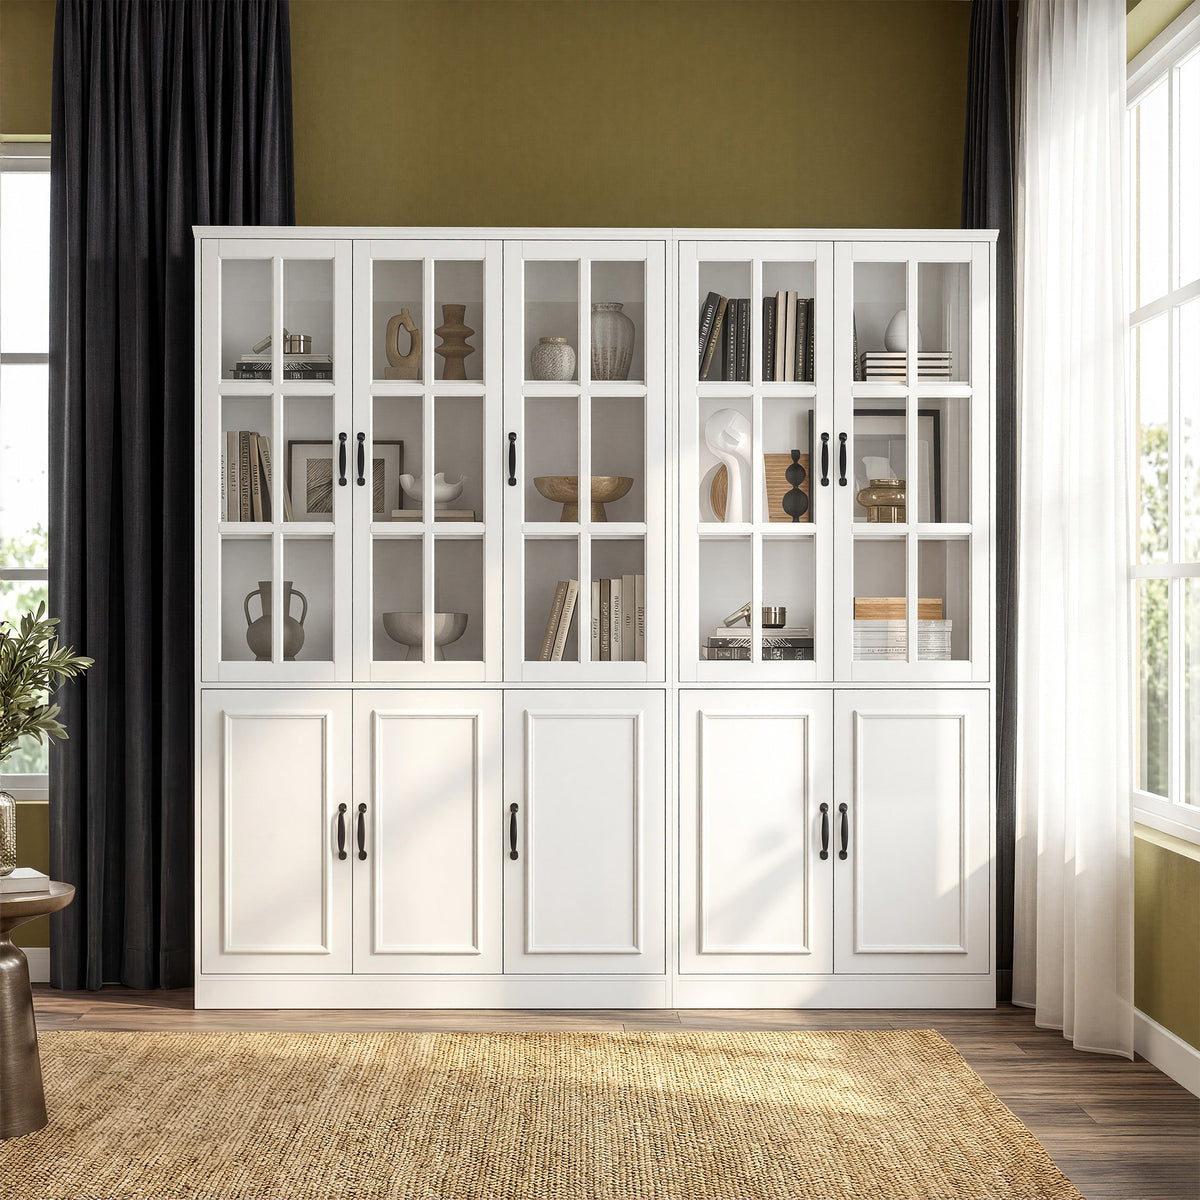
For example, the 30" white tall storage cabinet with shutter door lists 2 people, a screwdriver and "Avoid Power Tools: Yes", while the 63" armoire storage cabinet lists a screwdriver, power drill and hammer. The 30.1" oak laundry hamper cabinet comes with all the tools included.
Tools for Flat Pack Furniture Assembly: Screwdrivers, Allen Keys and More
You rarely need a full toolbox. Having the correct tools ready before you start saves trips to the garage, and a small kit of basic tools covers almost every build:
- Phillips screwdriver (a #2 fits most furniture screws), ideally with a comfortable handle.
- Allen keys, which are usually included. A screwdriver-style hex driver is easier on the hands for long builds.
- Rubber mallet or hammer for tapping in wooden dowels and back-panel nails. Use a scrap of wood or cloth to protect the surface.
- Measuring tape and level to check that the frame is square and the cabinet stands straight.
- Stud finder, drill and bit for anchoring tall pieces to the wall at the end.
- Small containers such as a muffin tin or bowls for sorting screws and smaller parts.
If the product allows a drill, set it to a low torque or clutch setting and finish by hand. For desks specifically, see the only 3 tools you need for painless desk assembly.
How Flat Pack Fasteners Work
Cam locks
Most flat pack cabinets join panels with cam locks. A cam bolt (a metal post) screws into one panel, and a round cam lock fits into a hole in the other panel. When you slide the panels together and turn the cam lock with a screwdriver, it grips the head of the bolt and pulls the joint tight. Turn it until it is snug, not as far as it will go; overtightening can crack the surrounding particleboard.
Wooden dowels
Wooden dowels align panels and help carry the load. Tap them gently into one panel with a mallet, then line up the matching holes. If a dowel will not go in, double check the hole rather than forcing it. A little wood glue on the dowels makes joints stiffer, but only if you never plan to take the piece apart.
Screws and back panels
Screws join hardware such as hinges, drawer slides and brackets. Drive them straight and stop as soon as they seat, especially in particleboard. The thin back panel matters more than it looks: once nailed or slotted in, it holds the cabinet square and stops it racking side to side.
How to Assemble Flat Pack Furniture Step by Step
The assembly process below follows the order most instructions use. Read it once before you open the box.
Step 1: Prepare the space
Build in the room where the furniture will live, or as close as possible. A finished tall cabinet is heavy and awkward to carry through doorways; the Sofna 78.7" storage cabinet, for example, weighs about 305 lb assembled. Clear an area larger than the piece lying flat so you can spread out every panel, and lay down a blanket, rug, carpet offcut or the flattened box so panels sit on a soft surface that will prevent scratches on both the furniture and your floor.
Check your ceiling too. Tall cabinets are built lying down and then tilted up, so the diagonal of the cabinet has to clear the ceiling. Our storage cabinet dimensions guide shows how to work this out.
Step 2: Unpack, take inventory and double check for missing parts
Open every box, but keep the packaging until the build is finished. Then:
- Lay out all the pieces and match each panel to the parts list by its label or sticker.
- Count all the parts in each hardware bag against the list.
- Inspect panels for chips, cracks or damage before you start.
Missing parts or damage are much easier to sort out before assembly. At FUFU&GAGA, damaged or defective items reported within 14 days are handled at no cost, and our replacement parts service reviews requests within 24 hours. Unused, unassembled items in their original packaging can be returned within 35 days, so double check that a piece is right for your space before you build it.
Step 3: Sort the hardware
Put each type of screw, bolt, cam lock, dowel and bracket in its own container and label it with the letter or number from the manual. Two screws that look identical can differ by a few millimeters, and using a long screw where a short one belongs can push straight through a panel. Keep the containers in a safe place away from pets and children, since small parts are easy to lose and a choking hazard.
Step 4: Read the assembly instructions first
Read the assembly manual from start to finish before you touch a screwdriver. Pay close attention to:
- Which edges are finished and should face out.
- Which way pre-drilled holes face; cam lock holes and shelf-pin holes usually face the inside.
- Steps where hardware goes in before panels are joined, which are easy to miss.
- Any step marked for two people.
Step 5: Build the frame and square it
Follow the instructions one step at a time, usually base, sides, fixed shelves and top, plus any legs or feet. Keep connections slightly loose until the main frame is together, so everything can settle into alignment. Then measure the two diagonals of the cabinet front; when they match, the frame is square. Now tighten the cam locks and screws, and fit the back panel while the frame is still square.
Step 6: The two-person steps
Many steps are simply safer with two pairs of hands, which is why most cabinets suggest two people. Get help for:
- Holding tall side panels upright while the top or a fixed shelf goes in.
- Turning the cabinet over to fit the back panel.
- Tilting the finished cabinet upright, one person at the base and one at the top.
- Lifting larger pieces into position and hanging heavy or glass doors.
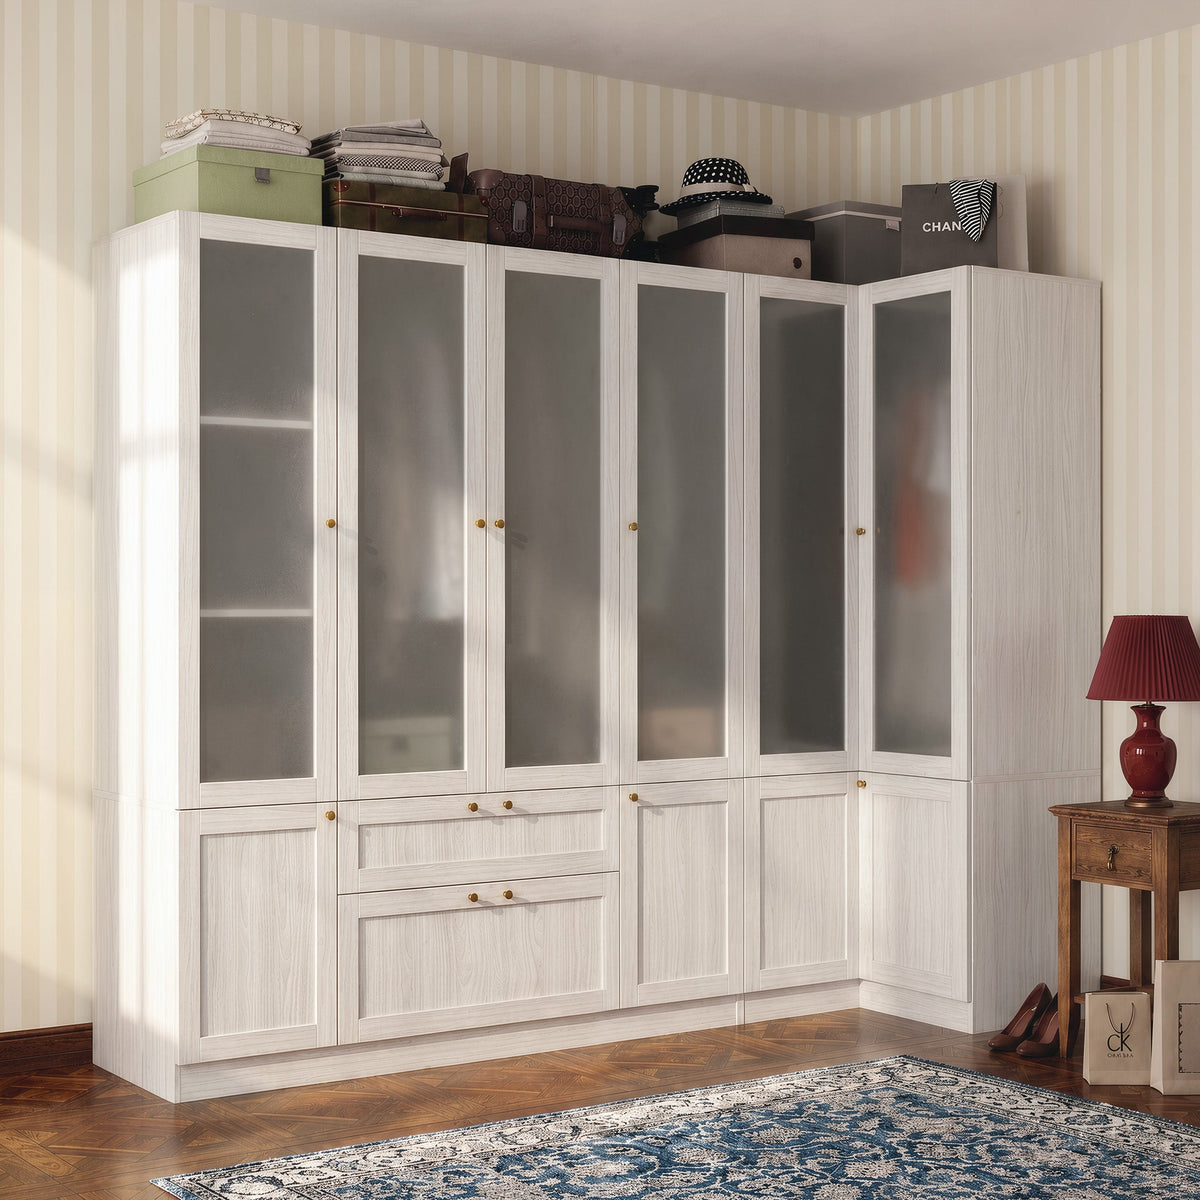
Large combination units such as the Skira 98.4" corner storage cabinet with frosted glass doors are built as several sections, so plan for heavy lifting and extra time.

Step 7: Fit doors, drawers and shelves
Hang doors after the cabinet is standing in place, since a frame that is out of level makes doors look crooked. Most cabinet hinges have adjustment screws that move the door up and down, side to side and in and out, so small gaps can be fixed in minutes. Install drawer slides with the screws in the specified holes, test each drawer and set shelf pins at the heights you want.
Step 8: Level and anchor
A sturdy result depends on this last step. Set the cabinet in place, check it with a level and use any adjustable feet to correct an uneven floor. Then anchor it. The federal Anchor It! campaign outlines the steps on anchorit.gov: attach a bracket to the wall, move the furniture close, attach the other bracket to the furniture, connect the strap and tighten it. The U.S. Consumer Product Safety Commission recommends anchoring furniture such as bookcases and dressers to the wall. Our guide on how to anchor a bookcase to the wall covers studs, drywall and masonry.
Common Mistakes When Assembling Furniture
| Mistake | What to do instead |
|---|---|
| Skipping the inventory | Count all the parts first; missing parts found halfway through stall the whole job |
| Using a power drill when the spec says "Avoid Power Tools" | Drive screws by hand to avoid stripped holes and cracked panels |
| Overtightening cam locks and screws | Stop at snug; particleboard does not forgive extra torque |
| Tightening everything too early | Leave joints slightly loose until the frame is square |
| Installing a panel upside down or backward | Check finished edges and hole positions against the diagram before fixing |
| Hammering the back panel hard | Tap nails in gently, working along the edges |
| Building in the wrong room | Assemble where the furniture will stand |
| Skipping the anchor | Install the tip-over kit on every tall piece |
After a few weeks of everyday use, re-check the cam locks and hinge screws, since joints can settle; snugging them up (without overtightening) keeps the piece solid in the long run. Once your cabinet is built, set it up with our tips on how to organize a storage cabinet, or browse the full storage cabinet collection for your next piece.
FAQ
Is flat pack furniture easy to assemble?
Most flat pack furniture is designed for first-timers with basic tools. Small pieces are straightforward for one person; tall cabinets and wardrobes are easier and safer with two people. The keys are an inventory before you start, reading the instructions through and not overtightening.
What are some common problems with flat pack furniture?
The most common problems are missing or mixed-up hardware, panels installed backward, stripped screw holes from overtightening or power tools, and wobbly frames that were never squared. Most can be avoided by sorting parts, following the steps in order and checking diagonals before tightening.
Can I use a power drill to assemble flat pack furniture?
Only if the product allows it. Check the "Avoid Power Tools" spec; if it says yes, use a hand screwdriver. If a drill is allowed, use a low clutch setting and finish each screw by hand so you can feel when it seats.
How much do people charge to assemble flat pack furniture?
It varies with the size and complexity of the piece and where you live. Local handymen and furniture assembly services usually quote per item or per hour, so ask for a quote that includes wall anchoring if you are buying a tall cabinet.

Dejar un comentario
Este sitio está protegido por hCaptcha y se aplican la Política de privacidad de hCaptcha y los Términos del servicio.