






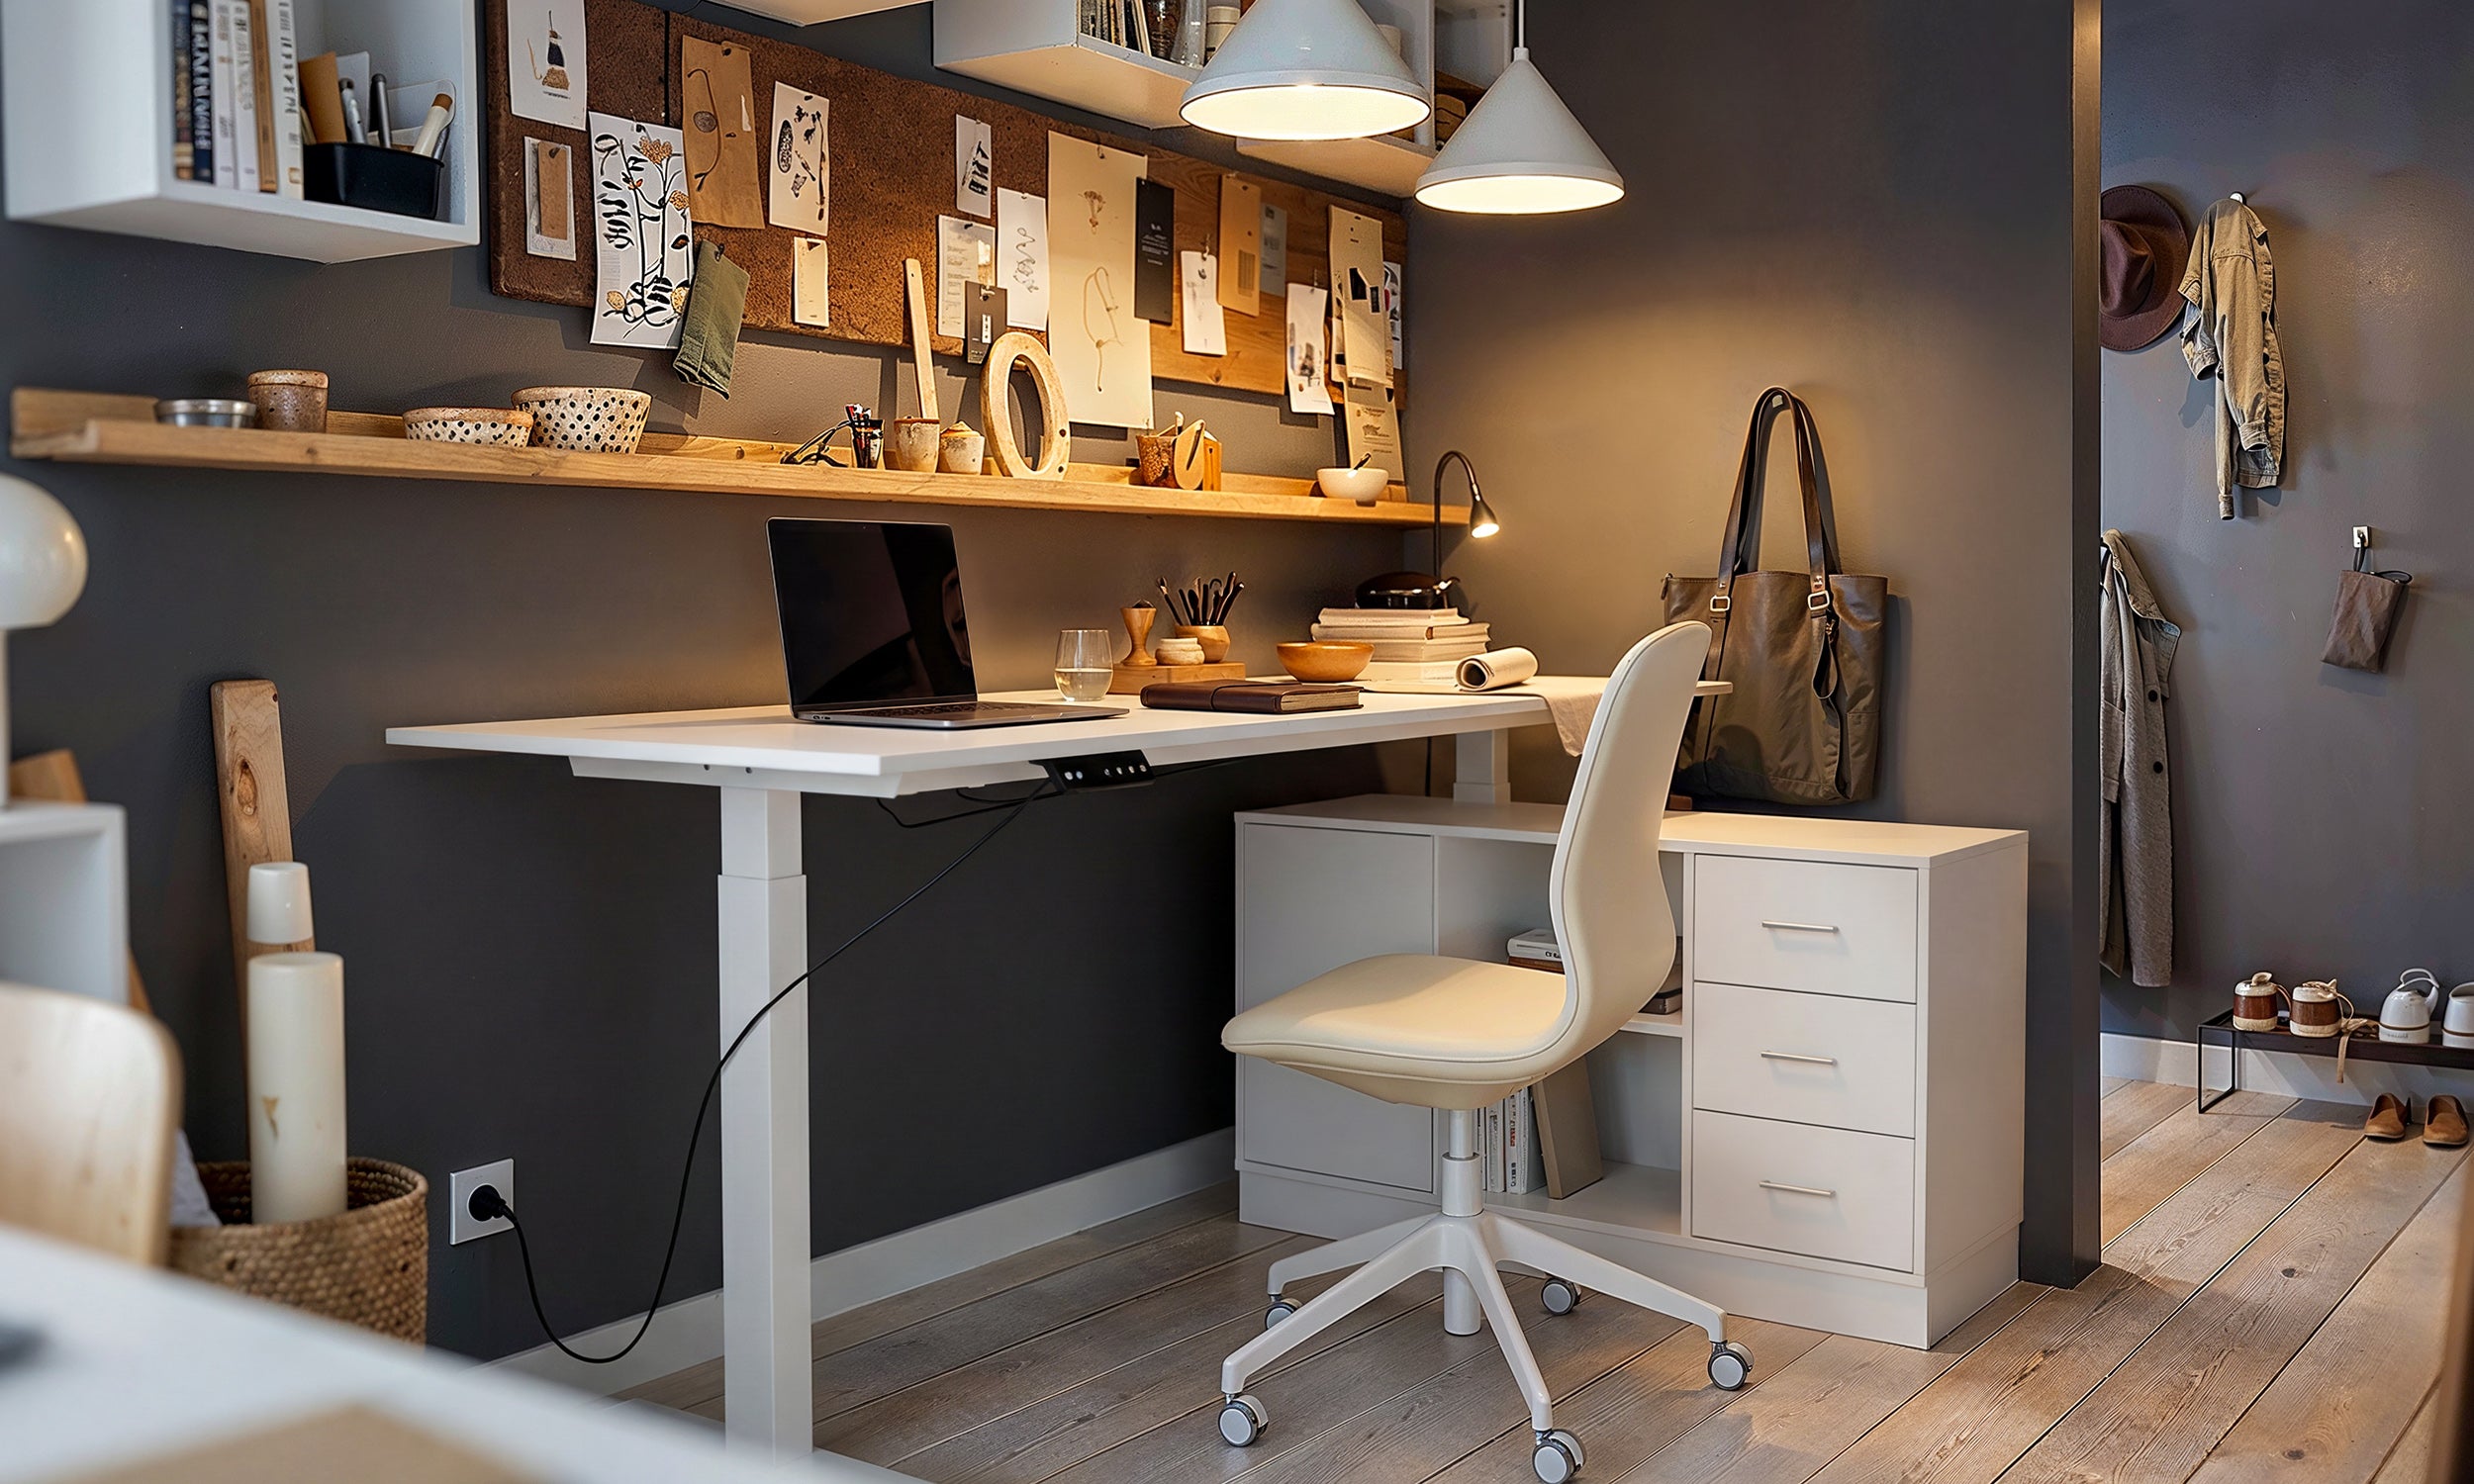
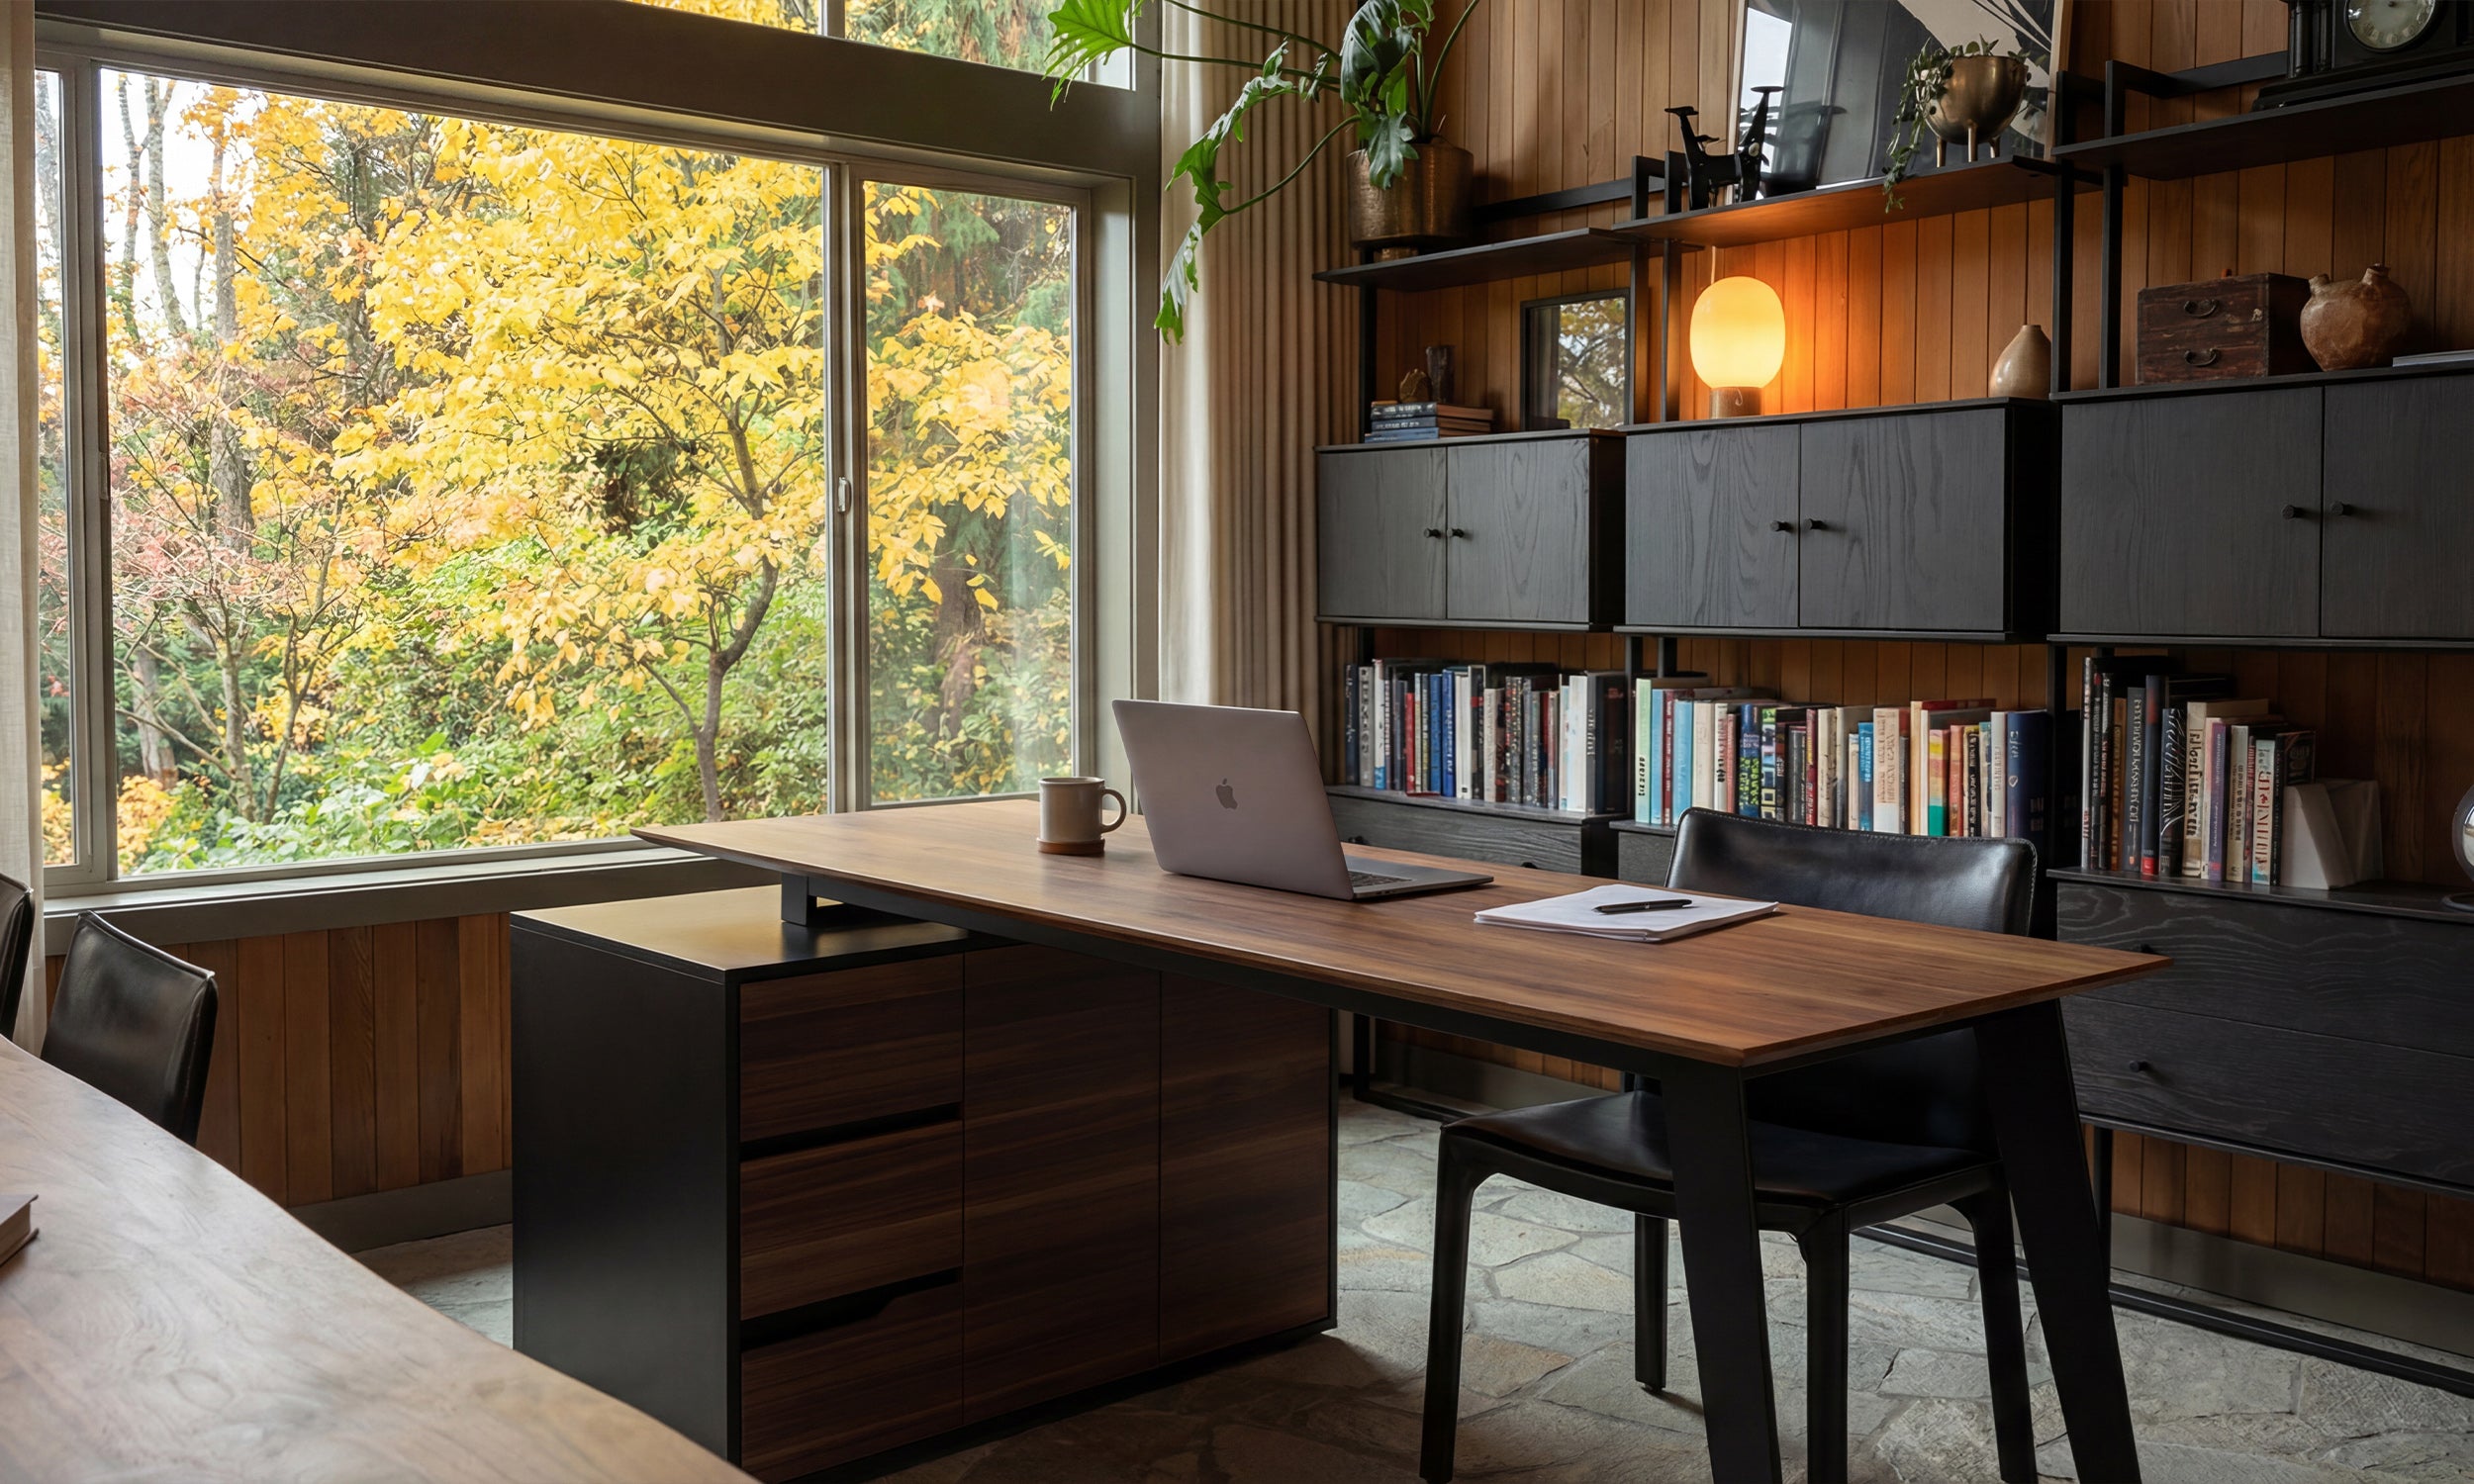


I spent three weeks wondering why my upper back felt like it was being twisted by a Victorian ghost. Then I realized I was hunching over my 27-inch monitor like a gargoyle guarding a cathedral. My desk was beautiful—a mid-century walnut piece—but my ergonomics were a disaster. I finally admitted I needed a riser for desktop to save my spine.
- Massive sit-stand converters are often overkill and ruin your desk's aesthetic.
- A simple riser keeps your monitor at eye level without sacrificing your entire workspace.
- Material matters: choose wood or metal over cheap, hollow plastic for stability.
- Storage underneath is the best way to hide your keyboard when the workday ends.
The Day I Realized My Setup Was Ruining My Posture (And My Desk)
About six months into my remote work life, I bought one of those giant, industrial-strength sit-stand converters. You know the ones—the black metal beasts that look like they belong in a 1990s server room. It weighed 45 pounds and required a hydraulic system just to move it. It was supposed to be the answer to my back pain, but instead, it became a massive eyesore that ate 80% of my usable desk surface.
I couldn't even fit a notebook next to my keyboard anymore. Every time I looked at it, I felt like I was sitting in a cubicle rather than my own home. Worse, I almost never actually used the standing feature because the mechanism was so clunky. I was stuck with a permanent, ugly monument to 'productivity' that was actually just making me feel claustrophobic.
The breaking point came when I tried to move it to clean and nearly threw out my back. That is when I realized I didn't need a transformer; I just needed a few extra inches of height for my screen. I wanted my desk back, and I wanted to stop looking down at my emails.
Why a Simple Riser for Desktop Is Actually All You Need
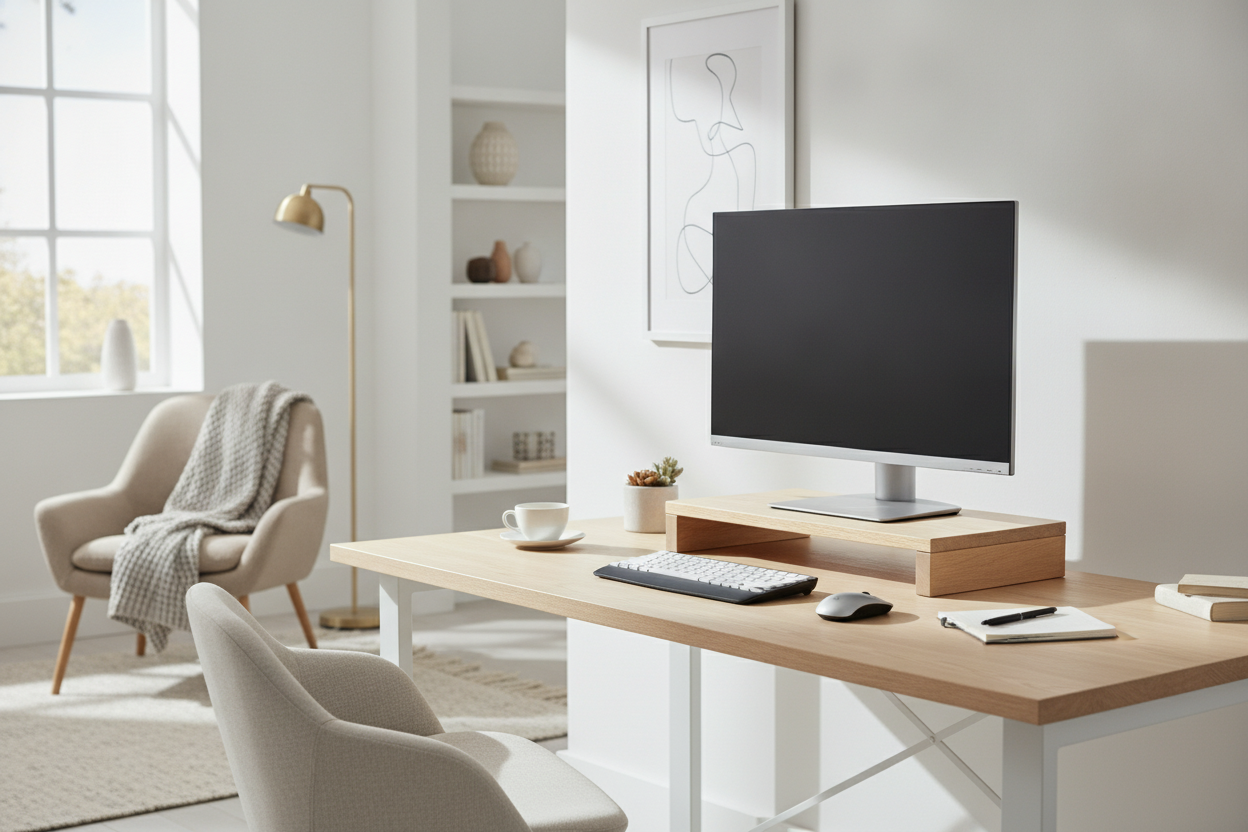
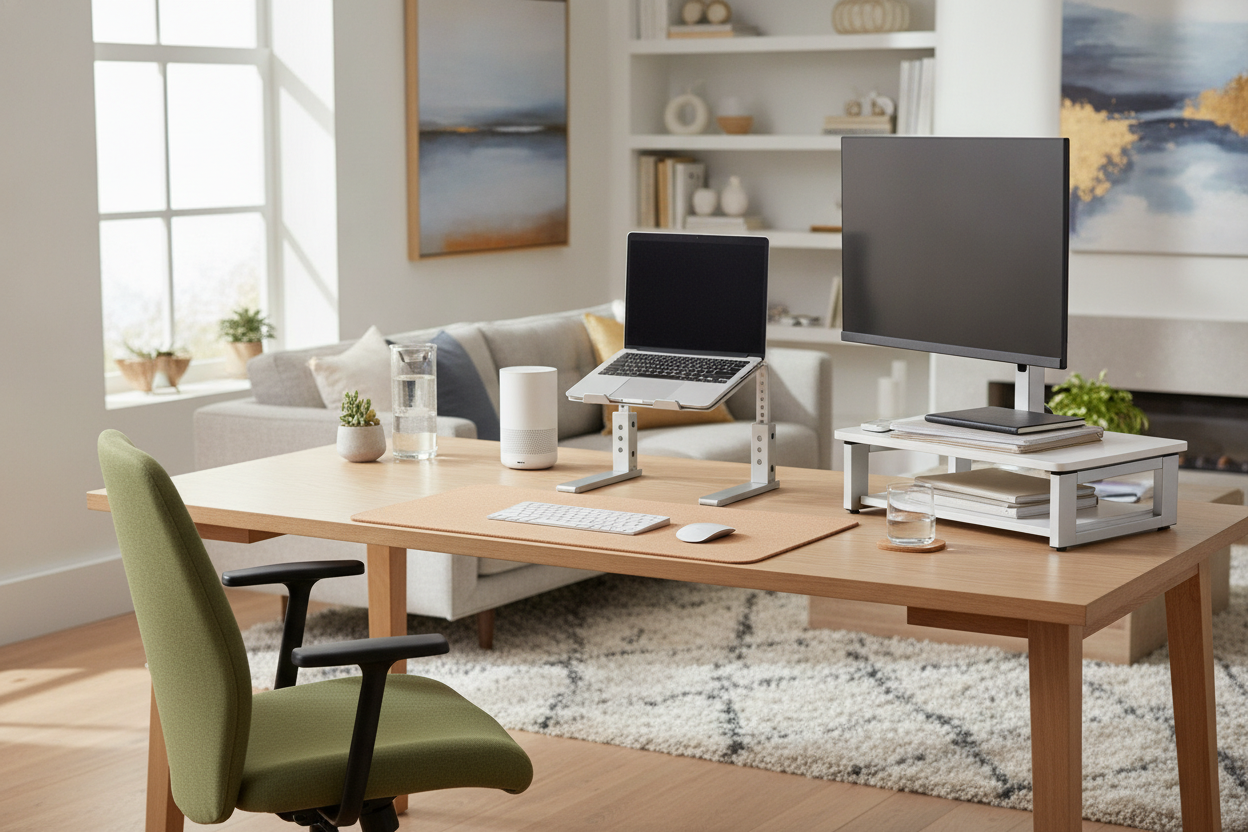
When I finally ditched the heavy machinery and switched to a sleek riser for desktop, it felt like my office had doubled in size. Most of us don't actually need to stand for eight hours; we just need our monitors at a height that doesn't force us to chin-tuck all day. A stationary riser provides that exact elevation without the mechanical baggage.
I remember the transition from my 'DIY phase'—which involved a stack of old architecture books—to actually upgrading to a desk with laptop stand or a dedicated riser. It changes the psychology of the room. It looks intentional. A simple riser allows you to tuck your keyboard and mouse underneath when you are finished for the day, reclaiming your desk for hobbies or just a clean visual break.
It is about finding that sweet spot between utility and design. You get the ergonomic benefit of a tall monitor, but you still have room for a coffee mug, a lamp, and your sanity. It is the minimalist's answer to a problem that the tech industry tried to over-engineer.
Navigating the Market: Finding a Cheap Desk Riser That Looks Expensive
You do not have to spend $200 on a piece of wood to get a good result. However, there is a fine line between a cheap desk riser that works and one that sags under the weight of a monitor. I have tested the $15 plastic versions from big-box stores, and honestly? They look like cafeteria trays. If you want something that feels like furniture, look for solid bamboo or powder-coated steel.
If you are running a dual-monitor setup, you will want a computer table riser that is at least 35 inches wide. Anything smaller and your monitors will be hanging off the edges like they are on a diving board. I prefer the weight of a solid wood riser because it doesn't slide around when you accidentally bump your desk. If you find that a static height isn't working for your specific chair, you might want to get an adjustable riser desk that gives you a few inches of play without the bulk of a full converter.
Acrylic is another great option if you want your setup to look nearly invisible. It is surprisingly sturdy and doesn't add any visual 'weight' to a small room. Just be prepared to wipe away fingerprints every other day.
The 'Home Office Desk With Riser' Dilemma: Built-In vs. Add-On
If you are currently shopping for a new workspace altogether, you might be tempted by a home office desk with riser already built into the frame. These are fantastic because the riser is usually made of the same material as the desktop, giving it a seamless, high-end look. You don't have to worry about the riser matching the wood grain of your table.
For those with limited space, a dedicated writing computer desk with an integrated shelf is a smart move. It keeps the footprint small but the functionality high. I have seen some really clever designs lately, like a corner desk with large storage that uses a built-in riser to create a tiered workstation. This is especially helpful if you need to fit a printer or speakers into a tight corner.
The downside of a built-in riser is that you are committed to that height forever. If you buy a new monitor with a different base, it might not fit. Standalone risers give you the flexibility to swap things out as your tech evolves. I usually recommend a standalone for most people, unless you are absolutely sure about your gear setup for the next five years.
How to Stop Workstation Risers From Becoming Clutter Magnets
The space under an elevate desk riser is a dangerous place. It starts as a spot for your keyboard, but within a week, it usually becomes a graveyard for pens, loose mail, and tangled charging cables. If you use a tall desk riser, the temptation to shove everything under there is even stronger.
To keep your workstation risers from becoming junk drawers, I suggest using small felt trays or organizers. Only things that actually belong on a desk should go under there. If you are struggling with a messy aesthetic, switching to a modern minimalist white home office desk can help. The clean lines of a white setup make clutter stand out like a sore thumb, which actually forces you to stay organized.
Cable management is the final boss. Use Velcro ties to keep your monitor cords running down the back of the riser legs rather than dangling in the center. A clean riser setup should look like your monitor is floating, not like it is being held up by a mess of black wires. When it is done right, your desk feels like a sanctuary, not a chore.
FAQ
How high should my desktop riser be?
Your eyes should be level with the top third of your screen. For most people, a riser between 4 and 6 inches tall hits the sweet spot. If you are exceptionally tall, look for a riser with adjustable legs.
Can I put two monitors on one riser?
Yes, but check the weight capacity. Most wood or steel risers can handle 40-50 pounds, which is plenty for two modern monitors. Just make sure the riser is wide enough so the monitor stands aren't teetering on the edge.
Will a riser wobble on my desk?
It shouldn't if it has rubber feet. If you are buying a cheap version, look for one with non-slip pads. If it doesn't come with them, you can buy a pack of adhesive rubber bumpers for a couple of dollars to stabilize it instantly.

Dejar un comentario
Este sitio está protegido por hCaptcha y se aplican la Política de privacidad de hCaptcha y los Términos del servicio.