






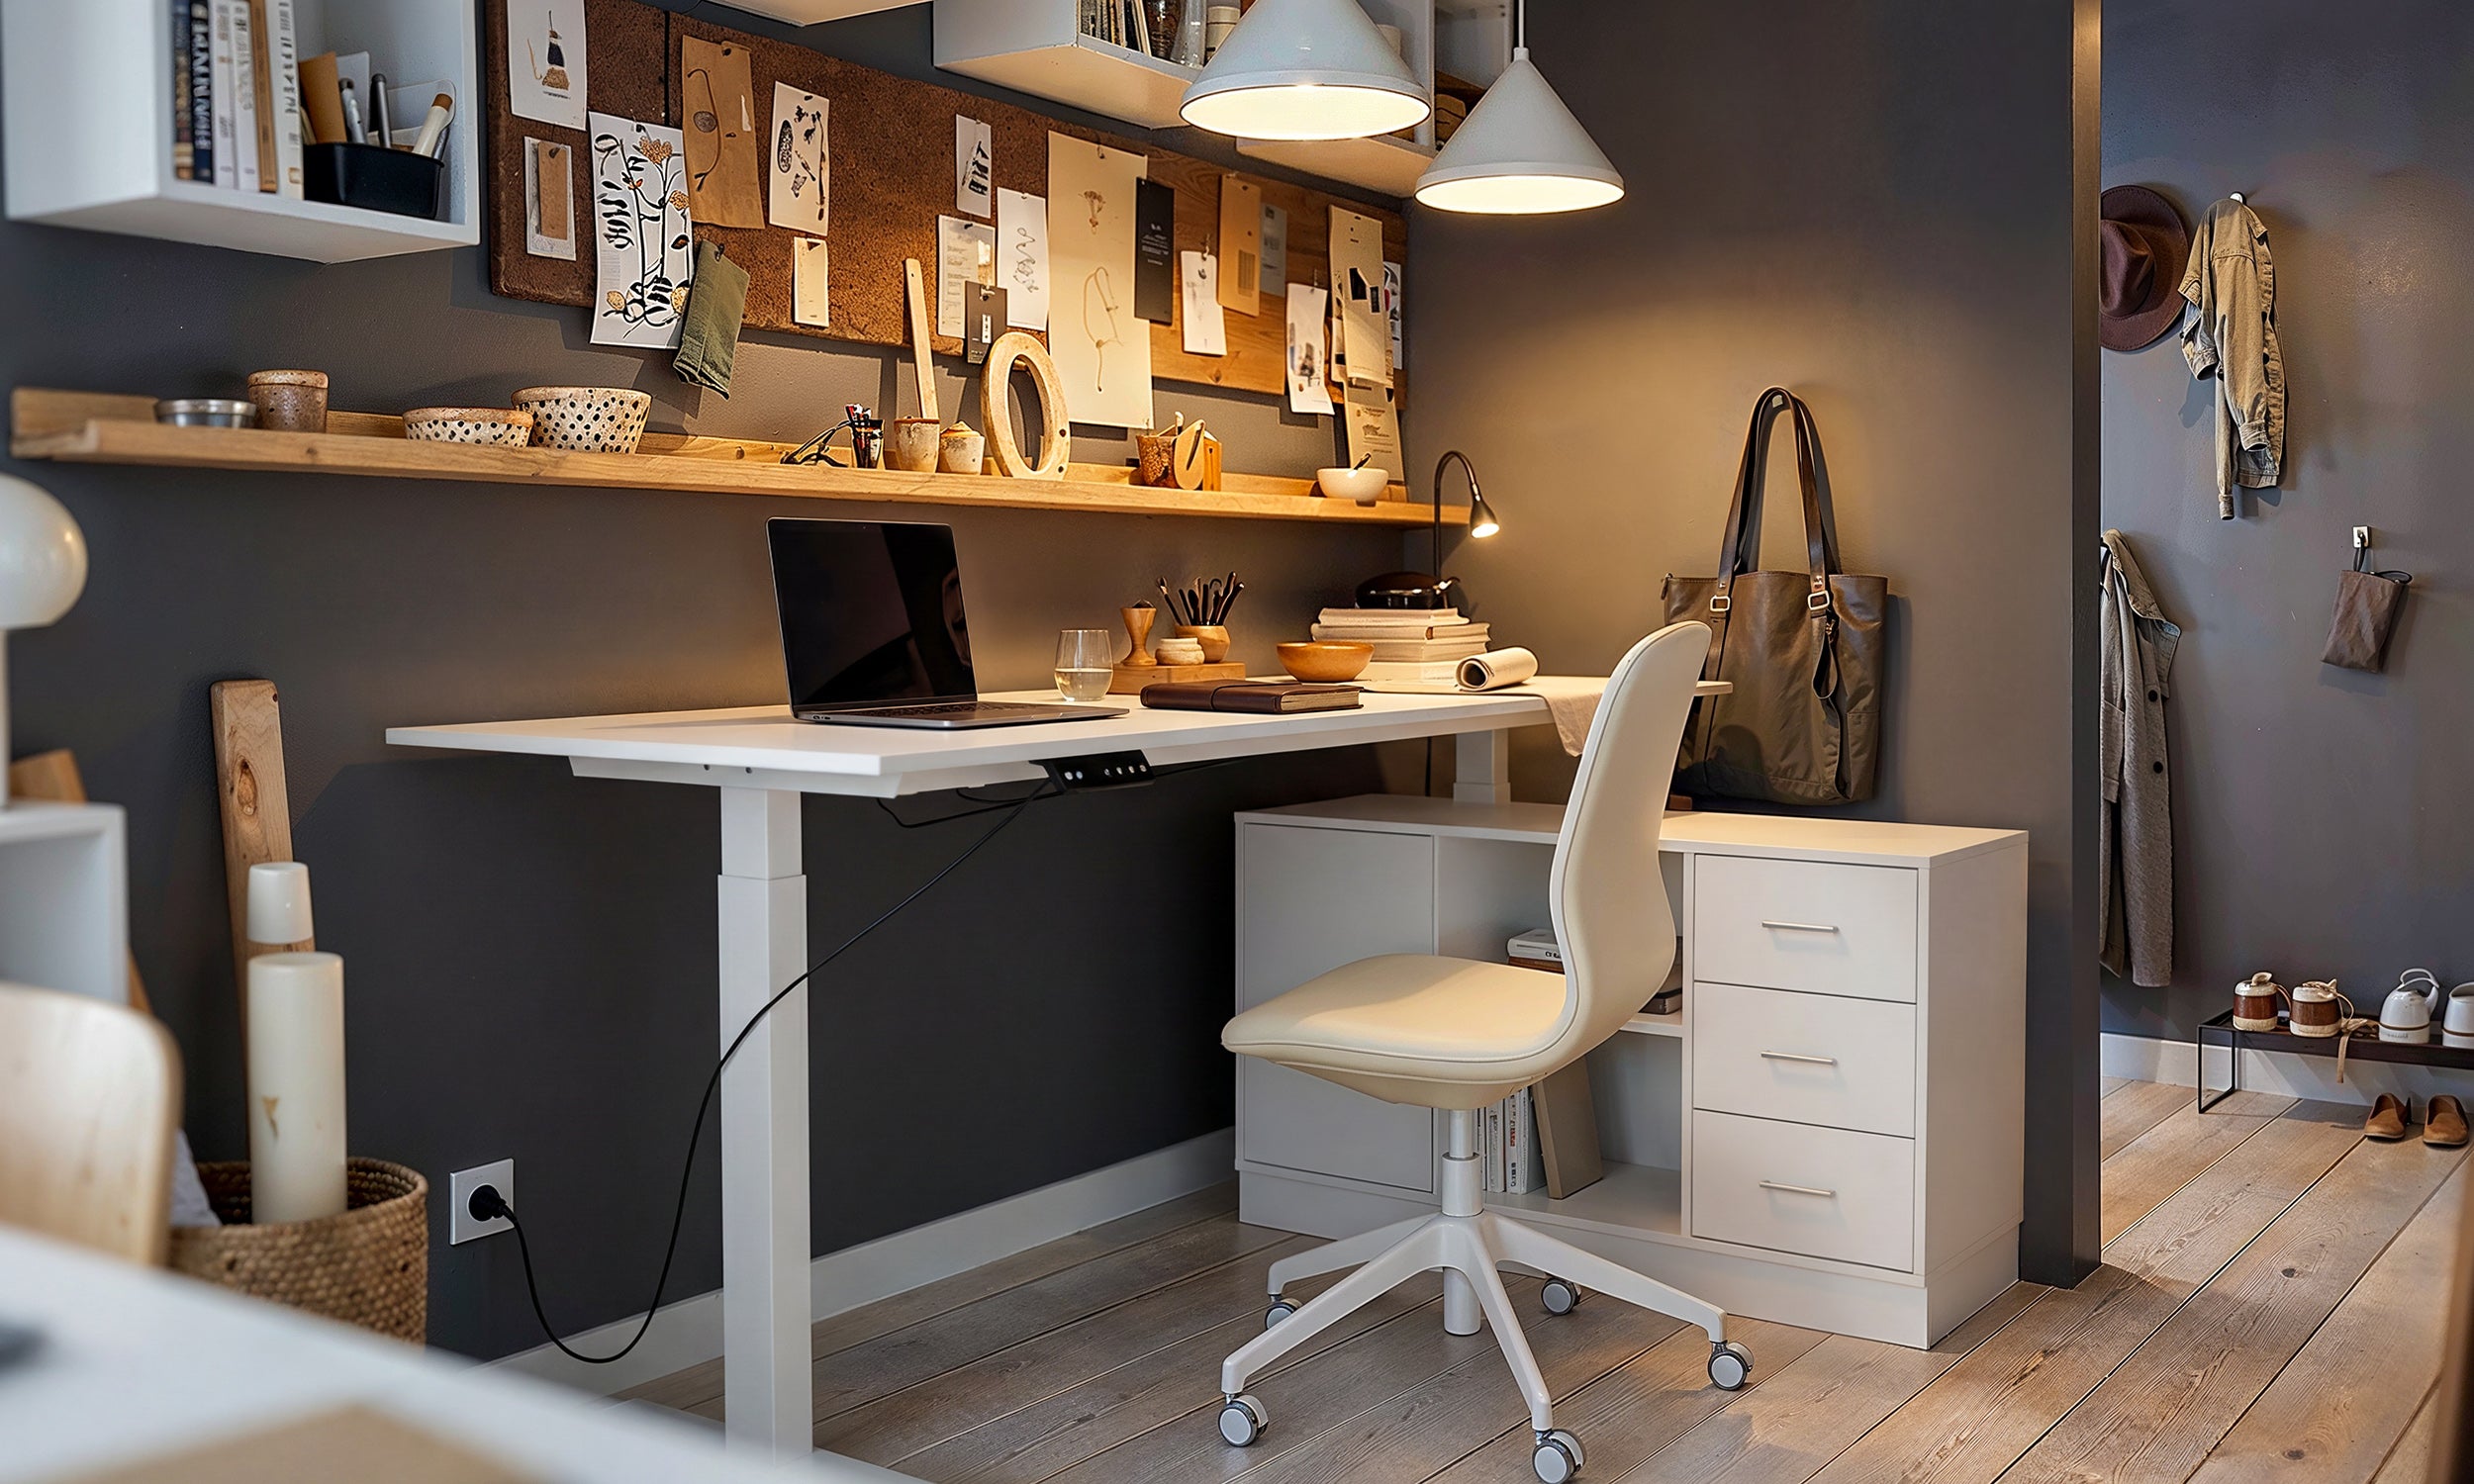



Understanding Standing Desk Lockout: Why Your Desk Refuses to Rise
When an electric height-adjustable desk suddenly stops moving upward and only travels toward the floor, it has usually entered an initialization state rather than suffering permanent motor failure. Modern adjustable workstations rely on synchronized motor electronics to ensure both lifting columns rise and descend at precisely matching rates. When a system detects an inconsistency—such as an uneven load, an abrupt power disconnect, or physical resistance—it locks out upward travel as a protective measure to keep the frame level.
This lockout condition is a core operational safeguard. If one column were to move while the other remained stalled, the resulting mechanical tilt could strain frame brackets, displace desktop equipment, or bind internal lift tracks. Entering a baseline reset mode ensures the controller forces both columns down to a shared mechanical stop before enabling upward elevation again. Recognizing this behavior helps you avoid unnecessary hardware replacements when a simple calibration sequence will resolve the issue.
Standard Linak Desk Reset Procedure: Step-by-Step Initialization
Performing a reset on a Linak-powered motorized frame establishes a new zero-reference point for the control software. Before starting, clear items from underneath the tabletop, verify that cords have ample slack, and check that no low-profile file caddies or chair armrests obstruct the downward travel path.
- Drive the desk downward: Press and hold the down arrow button or tilt paddle on your handset. Keep holding the control until the desk reaches its lowest physical height limit.
- Release and re-engage: Release the button briefly, then immediately press and hold the down control again.
- Observe the recalibration movement: Continue holding the control down. After a brief pause, the desk should move down slightly further, give a small rebound or twitch motion, and come to a complete stop.
- Release the control: Let go of the down control once this movement occurs. The internal memory has successfully registered its base reference position.
- Test full upward motion: Press the up arrow or pull the paddle upward to confirm that normal motorized travel has resumed.
If the desk travels up smoothly across its intended range, the controller calibration is complete and your workstation is ready for standard daily use.
Decoding Controller Error Signals: Troubleshooting E01 and Status Feedback
On handsets equipped with a digital screen, system alerts such as an E01 code or flashing prompt may appear when the lift mechanism halts. An E01 code typically signals that the controller requires initialization before it will accept standard positioning commands. This indicator commonly triggers after a sudden electrical outage, an accidental tug on a power lead, or the activation of an internal anti-collision sensor.
When an anti-collision sensor detects sudden resistance or an uneven tilt profile, the controller pauses travel and reverses briefly before entering a locked condition. Rather than signaling an internal component breakdown, the prompt is simply asking the user to complete the standard baseline initialization sequence. If the digital display remains non-responsive or displays intermittent errors after an initial reset attempt, disconnecting the primary power supply for a short period allows the electronics to drain residual voltage, clearing transient communication faults before you run through the reset steps once more.
Mechanical Inspection: Cable Seating, Load Balance, and Physical Impediments
If an initial reset attempt fails to produce the calibration rebound, mechanical or connection issues may be interrupting the communication loop between the control box and the lifting columns. Taking time to inspect your physical workstation layout can quickly isolate the source of motor resistance. If you are exploring broader workstation layouts, reviewing a comprehensive standing desk resource collection can provide helpful context on proper frame setup and maintenance principles.
- Check cable connections: Ensure the power lead and motor cables are pushed firmly into their respective ports on the central control box. Loose plugs can cause intermittent sensor cutouts that abort the initialization cycle.
- Assess desktop weight distribution: Heavy computer towers, monitor mount clusters, or dense reference books piled heavily onto one end can cause uneven motor resistance. Distribute equipment evenly across the work surface so both motorized legs encounter balanced friction.
- Inspect frame clearances: Ensure the desk edge does not drag against baseboards, window ledges, or nearby filing drawers during downward travel. Even modest rubbing against a wall can generate sufficient friction to trigger anti-collision safety protocols.
Control Box Cycling and Advanced Controller Checks
When straightforward handset inputs do not clear a persistent fault, performing a thorough electrical power cycle on the control box can help re-establish stable system parameters. Multi-channel control units require continuous communication between all motor ports and the interface handset.
To perform an electrical cycle, unplug the main power cord from the wall outlet. Leave the unit unplugged for several minutes to allow the control box capacitors to dissipate stored energy fully. While the unit is powered down, disconnect each motor cable and the handset lead, inspect the pins for dust or loose seating, and plug them back in until they click securely into place. Reconnect the main power plug to a direct wall socket, avoiding overloaded power strips if possible, and run through the standard downward reset procedure. In my own workspace layout, taking the extra minute to verify secure cable latching almost always prevents recurring initialization faults.
Workstation Integration: Ensuring Long-Term Stability and Smooth Adjustment
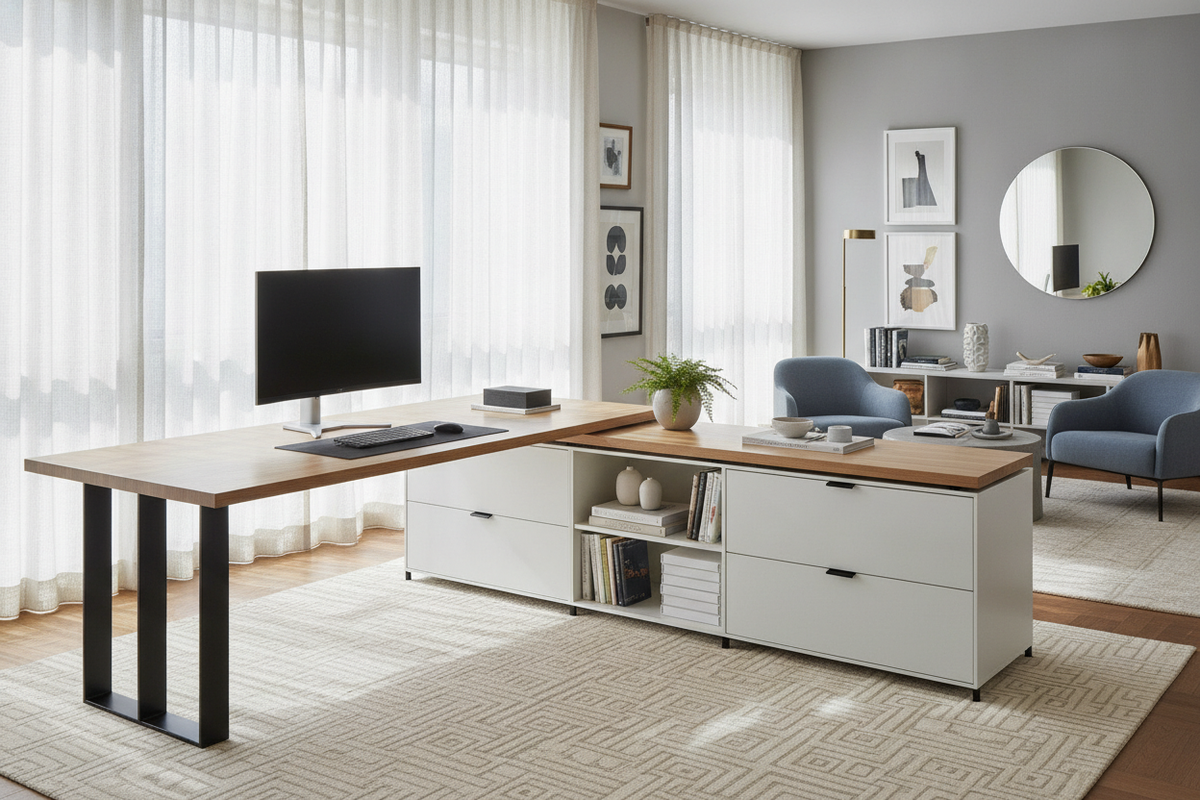
Maintaining a dependable sit-to-stand workspace involves thoughtful equipment arrangement around your dynamic frame. Planning for free clearance beneath the work surface protects your lifting mechanisms from sudden impacts that lead to controller lockouts. When updating your office furniture, pairing your setup with an electric height adjustable standing desk with built-in storage ensures dedicated placement for office supplies while preserving open travel paths for mechanical components.
Cable management plays an equally vital role in operational reliability. Use flexible cable channels, under-desk raceways, and coiled wire wraps to ensure power cables and display leads stretch cleanly without snagging on furniture legs during elevation changes. For deeper insights on configuring an ergonomic and durable workstation layout, consulting thoughtful remote work desk planning advice helps you create a functional home office tailored for seamless, long-term performance.

Leave a comment
This site is protected by hCaptcha and the hCaptcha Privacy Policy and Terms of Service apply.