






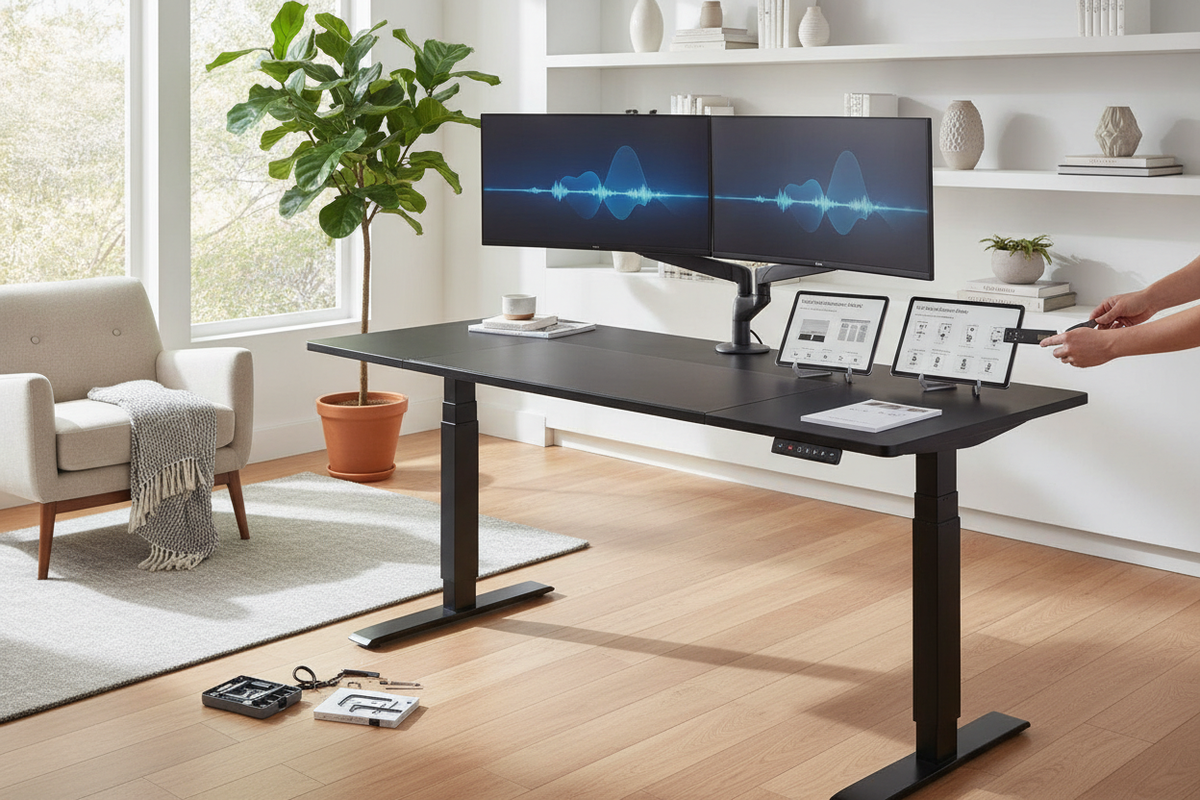
Why VIVO Standing Desks Require Periodic Reset and Recalibration
Height-adjustable motorized desks rely on internal synchronization between electronic control units, motor rotation sensors, and user keypads. When using motorized workstations, a vivo standing desk reset becomes necessary whenever the control box detects an operational discrepancy. These desynchronization events often happen after a sudden power interruption, an accidental bump into surrounding office furniture, an uneven load distribution, or the engagement of the anti-collision safeguard.
When an electronic standing desk experiences a disruption, the handset controller may become unresponsive or display reset prompts. Recalibrating the lifting columns allows the control system to establish a true mechanical baseline at the lowest elevation point. Learning how to perform a vivo desk reset ensures your workstation operates smoothly, maintains proper leg alignment, and moves reliably between sit and stand heights.
Standard Keypad Reset Protocols for VIVO Desk Frames
The reset sequence varies slightly depending on whether your workstation features a standard two-button controller or an advanced digital interface with memory buttons. Following the proper sequence allows the internal logic to calibrate both telescoping legs simultaneously.
Basic Two-Button Handset Calibration
If your frame uses an intuitive up-and-down control pad without a digital readout, complete the following steps:
- Clear Surrounding Items: Remove mobile drawer carts, office chairs, and under-desk trash bins from beneath the desktop to prevent physical interference during descent.
- Drive to Lowest Height: Press and hold the down arrow button until the desk frame travels to its minimum position.
- Engage Reset Mode: Release the down button momentarily, then press and hold it again. Continue holding the button down until the desk frame performs a slight downward nudge, rebounds slightly upward, and stops moving.
- Confirm Motion: Release the button. Test the lifting mechanism by pressing the up arrow to verify that continuous, balanced travel has resumed.
Digital Display and Memory Controller Reset
For frames equipped with an LED display or an electric standing desk with memory presets, the system often displays specific indicators such as RST, ASR, or a flashing height reading during calibration:
- Initiate Lowering Sequence: Press and hold the down button until the frame lowers completely.
- Hold for Calibration: Continue holding the down button (or on select models, press and hold the down button again after reaching the bottom) until the LED screen displays RST or flashes the lowest numerical height.
- Wait for the Rebound: Maintain continuous pressure on the button while the frame lowers slightly, dips to its absolute floor threshold, and rebounds upward a fraction of an inch.
- Finalize Reset: Once the screen displays a steady numerical height readout, release the button. Your memory positions and programmable settings are ready for standard use.
Full Power Cycle and Hardware Connection Diagnostics
If the standard button combinations fail to trigger a reset vivo standing desk routine, an underlying electrical or cable seating issue may be preventing the control box from communicating with the leg motors. Conducting a structured power cycle isolates potential signal bottlenecks.
- Disconnect Main Power: Unplug the primary power cable from the wall outlet or surge protector.
- Inspect Motor and Handset Cables: Check all cable connections underneath the desktop. Ensure the multi-pin connectors linking the control box to the leg columns and digital keypad are fully seated and latched securely. Loose pins can cause asymmetric motor behavior or freeze the keypad.
- Discharge Residual Power: Allow the control unit to sit unpowered for a brief resting period so internal capacitors discharge completely.
- Re-engage Power Supply: Plug the main cable directly into a dedicated wall outlet to rule out faulty power strips, then repeat the standard downward reset sequence.
Troubleshooting Common Handset Displays and Motion Obstacles
Understanding digital control codes simplifies routine maintenance and prevents unnecessary disassembly. When a desk refuses to elevate, the handset display typically reveals the root cause.
A continuous RST prompt indicates that the control unit has lost its position reference and requires the downward calibration process described above. If the desk abruptly reverses motion and rises a short distance while lowering, the built-in anti-collision sensor has detected physical resistance or an uneven balance point across the desktop.
If the display shows an overheating protection notification (often indicated by letters such as HOT), the motors have exceeded their continuous operational duty cycle. Modern motorized desks incorporate thermal protection routines that temporarily lock keypad inputs to allow the lifting columns to cool down naturally. Once the resting window elapses, normal height adjustments will resume without requiring a mechanical overhaul.
Preventing Desynchronization Through Spatial and Cable Clearances
Frequent reset requirements often point to environmental factors rather than internal electronic faults. Maintaining clean clearances around your workstation prevents accidental sensor trips and preserves long-term motor alignment.
Tension in peripheral cords is a common culprit. If monitor, computer, or power hub cords are pulled taut when raising the frame, the uneven resistance can trigger the anti-collision mechanism and desynchronize the dual lifting columns. Utilizing flexible cable spines, under-desk raceways, and generous slack loops ensures unrestricted movement throughout the entire height range.
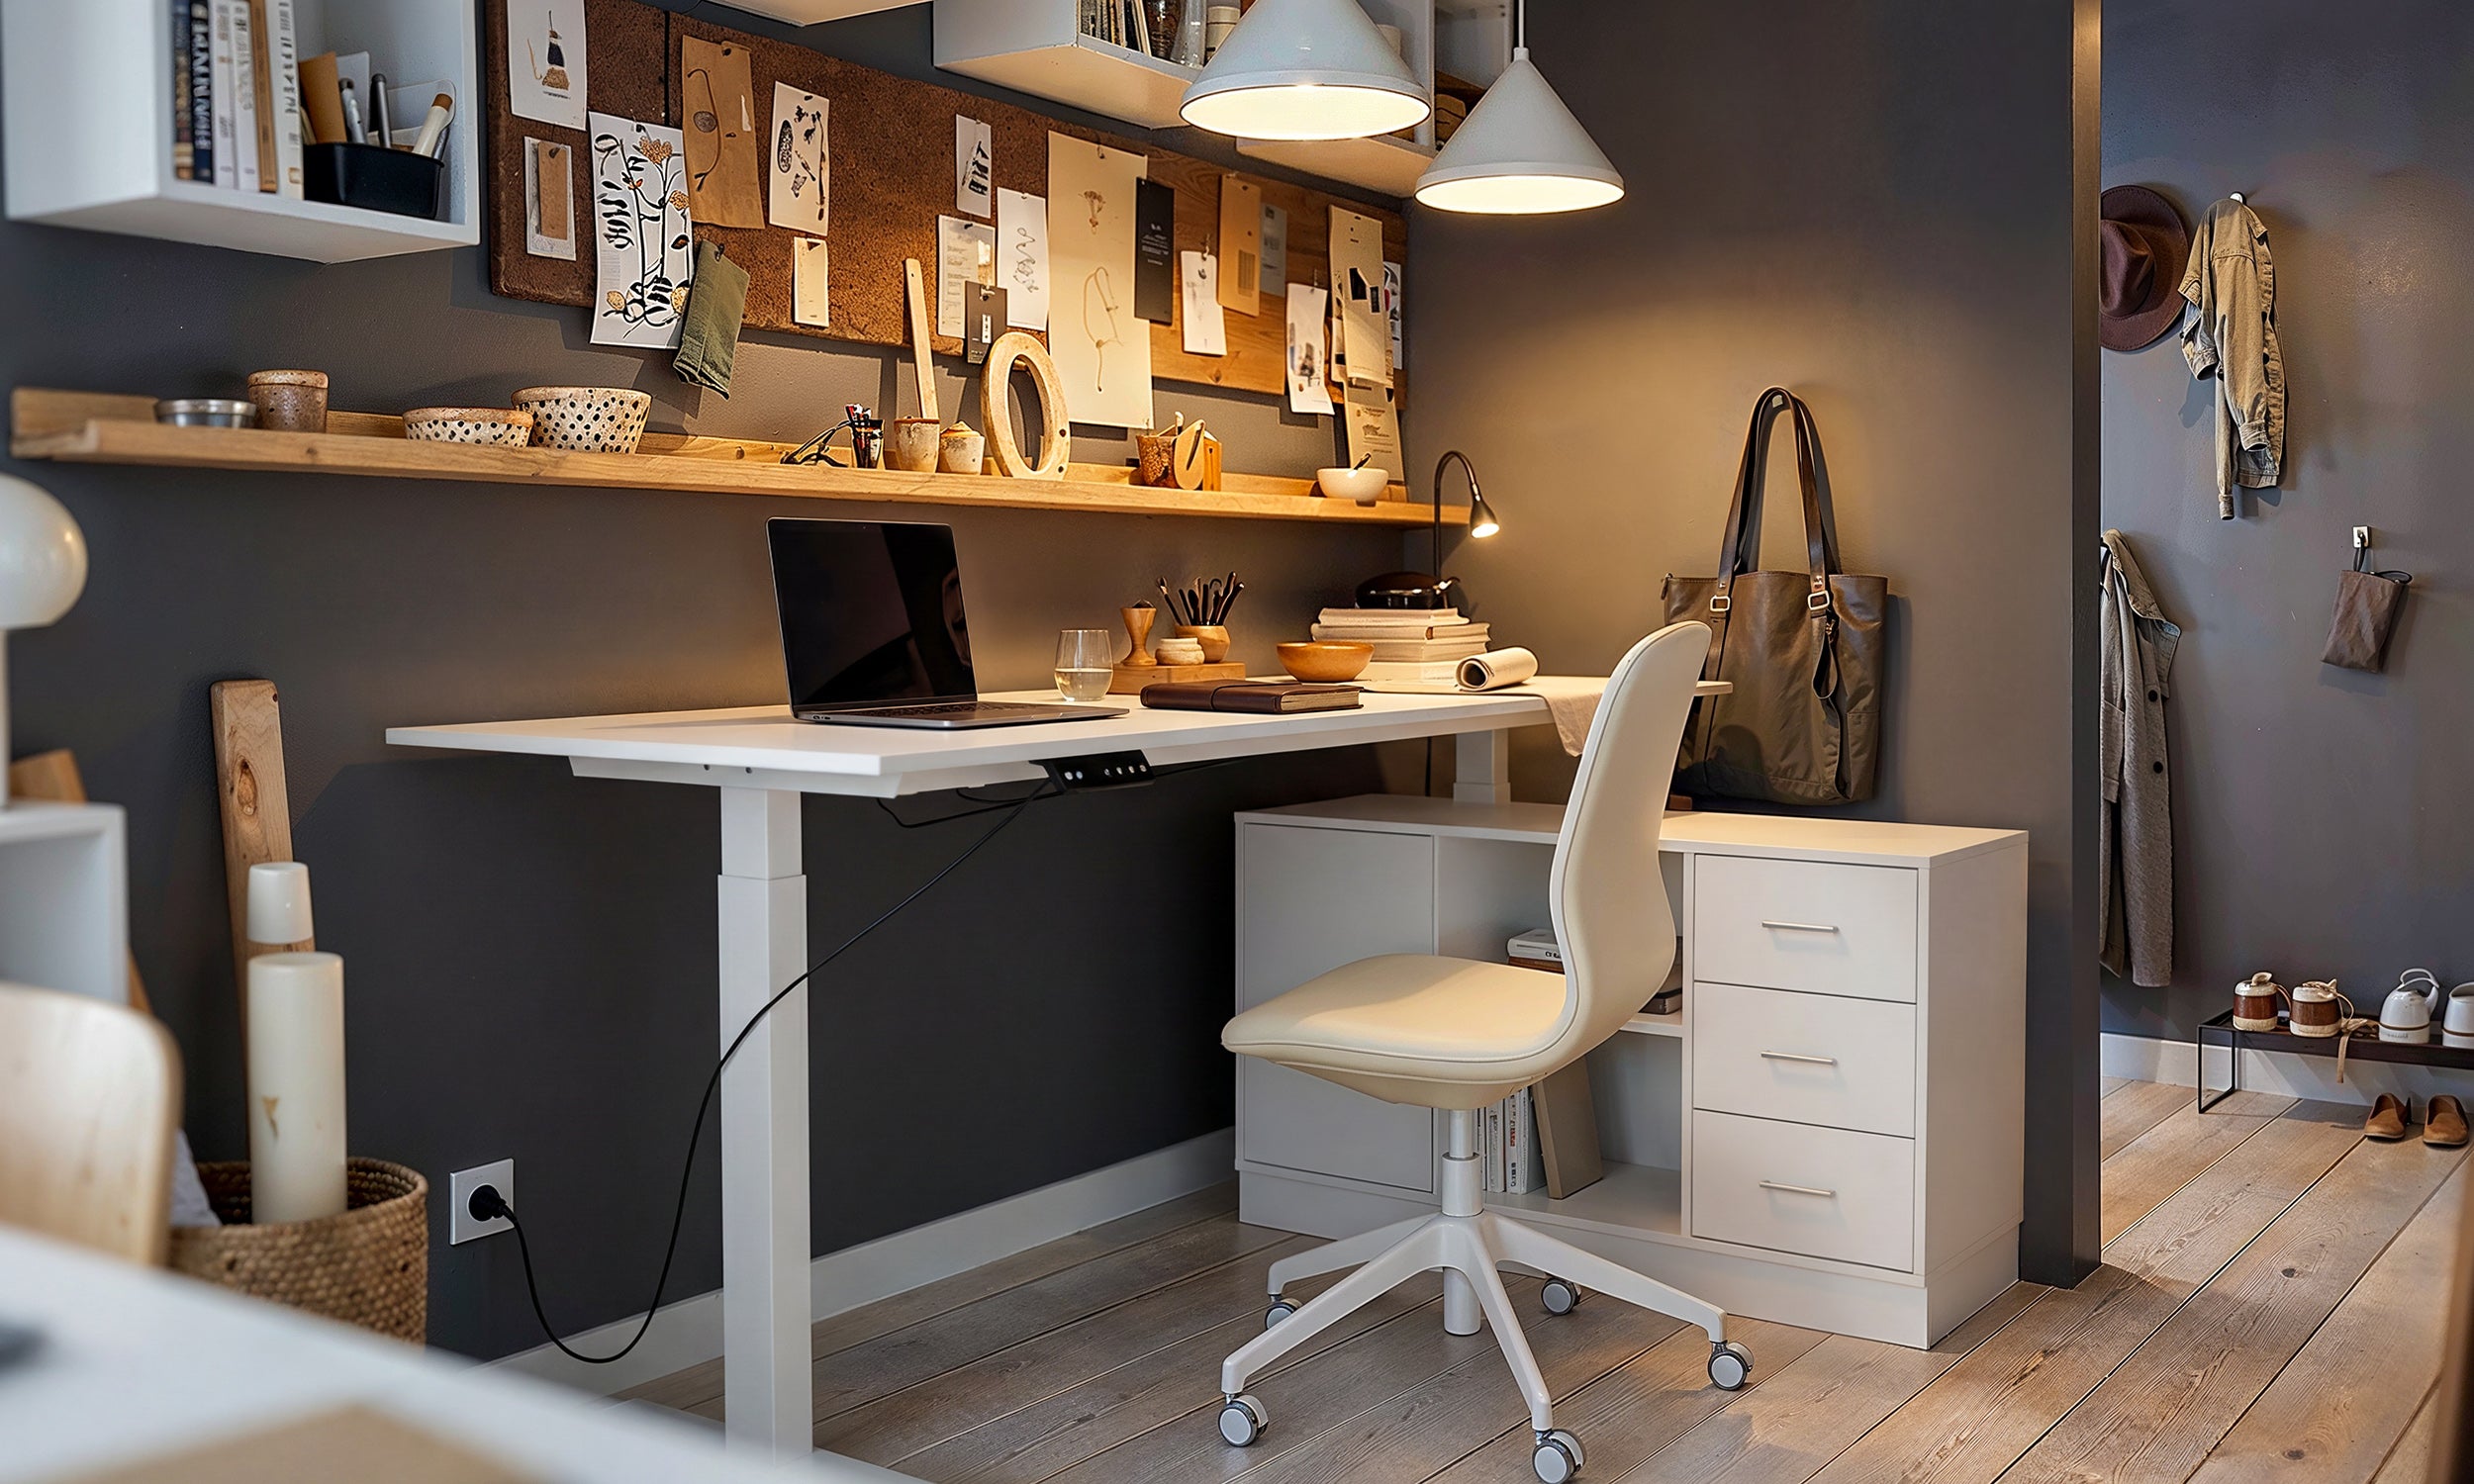
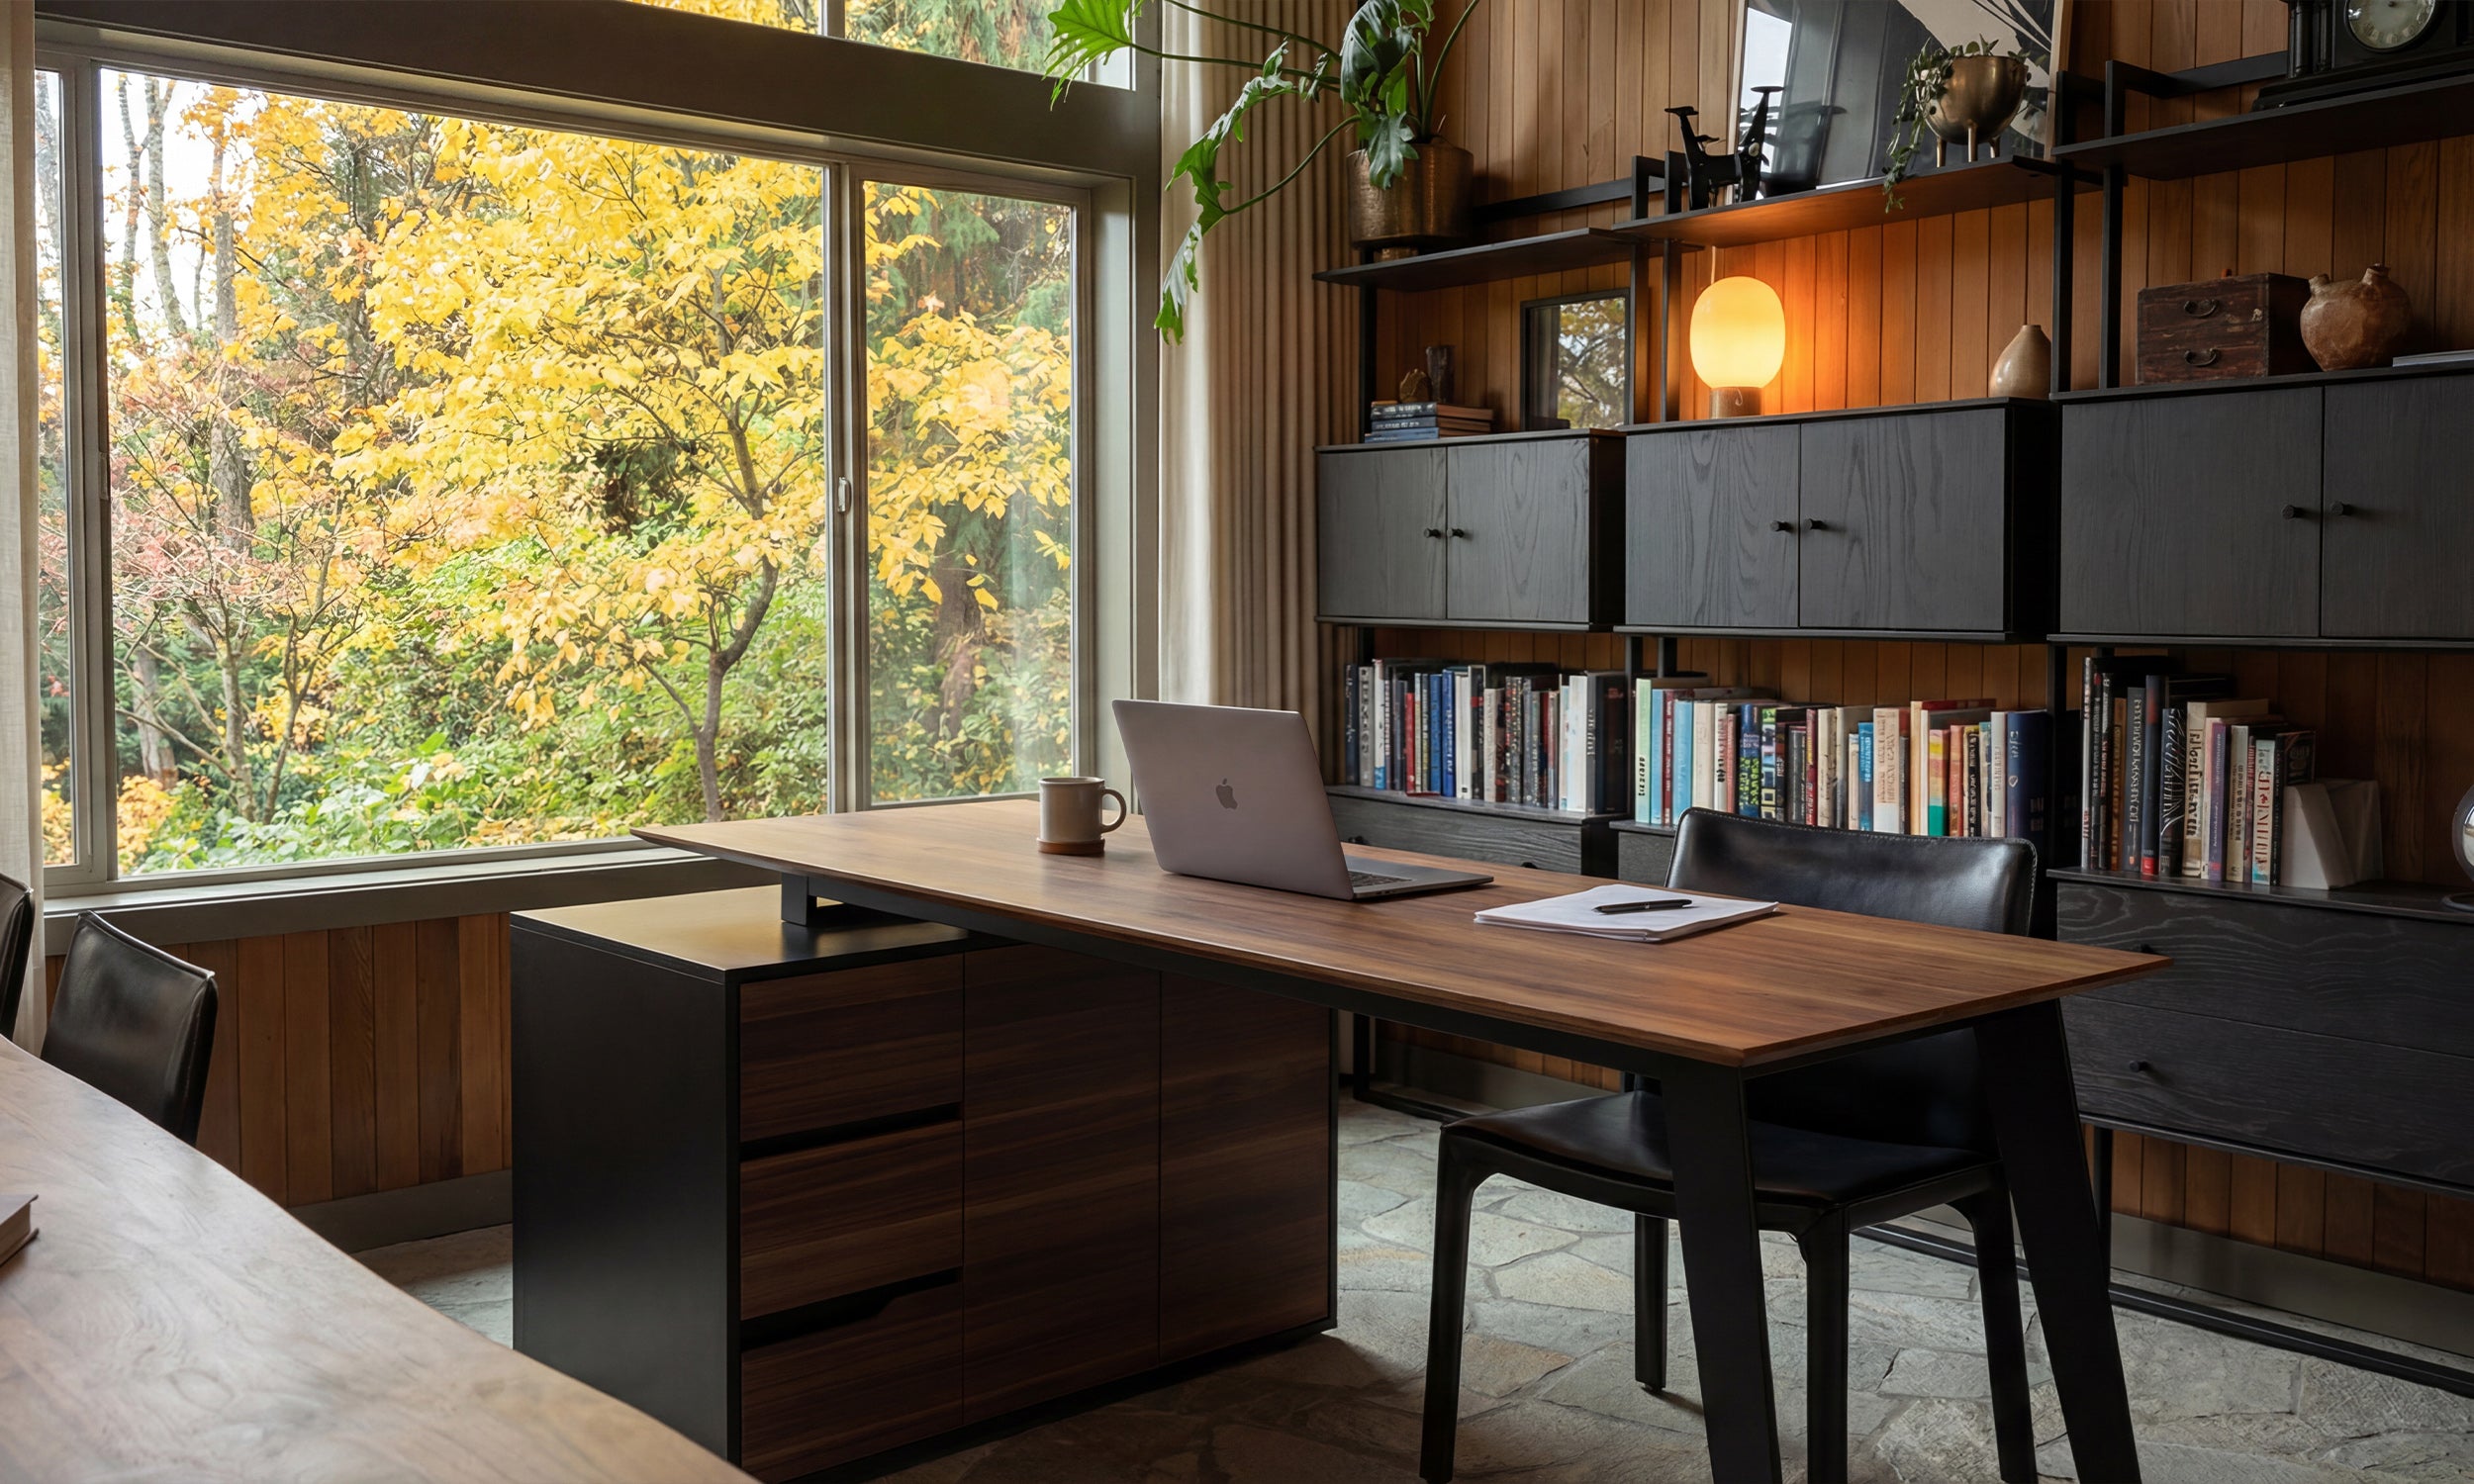
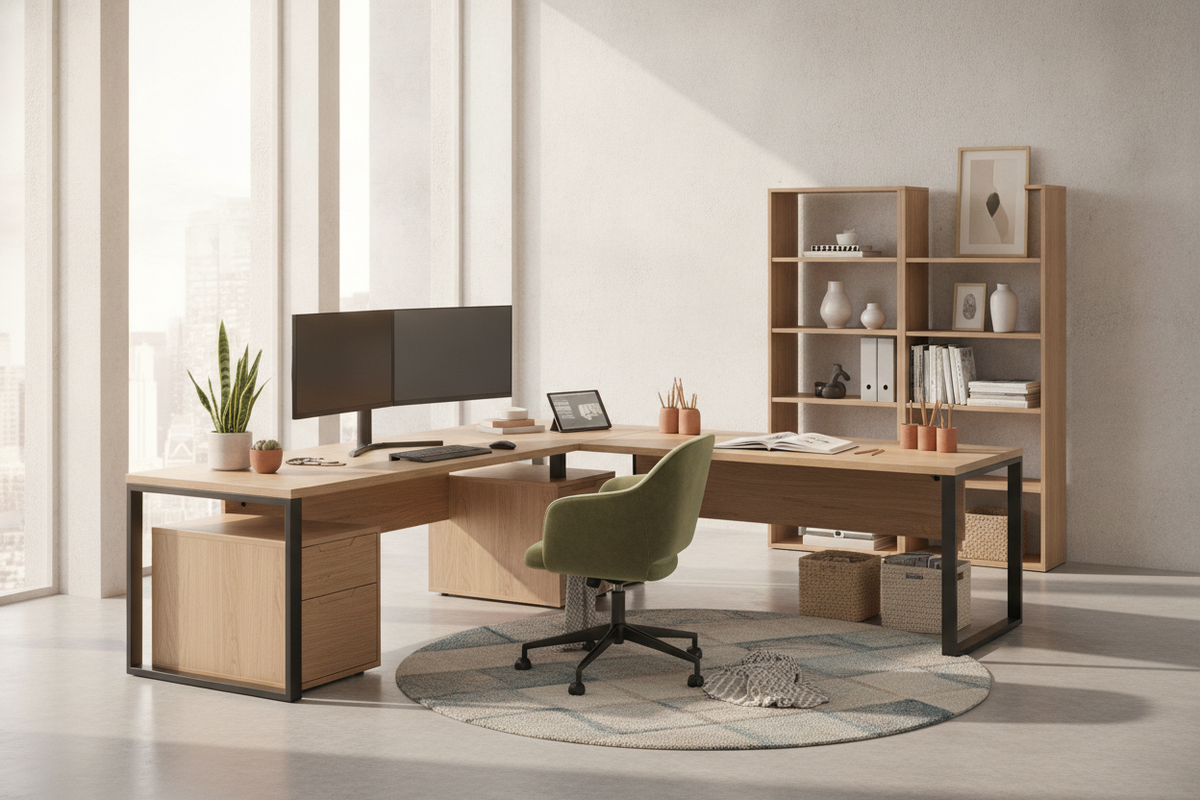
Under-desk storage placement also plays a vital role. When arranging filing pedestals, credenzas, or storage towers, maintain an adequate vertical gap beneath the desktop surface. Reviewing standing desk setup styling and organization principles helps integrate mobile storage without encroaching on the frame's lowest travel boundary. Distributing heavy computer towers and monitor arms evenly across both sides of the desktop further reduces unilateral stress on individual column gears.
Optimizing Your Ergonomic Workspace with Reliable Height-Adjustable Desks
A dependable motorized workstation forms the foundation of an active home office or professional workspace. When selecting a new work surface, pairing spacious desktop real estate with robust frame architecture ensures stable transitions and minimal recalibration demands over time.
Investing in a spacious height-adjustable standing desk provides generous surface area for multi-monitor arrays while supporting organized cable routing and balanced weight placement. By following systematic reset steps, keeping hardware connections secure, and arranging surrounding furniture thoughtfully, you can maintain effortless height adjustments and consistent ergonomic comfort throughout your working day.


Leave a comment
This site is protected by hCaptcha and the hCaptcha Privacy Policy and Terms of Service apply.