




Why Connect Two Desks Together? Benefits and Workspace Configurations
Combining individual workstations into an integrated surface expands usable work area, accommodates multi-monitor setups, and creates cohesive workspaces for shared tasks. Understanding how to connect two desks together allows homeowners and professionals to tailor functional layouts without commissioning expensive custom furniture.
Popular Modular Configurations: Linear, L-Shaped, and Back-to-Back
Depending on room dimensions and workflow requirements, joined desks typically fall into three primary layouts:
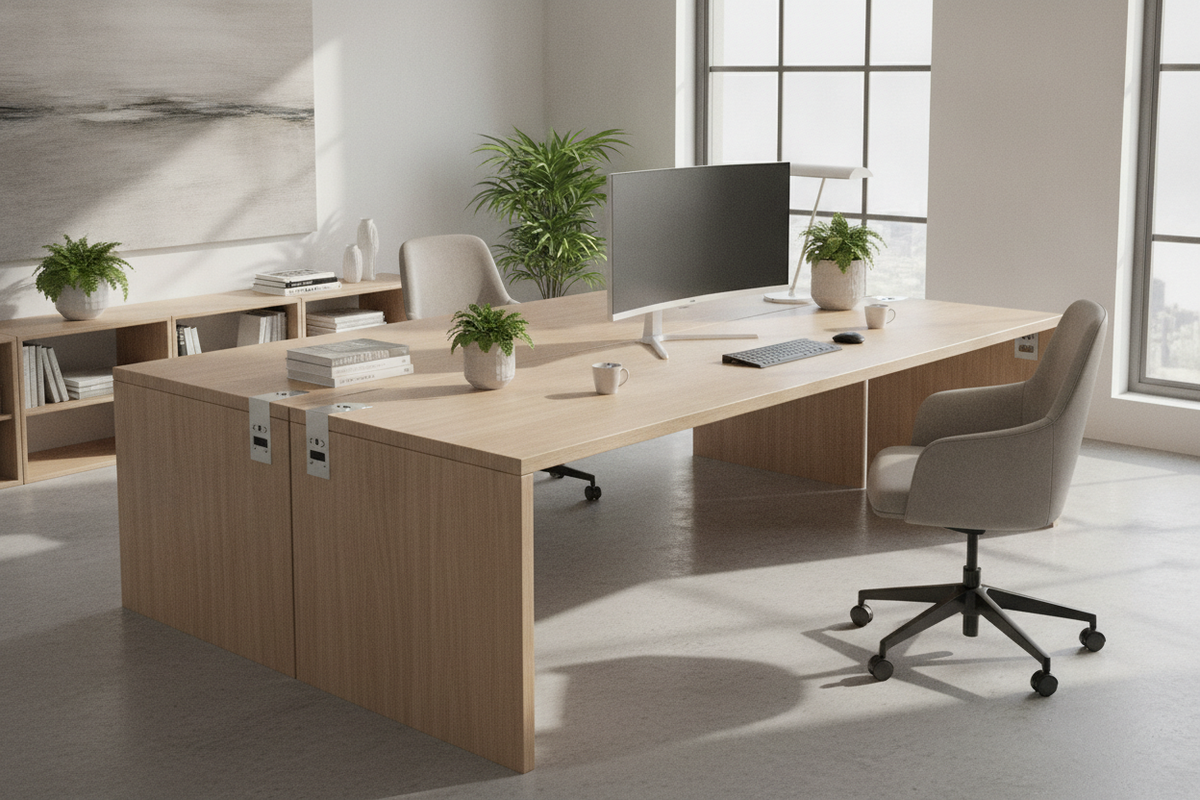
- Linear Run (Side-by-Side): Aligning two rectangular desks along a shared wall creates an expansive continuous counter. This format works well for dual-monitor workflows, dedicated drafting zones alongside computing gear, or collaborative side-by-side seating.
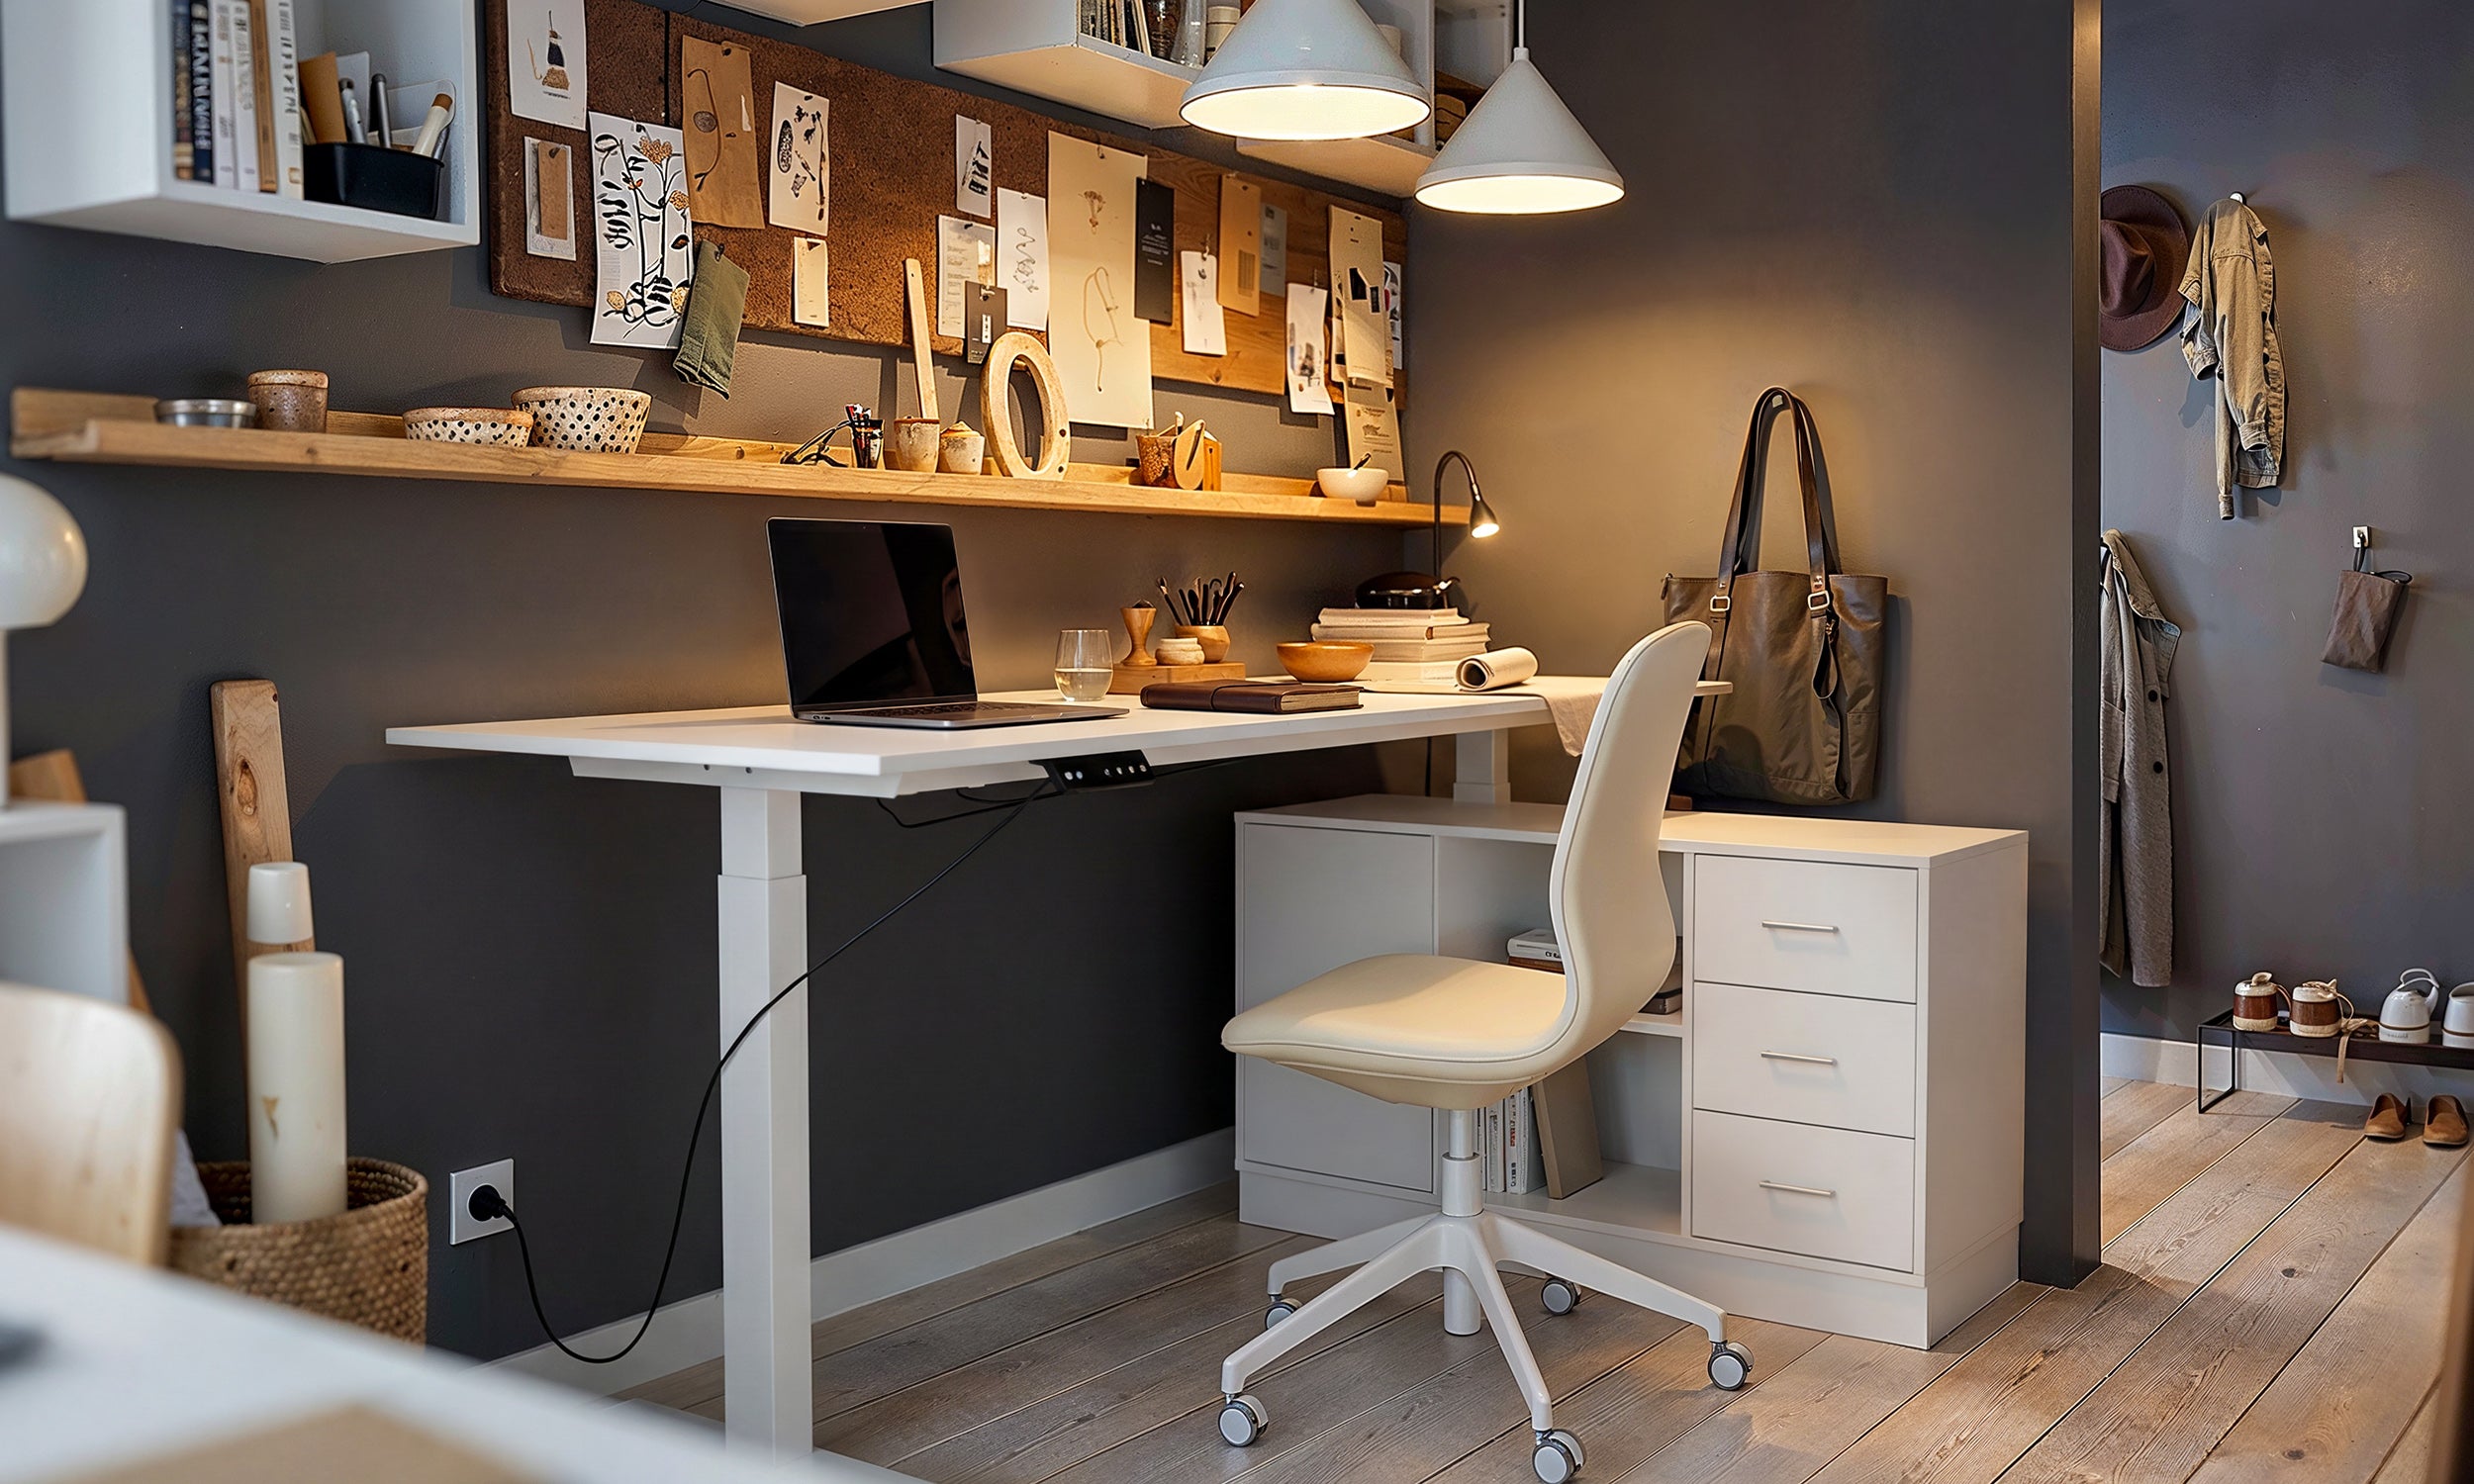
- L-Shaped Corner Workstation: Positioning one desk perpendicular to the end of another produces a wrap-around setup that keeps reference materials, peripheral devices, and primary screens within arm's reach.
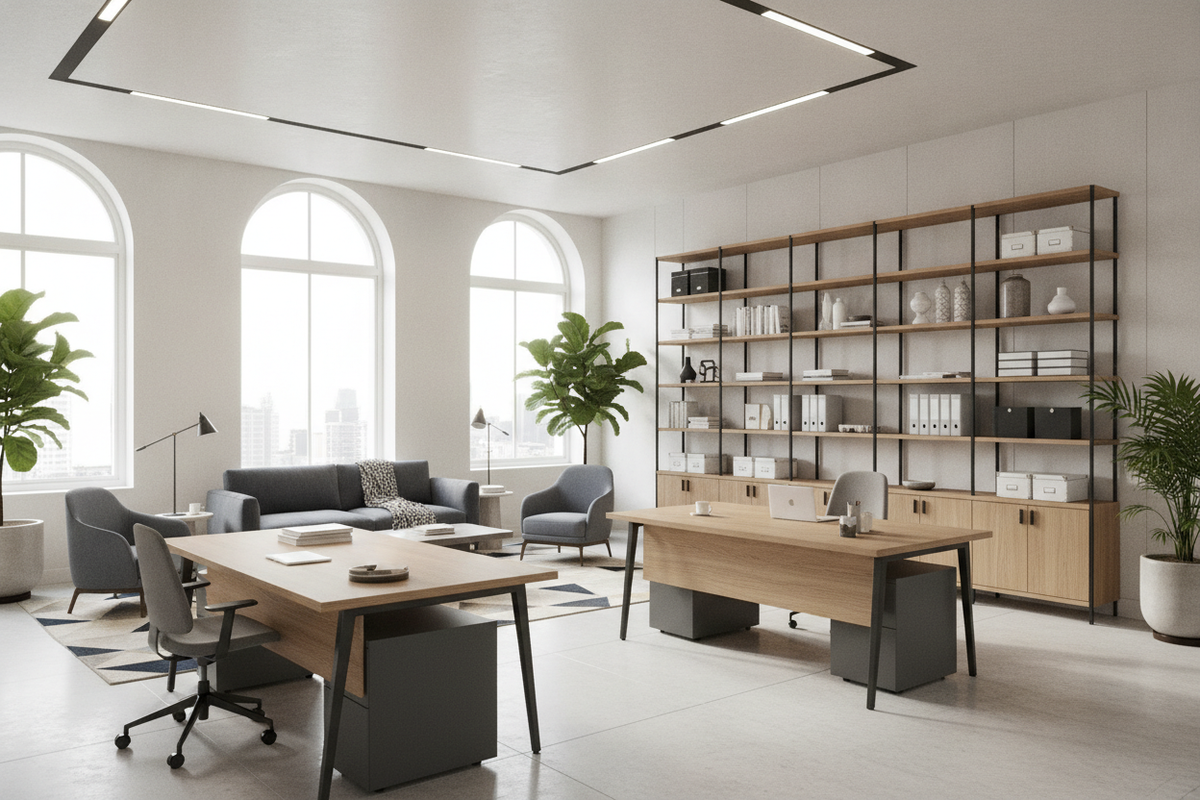
- Back-to-Back Pod: Facing two desks toward each other in the center of a room establishes a collaborative station suitable for co-working or multi-user home offices while preserving individual desktop zones.
Evaluating Structural Compatibility Before Joining
Before fastening pieces together, inspect the structural attributes of both tables. Verify that tabletop thicknesses match closely and edge profiles are compatible. Beveled or heavily chamfered edges create a distinct V-groove seam when placed side-by-side, whereas square edges yield a tighter, flatter joint. Additionally, verify leg frame clearances, apron depths, and internal core materials to select an appropriate fastening technique.
Structural Joining Methods: Fasteners, Plates, and Non-Invasive Clamps
Choosing the correct mechanical attachment method depends on whether the modification should be permanent or reversible, as well as the materials of the tabletop and subframe.
Underside Mending Plates and Flat Brackets
Flat metal mending plates installed on the underside of adjacent tops provide a straightforward, rigid connection. When learning how to join two table tops together using plates, select zinc-plated or powder-coated steel brackets with countersunk screw holes. For solid wood or dense composite cores, pre-drilling shallow pilot holes prevents splitting while ensuring the screws seat firmly beneath the desktop without penetrating the top finish.
Frame-to-Frame Bolting and Leg Couplers
Desks built on square-tube metal frames or sturdy wooden aprons can often be connected directly through their sub-assemblies. By running bolts through aligned factory holes or securing heavy-duty U-bolts and frame couplers around adjacent legs, the two units lock together solidly. Frame-level connections leave the cosmetic tabletop surfaces completely untouched while offering strong lateral resistance against shifting.
Non-Invasive C-Clamps and Grip Strips for Rental-Friendly Setups
For modular workstations that may need frequent reconfiguration or disassembly, non-invasive hardware offers a dependable alternative to drilling. Low-profile underside C-clamps padded with rubber grips hold adjacent frames or tabletop lips securely without leaving permanent marks. Combining underside clamps with high-friction silicone pads between touching frame points dampens micro-vibrations and prevents surface scuffing.
Step-by-Step Guide: How to Join Two Table Tops Together Seamlessly
Executing a stable, flush joint requires careful preparation and sequential alignment.
Step 1: Surface Alignment and Leg Leveler Calibration
Place both desks in their final operating position. Uneven flooring can cause noticeable height discrepancies at the seam. Adjust the threaded leveling feet or glides on each desk leg incrementally until both tabletops are coplanar. Place a carpenter's level across the prospective seam line to verify horizontal alignment along both axes before attaching any hardware.
Step 2: Clamping, Pre-Drilling, and Plate Attachment
- Clamp the Seam: Use parallel bar clamps or trigger clamps fitted with protective soft jaws to draw the edges firmly together, eliminating horizontal gaps.
- Position Hardware: Space mending plates evenly along the underside seam, placing brackets near the front, center, and rear edges.
- Mark and Pre-Drill: Mark screw locations and use a drill bit fitted with a depth stop to avoid drilling through the upper surface.
- Drive Fasteners: Fasten the screws securely into the brackets, checking the upper surface continuously to ensure the joint remains flat and flush.
Step 3: Seam Finishing, Desk Pads, and Surface Bridging
Even well-aligned edges may display a subtle hairline transition. To create a seamless working zone, bridge the seam with an extended desk mat or felt pad where keyboards and mouse devices glide. Alternatively, flat low-profile cable grommets or surface-leveling bridge strips can be integrated over the joint to add utility while covering the transition line.
Cable Routing, Weight Distribution, and Storage Integration
A unified dual-desk setup functions best when supporting systems are integrated across both modules.
Unified Wire Management Across Desk Seams
Running power strips and peripheral wiring across an uncoordinated seam can create disorganized tangles. Mount continuous under-desk cable management trays or shared raceways spanning the underside of both tables. Routing cords through unified channels prevents tension on cables during posture adjustments and maintains an uncluttered floor plane.
Supporting Seams with Central Storage Credenzas and Drawer Pedestals
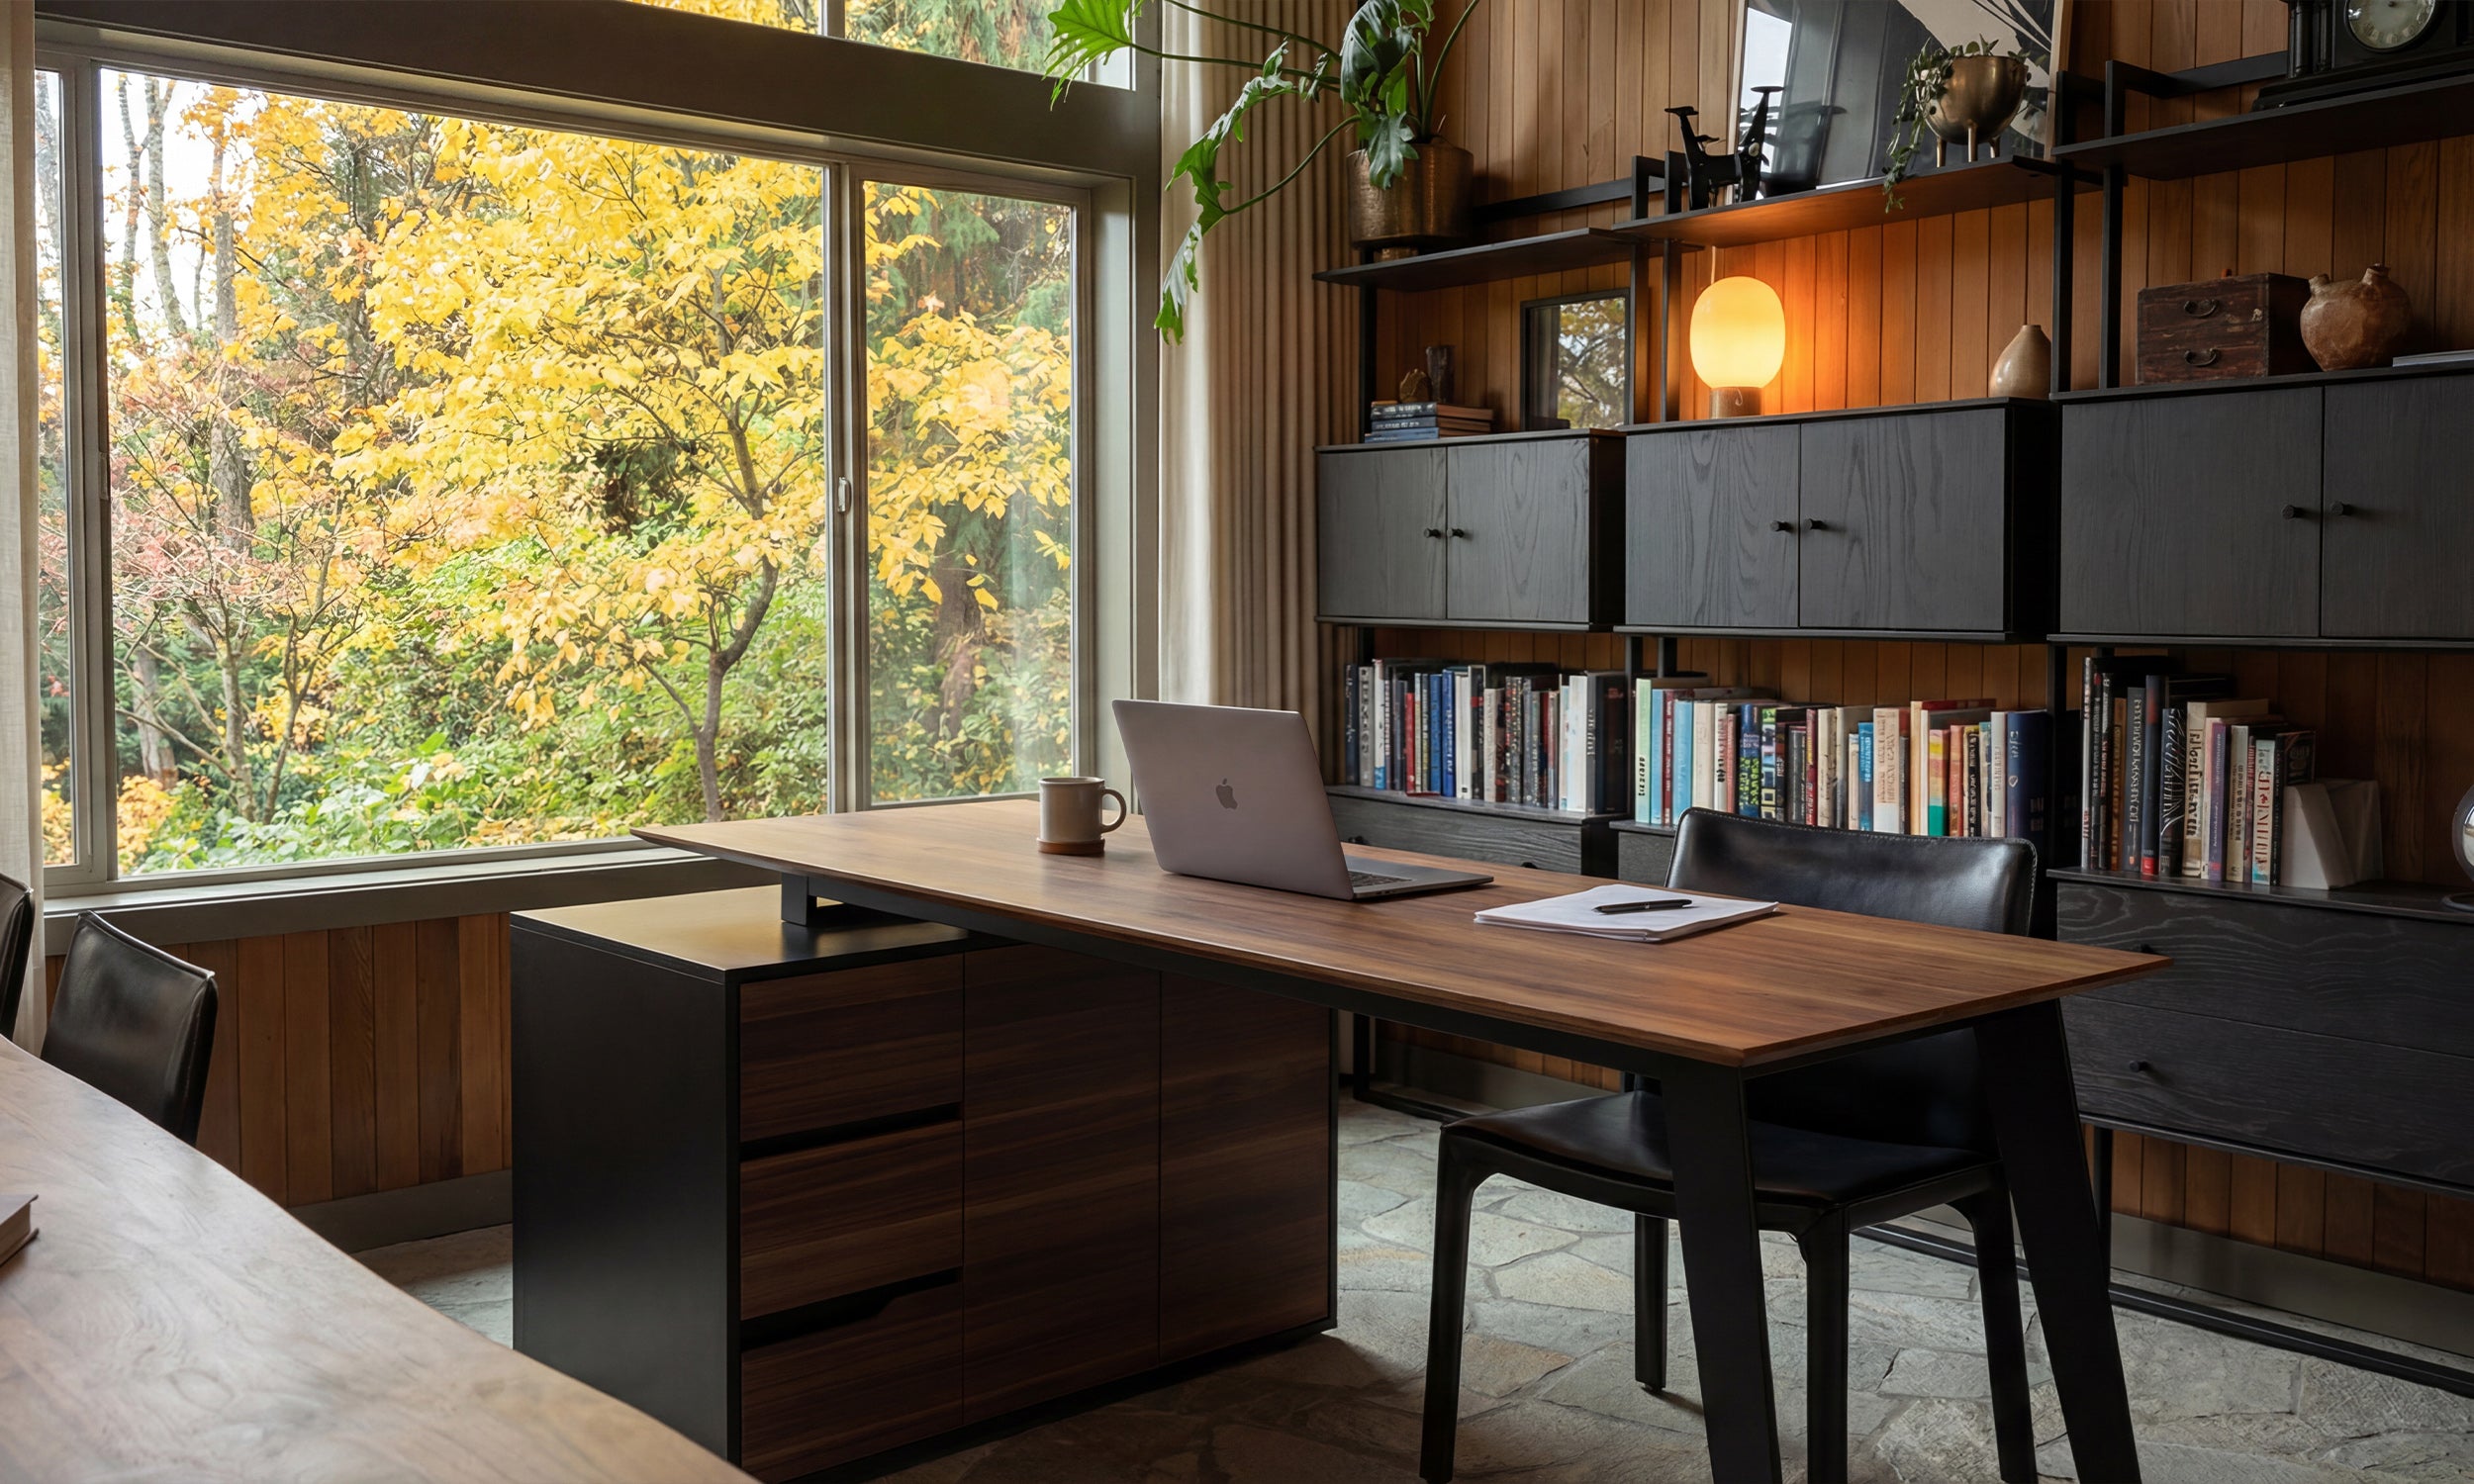
In extensive linear runs or heavy-equipment setups, placing a central filing cabinet, drawer pedestal, or low credenza directly beneath the joining seam provides dual benefits. It delivers central vertical support to prevent center sag under heavy gear while adding dedicated organization for office accessories.
Workspace Layout Harmony: Coordinating Multi-Desk Rooms
When arranging combined workstations, consider overall traffic flow and room proportions. Positioning the joined desks perpendicular to natural light sources reduces screen glare while preserving perimeter clearance for ergonomic chair movement. For additional floor planning strategies, consult our two desks guide to maintain open sightlines. Coordinating material finishes, hardware tones, and overall furniture silhouettes ensures multi-piece office layouts feel deliberate, balanced, and productive across the entire space, much like the cohesive principles explored in our multi-furniture together guide.


Dejar un comentario
Este sitio está protegido por hCaptcha y se aplican la Política de privacidad de hCaptcha y los Términos del servicio.