



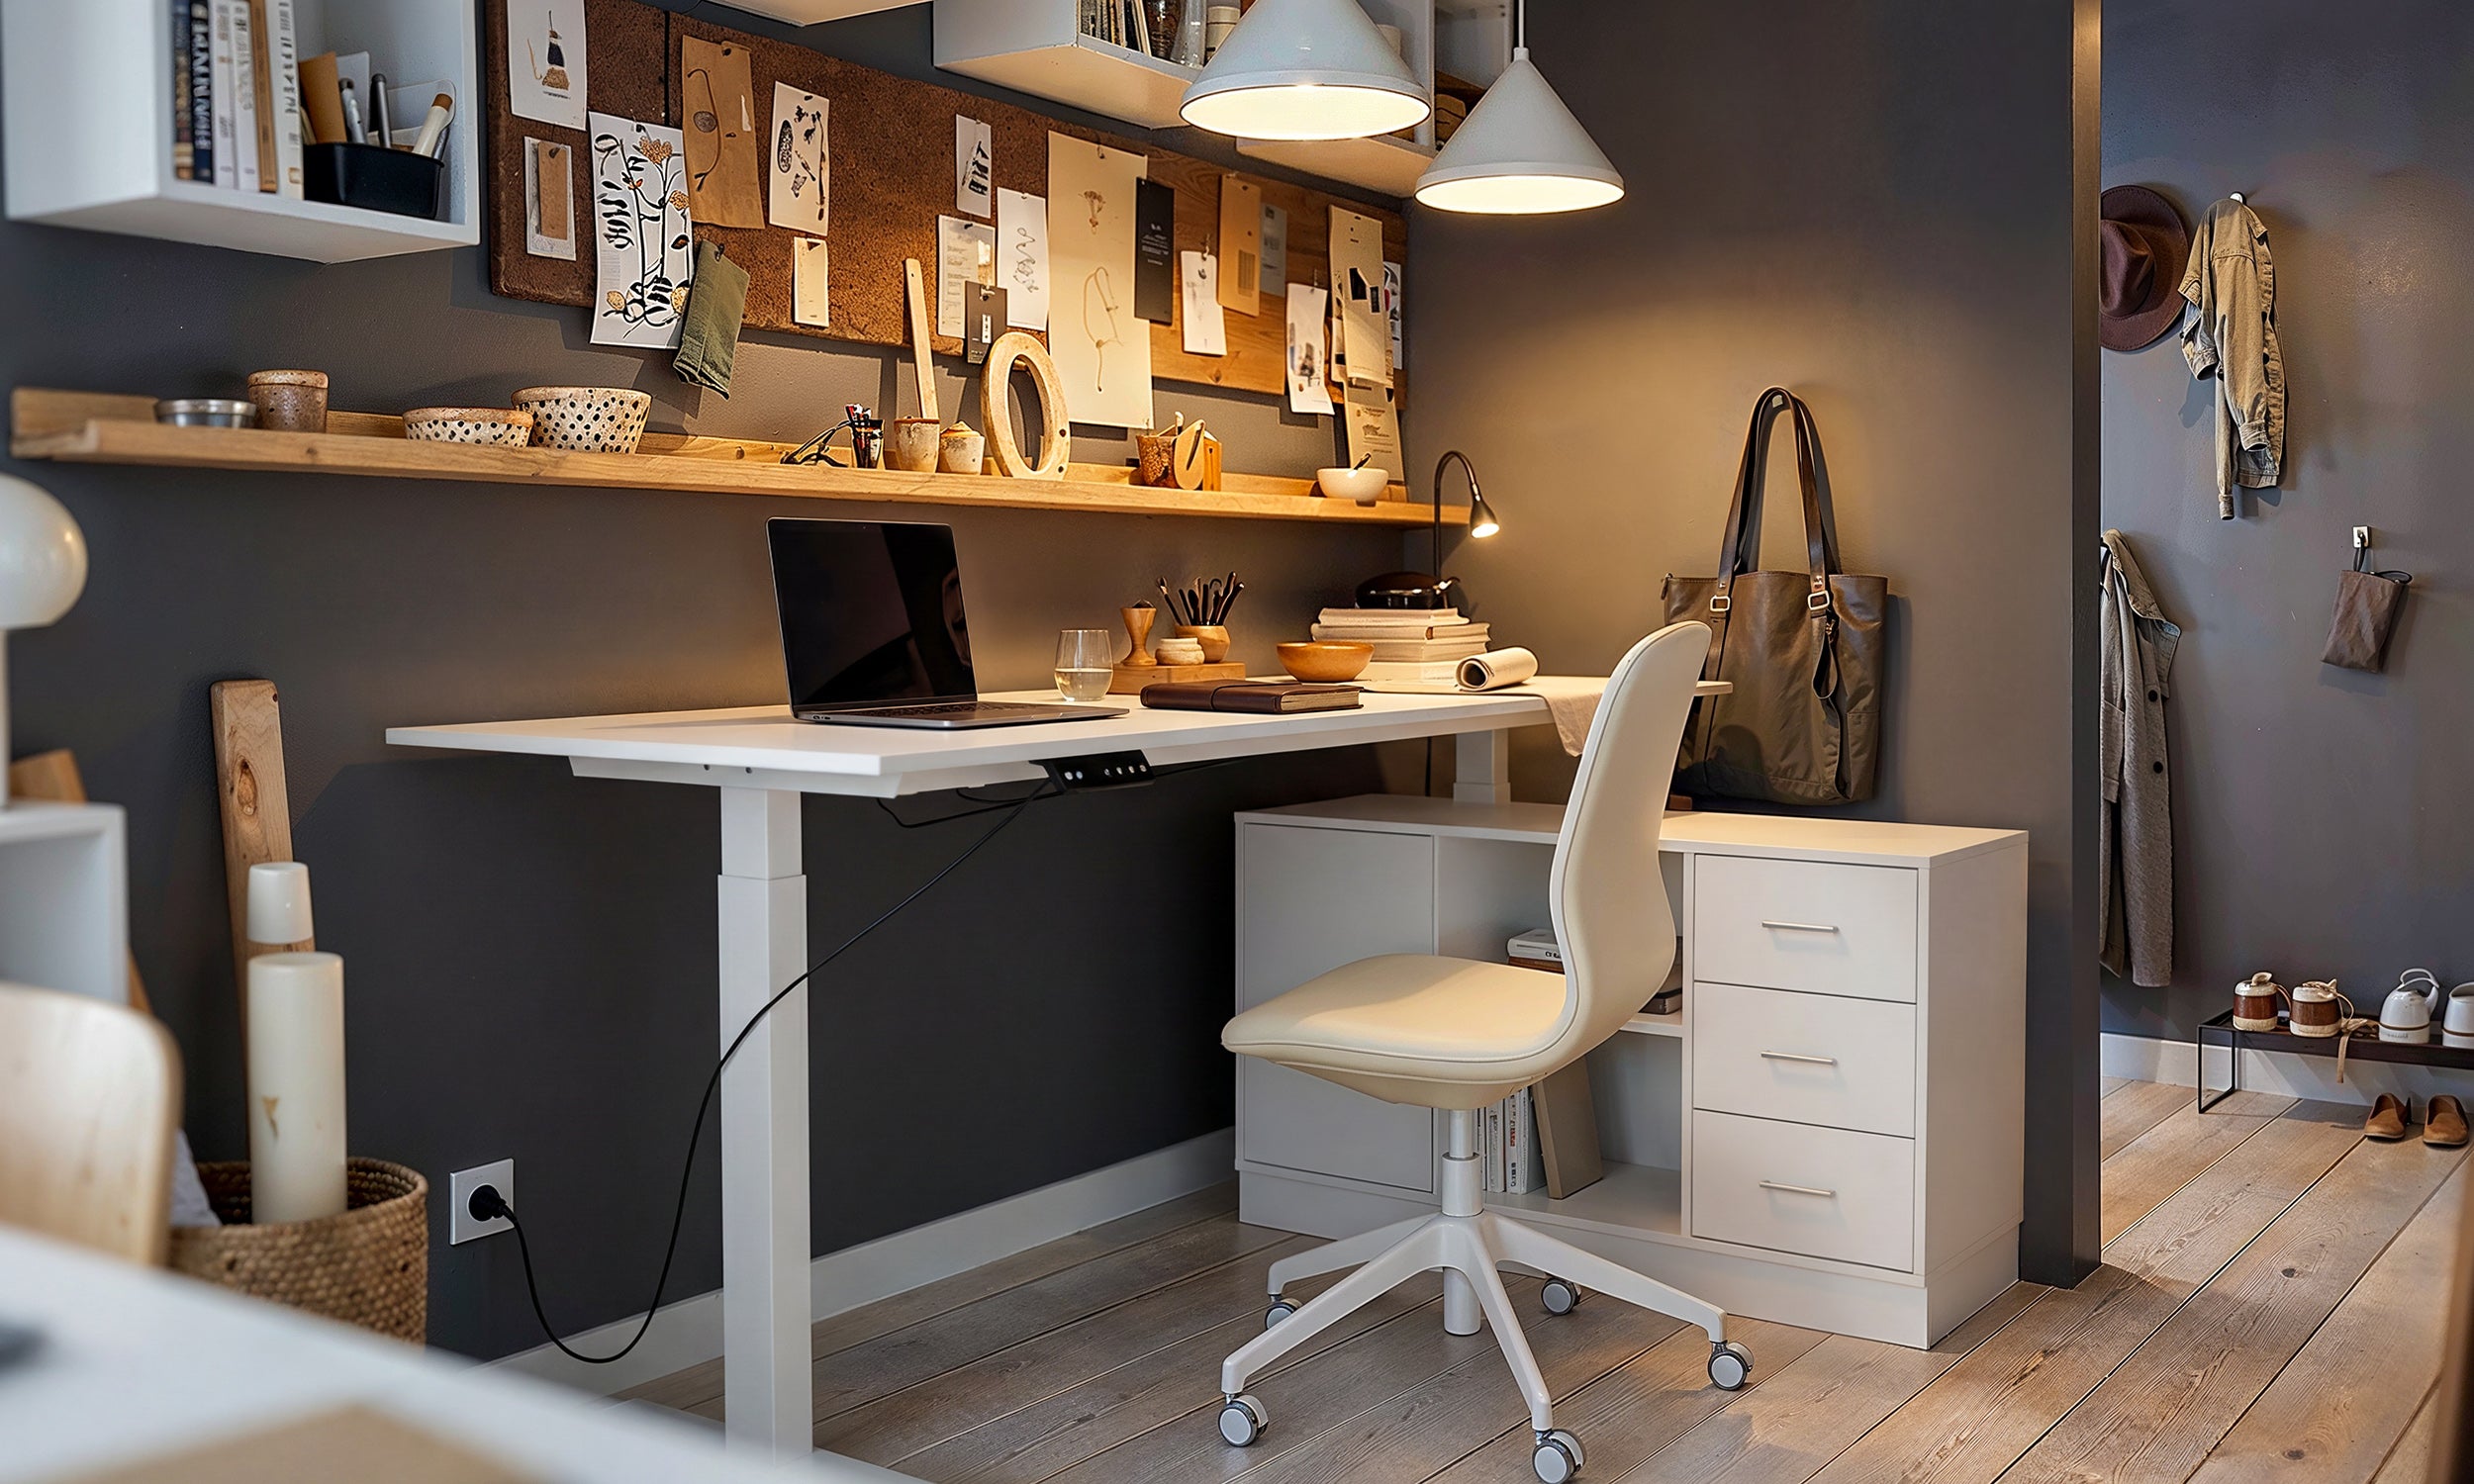
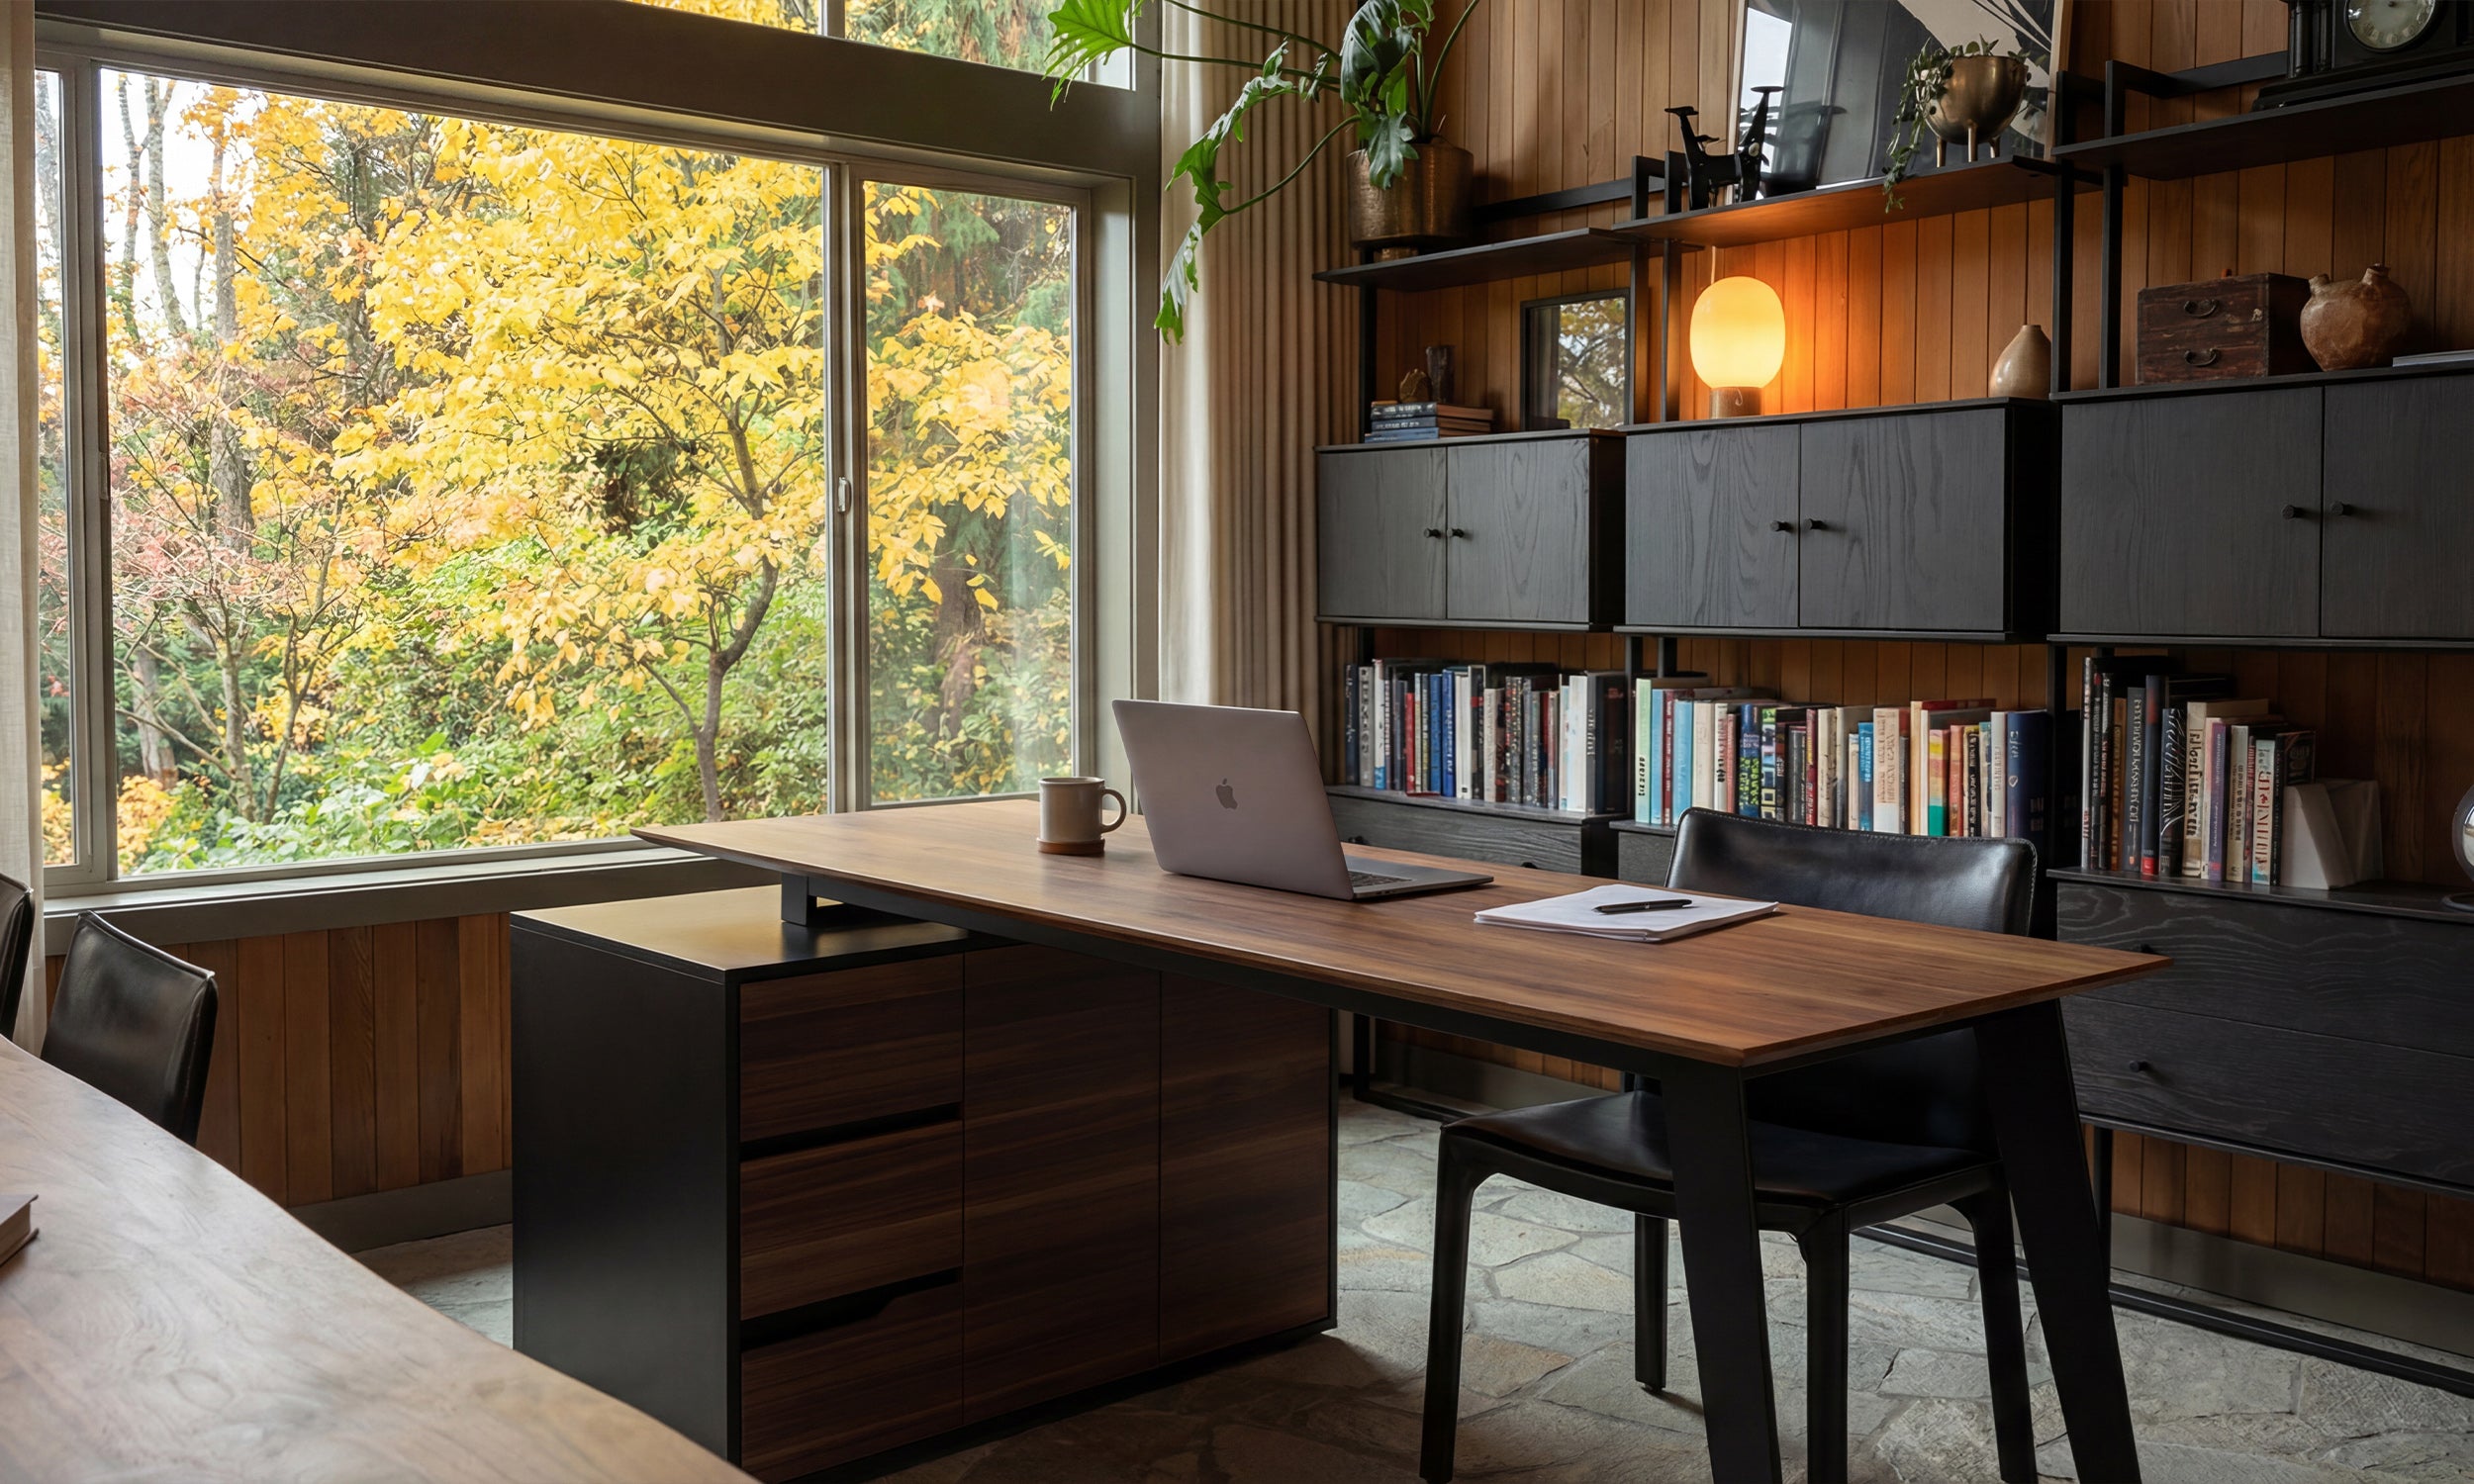


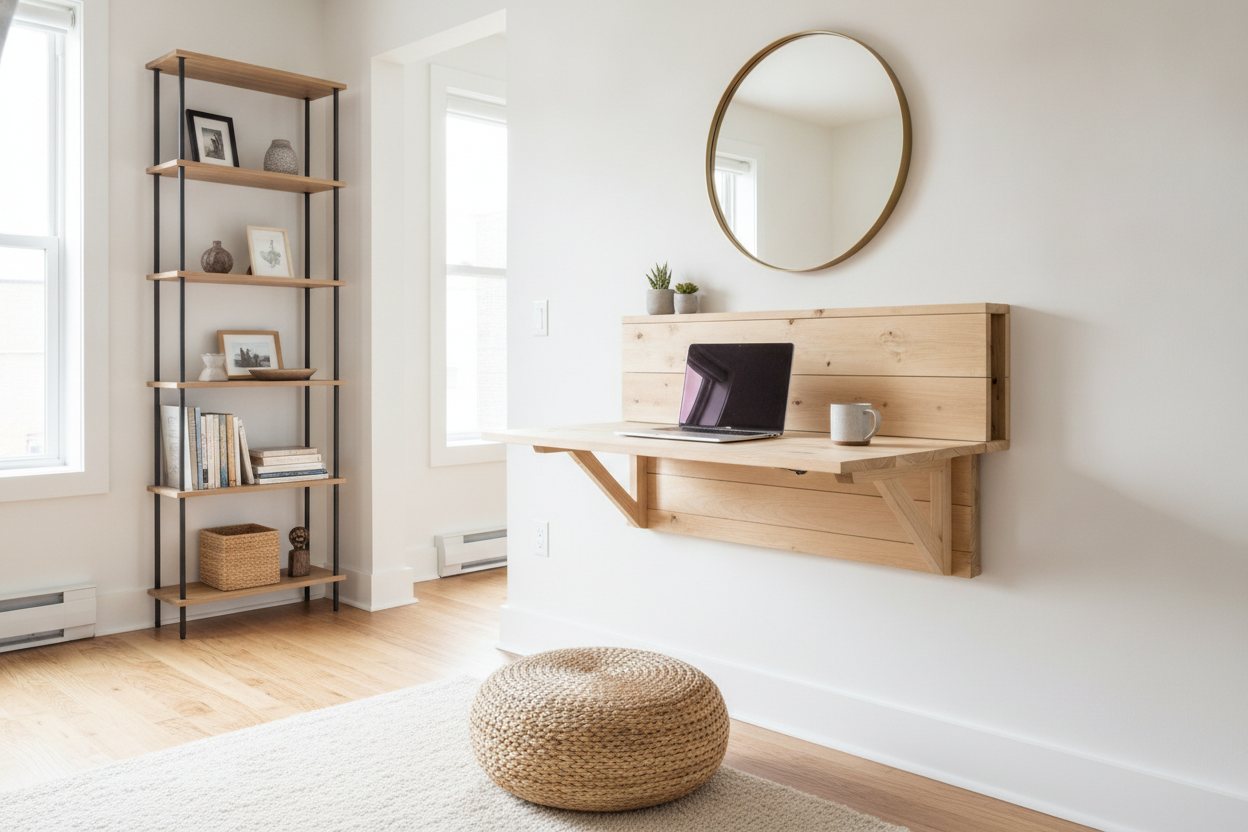
I used to have a motorized standing desk that felt like a tank parked in my 350-square-foot studio. Every time I walked past it, I would bang my shin on the heavy steel T-frame. It was a great desk, but it owned the room. I finally hit a breaking point when I realized I was using the space under the desk as a glorified graveyard for Amazon boxes and dust bunnies. That is when I decided a diy wall mounted standing desk was the only way to get my floor space back.
Quick Takeaways
- Eliminating desk legs makes a small room feel twice as large instantly.
- Never, ever trust drywall anchors for a desk; you must hit the studs.
- Heavy-duty folding brackets are the secret to a stable, low-profile setup.
- Weight management is key—choose your desktop material wisely.
Why I Finally Ditched the Desk Legs
The visual clutter of a desk is mostly in the legs. When you have a standard writing computer desk, those four points of contact with the floor create a 'box' of occupied space that your eyes can't see past. In a tiny apartment, that box is a death sentence for the layout. By switching to a wall-mounted design, the floor remains clear, and the room feels open.
I was worried about losing the stability of a traditional frame. However, once I cleared out the bulky motorized legs, I could actually fit a small storage bin or even a stool underneath without it feeling cramped. It turned my workspace from a dedicated 'office corner' into something that feels like an integrated part of the wall architecture.
The Floating Desk Reality Check (Weight Limits Are Real)
Before you start drilling, we need to talk about physics. A floating desk is basically a giant lever. When you lean your elbows on the edge of that desk to think, you are applying hundreds of pounds of pressure to the screws in the wall. If you have dual monitors and a heavy keyboard tray, that weight adds up fast.
I learned this the hard way when I tried a 'temporary' setup with small shelf brackets. The desk started to sag within forty-eight hours. You need brackets rated for at least 300 lbs to feel truly safe. If the desk wobbles when you type, you’ll hate using it. Stability is the difference between a functional workspace and a shelf that holds a laptop.
Exactly What You Need for a Wall Mounted Standing Desk DIY
You don't need a woodshop, but you do need the right hardware. I used 20-inch heavy-duty folding brackets. These allow me to fold the desk flat against the wall if I ever need to host a dinner party (or just want to do yoga in my living room). You will also need a reliable stud finder, a level, and 3-inch lag screws.
Because you are losing the drawers of a traditional desk, you have to get creative with storage. I ended up building a small DIY desk organizer to sit on top. It keeps my pens and hard drives from rolling off the edge, which is a real risk when you don't have the back lip of a standard furniture piece.
The Hardware That Actually Holds (No Drywall Anchors Allowed)
Let me be extremely clear: do not use plastic drywall anchors. I don't care if the package says they hold 75 pounds. Those ratings are for static weight pulling straight down, not the dynamic weight of a human leaning on a desk. You must find the wooden studs behind your drywall.
I spent twenty minutes double-checking my stud locations with a magnet and a dedicated electronic finder. Once you find them, you drill pilot holes and drive those lag screws directly into the center of the wood. If you miss the stud by even half an inch, the whole thing will eventually come crashing down, likely taking a chunk of your wall with it.
Picking a Desktop That Isn't Too Heavy
The surface material is where most people go wrong with a wall mounted standing desk diy. I originally looked at those thick butcher block slabs everyone uses on Reddit. But after reading about someone who built the viral Reddit DIY standing desk, I realized that a 50-pound slab of solid oak is a terrible idea for a floating mount. It puts too much baseline stress on the brackets before you even put a computer on it.
I opted for a 3/4-inch piece of birch plywood. It’s lightweight, relatively cheap, and has a clean, modern look once you sand the edges. It provides plenty of rigidity without the back-breaking weight of solid hardwood. If you want something even lighter, a hollow-core door can work, though they feel a bit 'cheap' under your wrists.
When You Should Probably Just Buy a Freestanding Frame
As much as I love my floating setup, it isn't for everyone. If you are someone who needs to switch between sitting and standing every hour, a fixed wall mount is going to annoy you. You can't just press a button to change the height. You are locked into whatever height you chose during installation.
If you have a massive three-monitor setup or a heavy desktop PC, you are better off with a 71 W height adjustable standing desk. The wall-mounted life is about minimalism and space-saving. If your gear list is three pages long, stick to a frame that sits on the floor and can handle the load. But for the rest of us in tiny studios? The wall mount is the ultimate win.
FAQ
How high should I mount my standing desk?
Stand naturally with your elbows at a 90-degree angle. Measure from the floor to the underside of your forearm. That is your mounting height. Don't guess—wear the shoes you usually work in when you measure.
Can I mount this into metal studs?
You can, but it is much trickier. You’ll need toggle bolts or specialized metal stud anchors. If you are a beginner, I’d stick to wooden studs or consult a pro, as metal studs can bend under heavy leverage.
Will this damage my apartment walls?
You will have a few holes from the lag screws. When you move out, you’ll need to patch them with a bit of spackle and some touch-up paint. It is much easier to fix than the scuffs and dents a heavy desk frame leaves on the baseboards.

Dejar un comentario
Este sitio está protegido por hCaptcha y se aplican la Política de privacidad de hCaptcha y los Términos del servicio.