


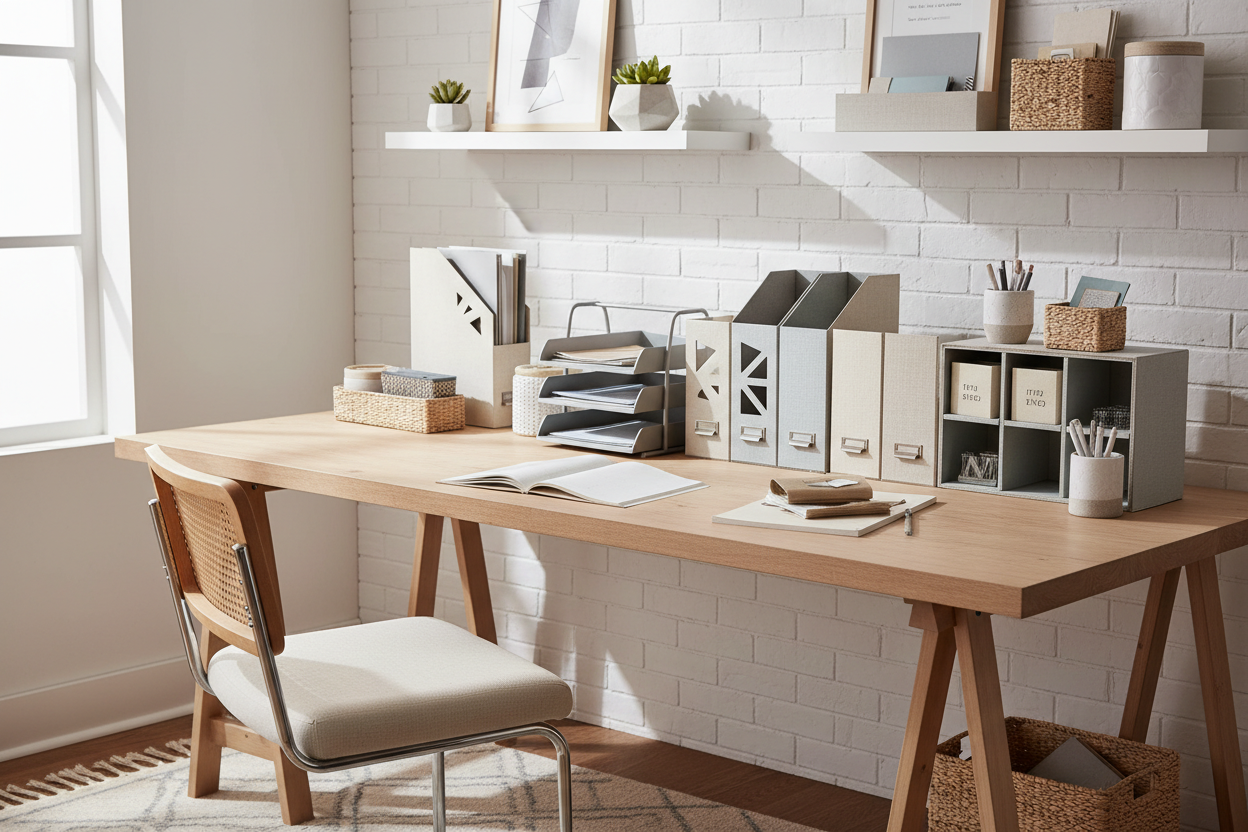
There is a distinct visual tension that occurs when a workspace is cluttered; it interrupts the eye and, subsequently, the workflow. While the market is flooded with generic plastic bins, they rarely address the specific nuances of your daily tasks or the dimensions of your desk. Creating a diy desk organizer is not merely a craft project—it is an exercise in ergonomic design and spatial planning. By taking a bespoke approach, you can curate a piece that balances structural integrity with your room's existing aesthetic, ensuring that every pen, paper, and peripheral has a designated home that feels intentional rather than accidental.
Key Features to Look For
- Structural Integrity: Ensure the base material (wood, heavy cardstock, or acrylic) can support the weight of stationery without bowing.
- Ergonomic Reach: Compartments should be sized so that items are easily retrievable without straining your wrist.
- Visual Cohesion: The finish and texture should complement, not clash with, your existing desk surface.
- Scalability: A modular design allows you to add vertical sections as your storage needs grow.
Materiality: Choosing the Right Foundation
As a specialist in furniture design, I often see DIY enthusiasts underestimate the importance of material selection. When planning how to make a desk organizer, consider the longevity of the piece. For a simple desk organizer intended for light items like sticky notes and clips, high-density foam board or heavy-duty chipboard is sufficient. However, for a diy desk shelf organizer meant to hold textbooks or heavy electronics, you must graduate to plywood or MDF (Medium Density Fiberboard).
Texture plays a massive role in the perceived quality of the object. If you are using cardstock or upcycled boxes for diy paper organizers, wrapping them in a textured linen contact paper or a wood-grain veneer can instantly elevate the piece from "homemade" to "custom-designed." The tactile experience matters; you want a surface that feels substantial under your hand.
The Architecture of Organization: Layout and Flow
Before cutting a single piece of material, you must audit your workflow. This is where diy desk organization ideas often fail—they prioritize looks over function. Apply the "zone" concept we use in interior layouts. Keep high-frequency items (pens, current files) in the foreground and low-frequency items (archives, replacement staples) in the background or lower tiers.
Drafting the Dimensions
When executing a diy desk organizer step by step, precision is paramount. Measure the footprint of your largest item—usually a standard letter-sized folder or a laptop. Your diy paper desk organizer needs to be at least 1/4 inch wider than the paper itself to allow for easy retrieval. If you are tight on square footage, look upward. A vertical diy office organizer utilizes the "air rights" of your desk, clearing the surface for active work while keeping essentials within eye line.
Styling: Visual Weight and Balance
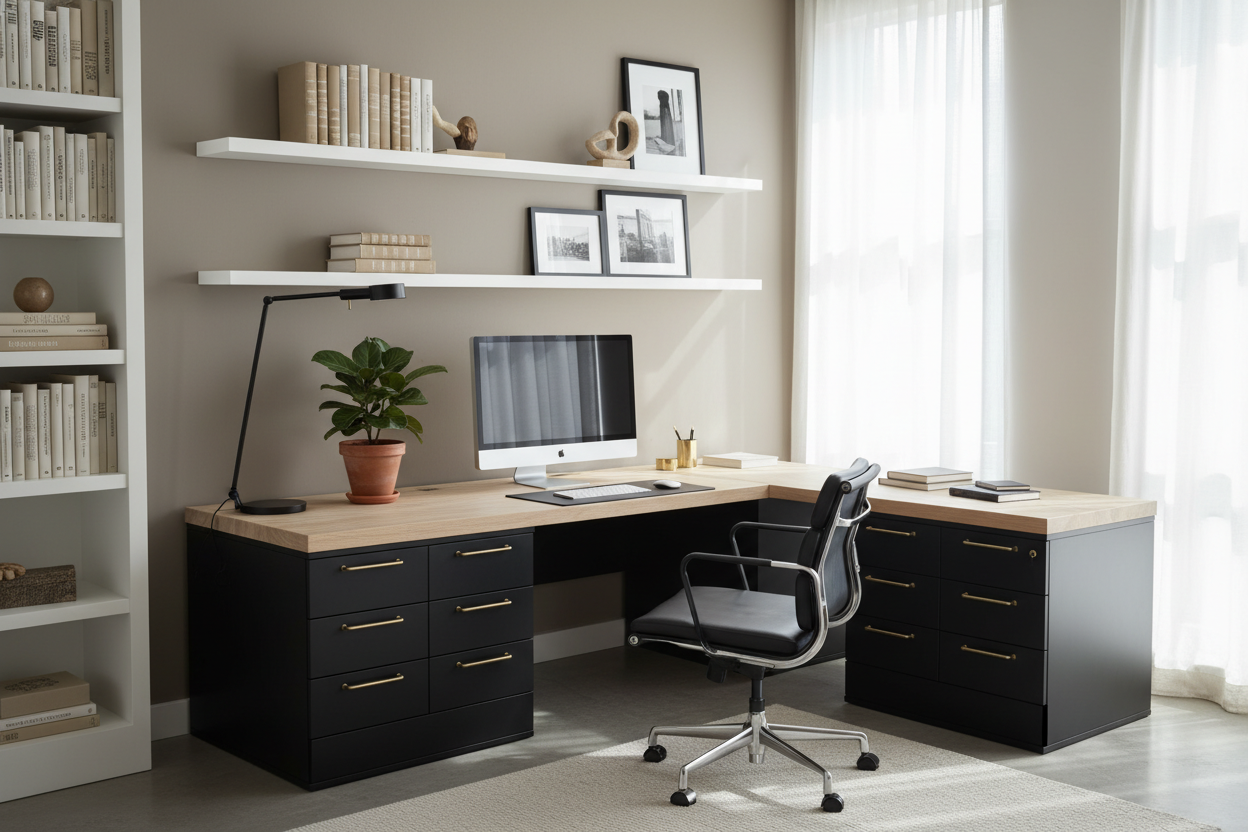
A diy desktop organizer acts as a focal point. If your desk is minimal and white, introducing a wood-toned organizer adds necessary warmth and grounds the space. Conversely, if you have a heavy, dark mahogany desk, an acrylic or light-colored diy paper organizer for desk use can reduce the visual weight, making the area feel airier.
Consider the silhouette. Sharp, 90-degree angles suggest modernity and efficiency, while curved edges can soften the look of a stark office. When looking for diy ideas for desk organization, pay attention to negative space. Don't fill every inch of the organizer; leaving some open shelves or trays empty prevents the unit from looking visually heavy and cluttered.
My Personal Take on DIY Desk Organizers
I have built countless prototypes for client offices, and I have learned a few hard lessons that tutorials rarely mention. In one of my early attempts at a diy desk storage unit using foam core, I failed to account for the thickness of the material itself when cutting the drawer dividers. I measured the inside space perfectly, but once I glued the 5mm dividers in, the drawers wouldn't slide because the frame was too tight. It was a functional disaster.
Another nuance is the finish. I once used a high-gloss spray paint on a desktop unit. It looked stunning in photos, but in practice, the reflection from my desk lamp caused a distracting glare, and it showed every single fingerprint and dust mote. Now, I always recommend matte or satin finishes for desktop accessories. It’s these unpolished, practical details—like accounting for "kerf" (blade width) and light reflection—that determine whether your project ends up in the trash or becomes a permanent fixture in your workspace.
Conclusion
Designing your own storage solution is about more than just tidying up; it is about reclaiming your mental space. By selecting the right materials and planning for your specific ergonomic needs, you can build a piece that serves you for years. A well-executed organizer doesn't just hold pens; it holds the promise of a productive day.
Frequently Asked Questions
What is the best material for a beginner DIY desk organizer?
For beginners, foam core board or heavy-duty cardboard is ideal. It is easy to cut with an X-Acto knife, lightweight, and forgiving if you make measurement errors. You can easily cover it with decorative paper or vinyl to mimic higher-end materials.
How do I determine the right size for my organizer?
Start by laying out everything you intend to store on your desk surface. Group them by category and measure the total footprint of each group. Your organizer should be compact enough to not overwhelm the desk but large enough to house these groups without overcrowding.
How can I make a cardboard organizer look professional?
The secret lies in the edges. Raw corrugated edges are a giveaway. Use washi tape, masking tape, or paper strips to seal and smooth all raw edges before painting or wrapping the unit. This creates a seamless, solid silhouette that mimics wood or plastic.

Dejar un comentario
Este sitio está protegido por hCaptcha y se aplican la Política de privacidad de hCaptcha y los Términos del servicio.