


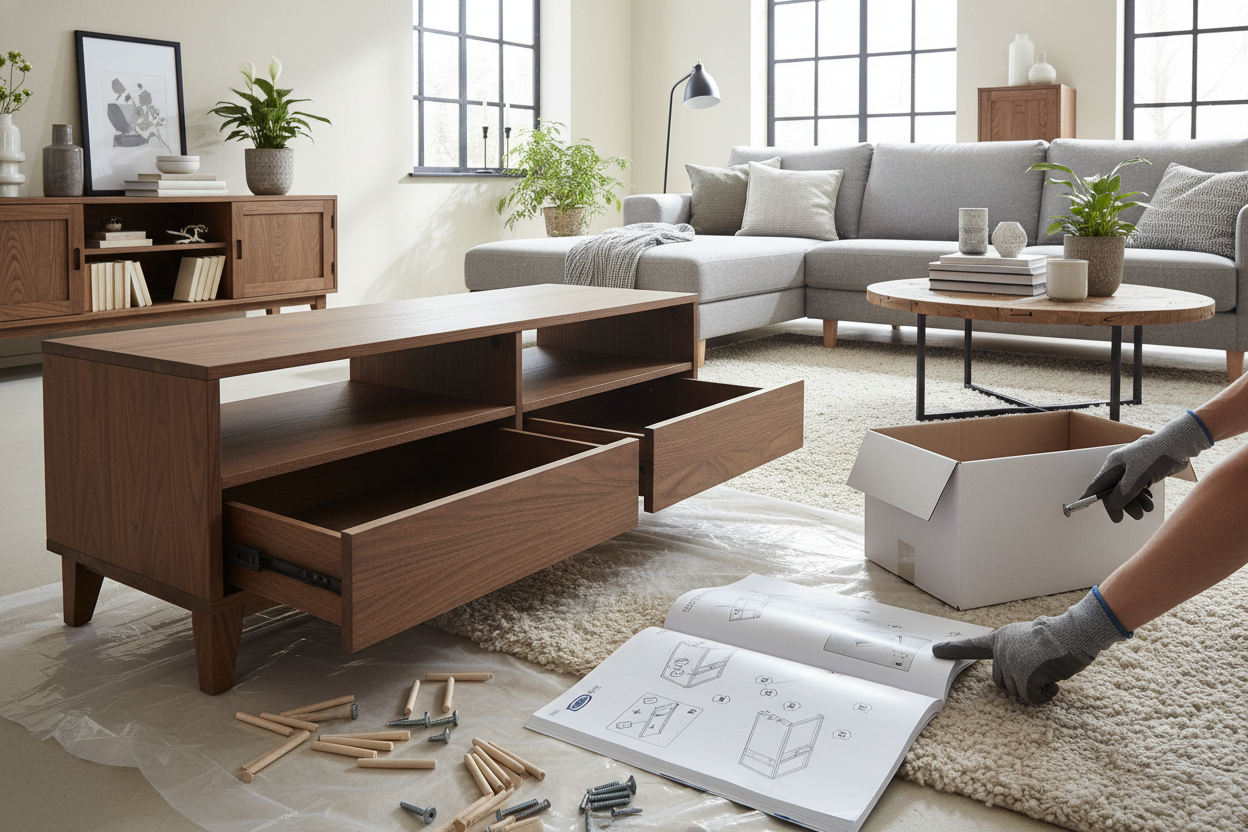
I’ve spent more Friday nights than I’d like to admit surrounded by cardboard scraps and those tiny, soul-crushing Allen wrenches. You know the feeling: you’ve got 47 browser tabs open, trying to find a unit that doesn’t look like it’s made of compressed sawdust, and you finally land on the Hemnes. But then you open the ikea hemnes tv stand assembly instructions and realize you’ve signed up for a three-hour mental workout.
- Time Investment: Give yourself a solid two hours if you're flying solo, or 90 minutes with a helper.
- Material: Solid pine—it's heavy and needs gentle handling to avoid stripping the wood.
- The Big Secret: Use wood glue on the dowels for a wobble-free life.
- Tool Tip: Ditch the IKEA tool and use a low-torque drill with a hex bit.
Why This Isn't Your Average Flat-Pack Build
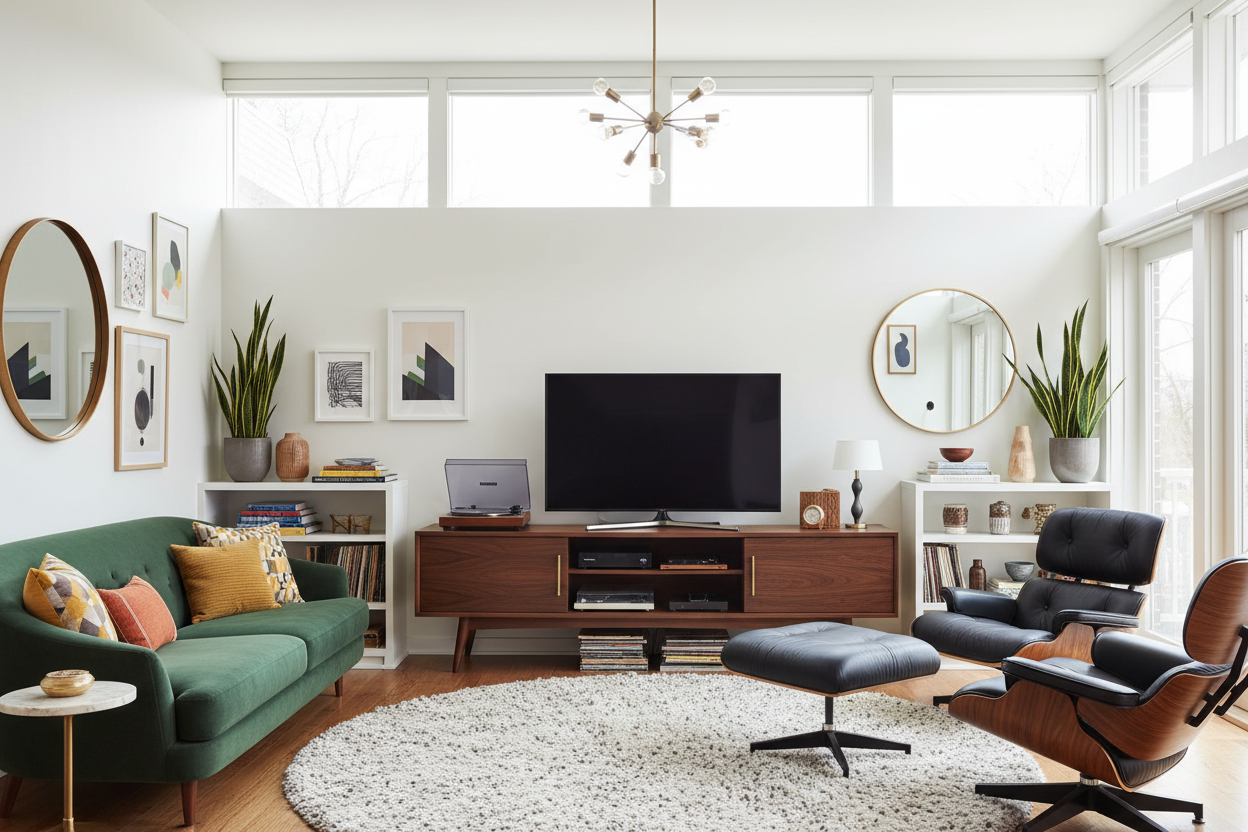
Most IKEA furniture is basically paper with a pretty veneer. The Hemnes is a different beast. Because it is made of solid pine, it has actual weight and grain. This is why Why the IKEA TV Stand Hemnes Beats Every Particle Board Console is a common sentiment among DIYers; it feels like real furniture once it's done.
However, real wood is less forgiving than particle board. If you over-tighten a screw in a flimsy Lack table, it just spins. If you do it on a hemnes stand, you might actually crack the pine. You have to find that sweet spot between 'secure' and 'split.' The stakes are higher because this unit is meant to hold a heavy television and all your media gear without bowing in the middle after six months.
Decoding the IKEA Hemnes TV Stand Assembly Instructions
The ikea hemnes tv stand instructions are famous for their wordless, Zen-like diagrams that occasionally leave out crucial details. The biggest pitfall is the center divider. There are two vertical pieces that look identical at a glance, but they aren't. One has pre-drilled holes for the drawer runners that must face inward.
I’ve seen dozens of people get to the final stage of their hemnes tv stand assembly only to realize they’ve installed the divider backward. If those holes aren't facing the right way, your drawers won't have anywhere to attach. Look for the tiny, subtle dots in the diagrams—they are the only thing standing between you and a complete teardown of the frame.
The Dreaded Drawer Alignments
If you’re building the hemnes two drawer tv stand, the drawers are usually where the swearing starts. The instructions gloss over the fact that if your frame isn't perfectly square, those drawers will never glide smoothly. They’ll either scrape the bottom or sit crooked, leaving a gap that will haunt your dreams every time you sit on the sofa.
The trick is to loosely tighten the drawer runners first, slide the drawer in to check the fit, and then do the final tightening. If you want a multi-drawer look without the assembly headache, you might consider the 78 7 W 4 Drawer Tv Stand Media Console as an alternative that comes with a different structural logic.
Wait, Can You Just Use a Hemnes Sideboard as a TV Stand?
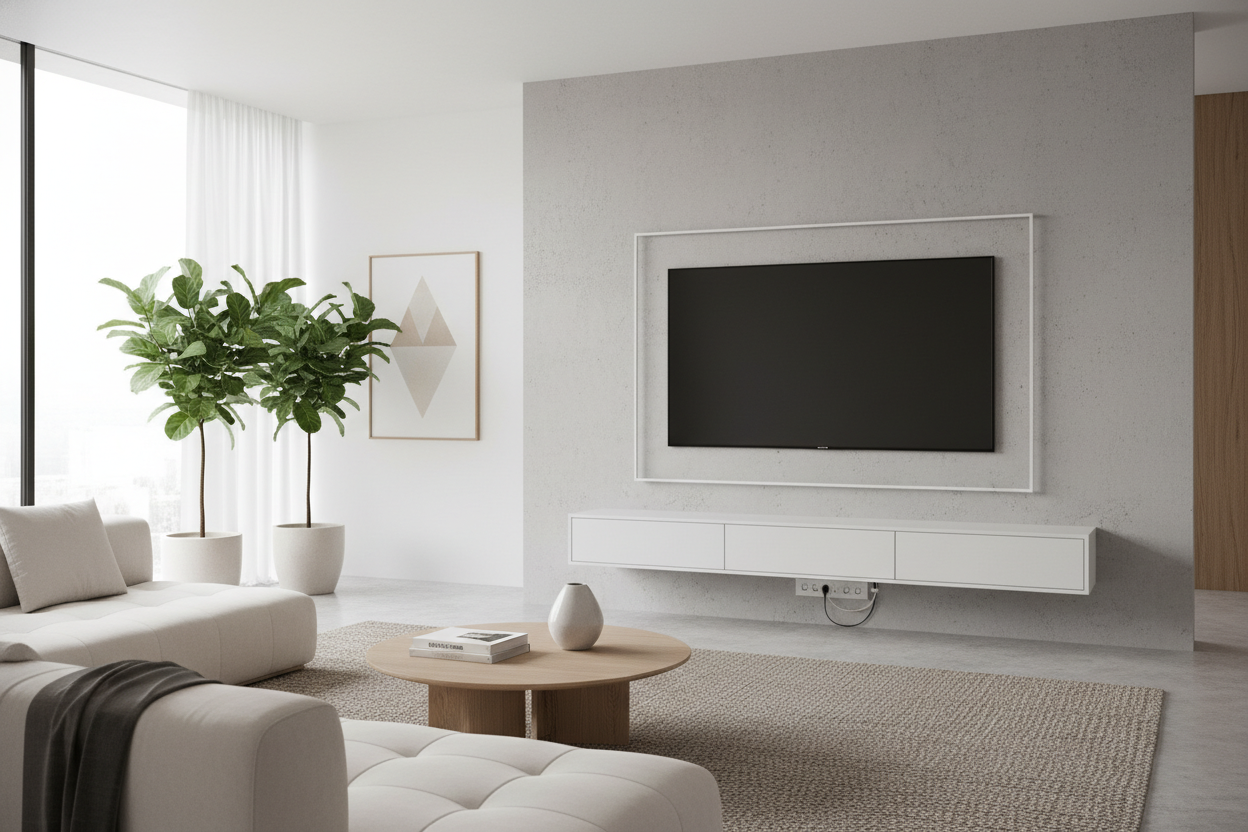
The hemnes sideboard as tv stand hack is all over Pinterest. People love it because it’s taller, which is great if you’re trying to hide a mess of cables or want your TV at eye level while standing. But there's a catch: sideboards aren't always designed for the weight distribution of a massive 65-inch screen.
The assembly for the sideboard is also significantly more complex. It has more internal shelving and a different center of gravity. If you go this route, you absolutely must use the wall anchors. A top-heavy sideboard with a TV on it is a tipping hazard waiting to happen. For most living rooms, the dedicated TV unit is the safer, more stable choice.
My Top 3 Sanity-Saving Tips for Hemnes TV Stand Assembly
First, throw away the provided Allen wrench. Your hands will be blistered by step ten. Use a drill with a hex bit, but keep the torque setting low so you don't chew through the pine. Second, use a tiny drop of wood glue on every wooden dowel. It makes the unit feel twice as expensive and stops that annoying 'IKEA wobble' after a year of use.
Finally, assemble the unit exactly where you want it to live. Even though it's solid wood, the back panel is what provides the lateral stability. If you build it in the kitchen and try to lug it into the living room, you risk racking the frame and loosening all your hard work. If this sounds like too much manual labor, there are plenty of other Tv Stands that arrive with half the parts and none of the stress.
Personal Experience: The Upside-Down Disaster
The first time I tackled the Hemnes, I was so confident I didn't look closely at the bottom shelf orientation. I installed it upside down, meaning the finished edge was facing the wall and the raw, ugly wood was facing the room. I didn't notice until the very last step when I went to put the back panel on. I had to dismantle 80% of the unit. Take it from me: check the finished edges twice before you drive a single screw.
FAQ
How long does the Hemnes TV stand assembly actually take?
If you are working alone, expect it to take about two hours. If you have a partner who is good at holding heavy pieces in place, you can knock it out in 90 minutes.
Do I really need to anchor it to the wall?
Yes. Even though it’s solid wood and heavy, the drawers create a shift in weight when pulled out. IKEA includes the hardware for a reason—don't skip it.
Can I paint the Hemnes TV stand?
Since it’s solid pine and not laminate, it’s actually very easy to sand and stain or paint. Just make sure you do it before you assemble the drawers for the cleanest look.
Dejar un comentario
Este sitio está protegido por hCaptcha y se aplican la Política de privacidad de hCaptcha y los Términos del servicio.