


My living room used to look like a Best Buy backroom. My partner loves high-fidelity audio, which meant I was stuck staring at a massive black receiver, a center channel speaker the size of a microwave, and enough wires to power a small city. I just wanted a clean space where I could drink wine without feeling like I was in a server room.
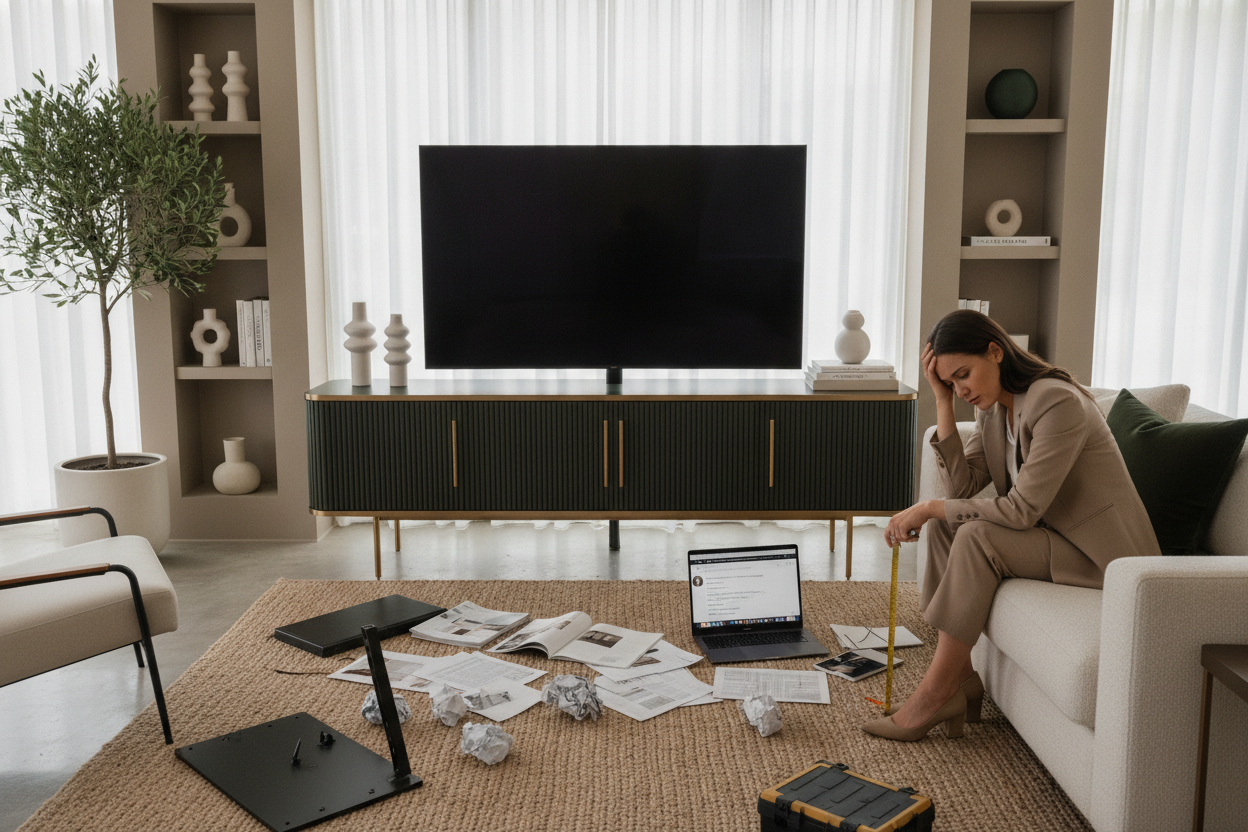
Finding a sound system tv stand that actually works for gear—and looks like a piece of furniture rather than a server rack—is surprisingly hard. Most consoles are built for looks first, leaving your expensive electronics to suffocate in a tiny, unventilated box. It took me three returns and a lot of measuring tape to get it right.
- Depth is your biggest hurdle; measure your receiver plus three inches for cable clearance.
- Slatted doors are the only way to hide gear without killing your remote signal.
- Avoid glass doors if you have a subwoofer nearby—the rattling will drive you insane.
- Active cooling or open backs are mandatory to keep your receiver from melting.
The Living Room Was Starting to Look Like an Electronics Store
Every time I started shopping for TV stands, I hit the same wall. The pretty ones were too shallow, and the deep ones looked like they belonged in a basement man-cave. The standard 'aesthetic' stands usually have solid doors that block remote signals, meaning you have to leave the doors open while watching a movie. It's a mess that ruins the whole vibe.
I spent weeks measuring every black box in our setup. We had a 7.1 surround system with a receiver that weighed thirty pounds. Putting that on a flimsy MDF shelf from a big-box store was a recipe for a collapsed console and a very expensive repair bill. I needed something with a high weight capacity and actual ventilation.
The Non-Negotiables for a TV Stand With Sound System Storage
When you are looking for a tv stand with sound system capabilities, you have to think about weight and airflow. A standard receiver can easily weigh 25 to 40 pounds. If your shelves are made of thin particle board, they will bow within a month. Look for kiln-dried hardwood or high-quality plywood construction that can handle the density of high-end audio gear.
Ventilation is the other silent killer. These machines generate a massive amount of heat. If you put them in a sealed cabinet, you are basically putting them in an oven. I learned this the hard way when our old receiver started smelling like burning plastic after a three-hour movie marathon because there was nowhere for the hot air to escape.
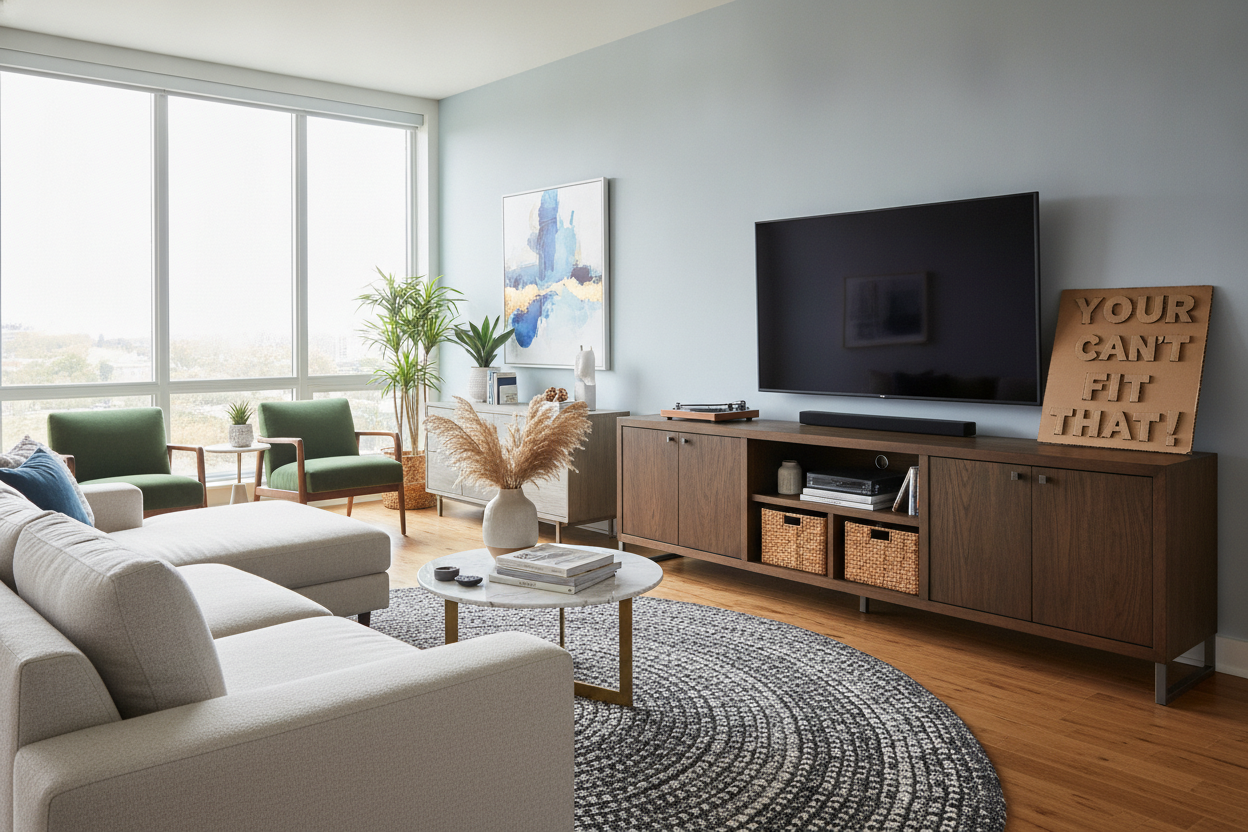
Depth is Everything (Receivers Are Huge)
Most modern furniture is 15 to 16 inches deep. That is a disaster for audio gear. A high-end receiver is often 17 inches deep on its own. Once you plug in those thick HDMI cables and banana plugs for the speakers, you need at least 19 or 20 inches of clearance. If you don't have it, you'll be forced to cut a jagged hole in the back panel just to let the cords through.
If you don't give your gear enough breathing room, you need to stop cooking your audio gear before the internal components fry. I've seen $2,000 setups die because someone shoved them into a 14-inch deep cabinet with no back ventilation. It’s a painful mistake to make, and one that most furniture brands don't warn you about.
Why Slatted Doors Are the Ultimate Audio Hack
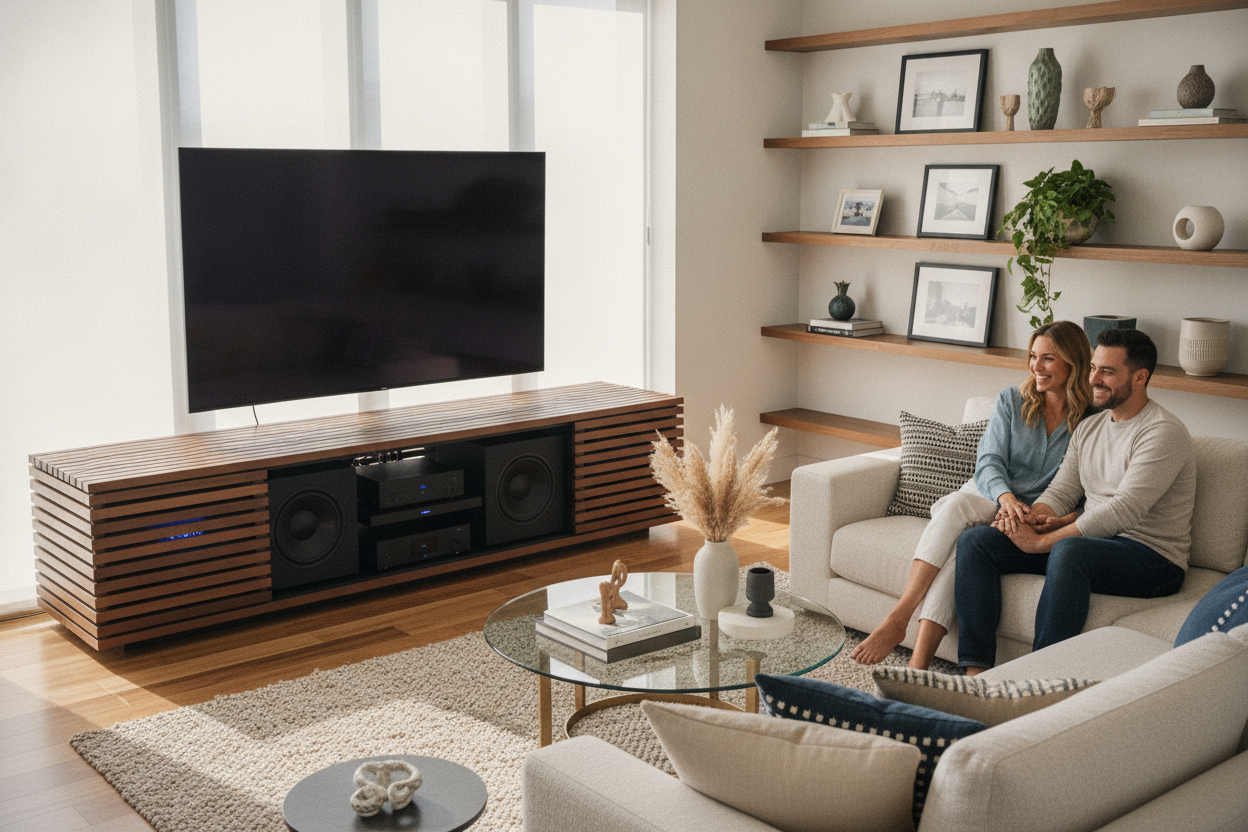
The 'aha!' moment for me was discovering slatted fronts. They are the perfect compromise for a design-obsessed person living with an audiophile. To my eyes, they look like a beautiful piece of mid-century design. To my partner's ears, they are practically invisible. Sound waves from the center channel speaker pass right through the gaps without getting muffled or distorted.
We ended up picking a mid-century modern TV stand with slatted doors. The best part? Infrared (IR) signals for the remote pass through the slats too. You can change the volume or switch inputs without ever opening a door. It keeps the 'electronics store' vibe completely hidden while the gear stays cool and functional.
Why We Skipped the Glass Doors
I almost bought a gorgeous storage credenza with sliding glass doors. It was stunning, and if I were just storing my collection of vintage board games or books, I would have bought it in a heartbeat. But glass is a nightmare for high-performance audio setups.
First, glass is a heat trap. It offers zero airflow. Second, if you have a subwoofer anywhere near the stand, that glass is going to rattle. There is nothing more distracting than a high-pitched 'clink-clink-clink' during a quiet, tense movie scene. Save the glass for the dining room and stick to wood or mesh for the media center.
Taming the Inevitable Spaghetti Monster of Cables
Even with the perfect stand, the back of your TV can quickly look like a plate of spaghetti. I spent a Saturday afternoon with a roll of velcro ties and a label maker. Most high-quality media stands now come with pre-drilled cable management holes, but don't just shove everything through one hole. You'll never be able to swap a cable out later if you do.
Group your power cables away from your speaker wires to prevent interference. I used the built-in channels in our new stand to keep everything tight against the frame. It’s the difference between a 'finished' look and a DIY project that never quite got done. Now, when I look at our living room, I see a beautiful piece of furniture, not a tech graveyard.
FAQ
Can I put my center channel speaker inside a cabinet?
Only if the doors are slatted or mesh. If you put it behind solid wood or glass, the sound will be muffled and 'boxy.' If you have solid doors, you'll have to leave them open every time you watch TV, which defeats the purpose of hiding the gear in the first place.
How much space should I leave above my receiver?
Ideally, at least 2 to 3 inches. Heat rises, and most receivers vent through the top. If you have a tight fit, consider adding a small USB-powered fan to the back of the cabinet to pull the hot air out and keep the internal temperature stable.
Do I really need a dedicated media stand?
Standard sideboards are often taller and narrower, which can be great for height but terrible for depth. Just check the internal depth and ensure there are holes for cables. Many sideboards have solid backs that are a pain to drill through without splintering the wood finish.
Leave a comment
This site is protected by hCaptcha and the hCaptcha Privacy Policy and Terms of Service apply.