


We have all been on that video call—the one where the speaker is silhouetted against a blinding window, or worse, illuminated by the harsh, unflattering glow of a laptop screen in a dark room. As an interior designer, I see this not as a technology failure, but as a layout and lighting oversight. Achieving the best home office webcam setup is rarely about buying the most expensive 4K camera; it is about mastering the environment in which that camera operates.
Your video feed is an extension of your professional brand. Just as you wouldn't wear gym clothes to a boardroom presentation, your digital backdrop and lighting should convey competence and intentionality. This guide will walk you through the design principles required to create a broadcast-quality space that remains a functional, comfortable home office.
Key Elements for a Telegenic Space
- Lighting Hierarchy: Prioritize soft, directional light (key light) over harsh overhead fixtures to define facial features without casting deep shadows.
- Camera Elevation: The lens must sit at eye level or slightly above (hairline height) to avoid the unflattering "looking down" angle.
- Background Depth: Position your desk at least four feet away from the wall behind you to create a depth of field that separates you from the background.
- Visual Balance: Curate your backdrop with intentional asymmetry; avoid clutter, but do not leave the space stark or sterile.
- Acoustic Softening: Incorporate textiles like rugs or curtains to dampen echo, ensuring your audio matches your visual quality.
Mastering the Lighting: It’s Not Just About Brightness
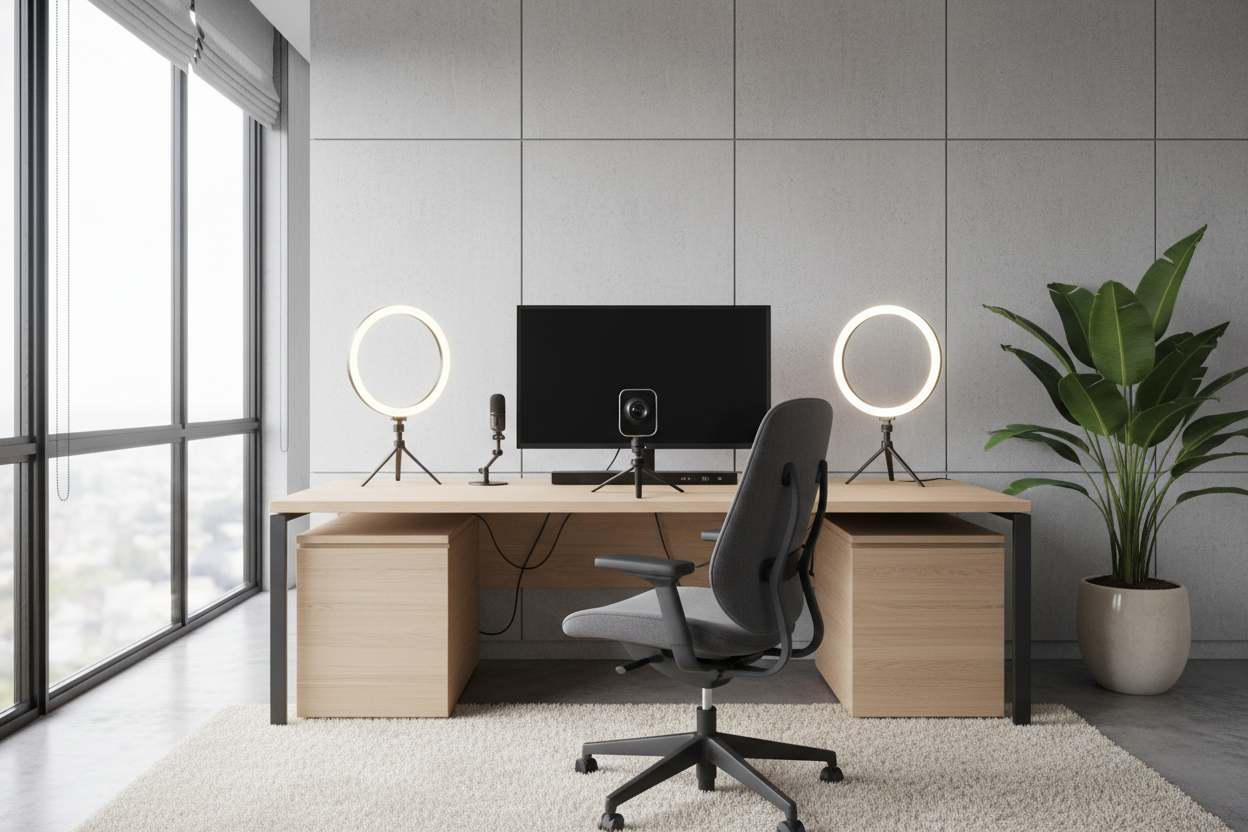
In interior design, we talk about layering light. For a webcam setup, the standard overhead can light—often referred to as "downlighting"—is the enemy. It creates dark circles under the eyes and highlights the nose bridge unpleasantly. Instead, you need to replicate a three-point lighting setup used in photography, adapted for a residential setting.
The Key and Fill Strategy
Your primary light source should not be the monitor. Invest in diffused LED panels or lamps with a high CRI (Color Rendering Index) of 90+. Place your main light behind the camera, slightly off-center. If you have a window, face it; natural light is the gold standard, but it is inconsistent. If your room is darker, add a "fill light" on the opposite side at 50% intensity to soften the shadows created by the key light. This adds dimension to your face, preventing that flat, washed-out look.
Color Temperature Matters
Pay attention to Kelvin ratings. A warm residential bulb (2700K) can make you look orange on camera, while a daylight bulb (6000K) can make you look clinical and pale. The sweet spot for the best webcam setup for home office environments is usually between 4000K and 5000K, which mimics neutral daylight.
Curating the Background: Depth and Decor
A common mistake is pushing the desk flush against a wall, leaving the camera to capture the entire room behind you, or conversely, sitting with your back immediately against a flat wall. Both ruin the visual composition.
Creating Separation
To look professional, you need depth. Pull your desk into the room (a "floating desk" layout). When the camera sees distance behind you, it naturally blurs the background slightly, keeping the focus on you. This is a physical version of the digital "portrait mode."
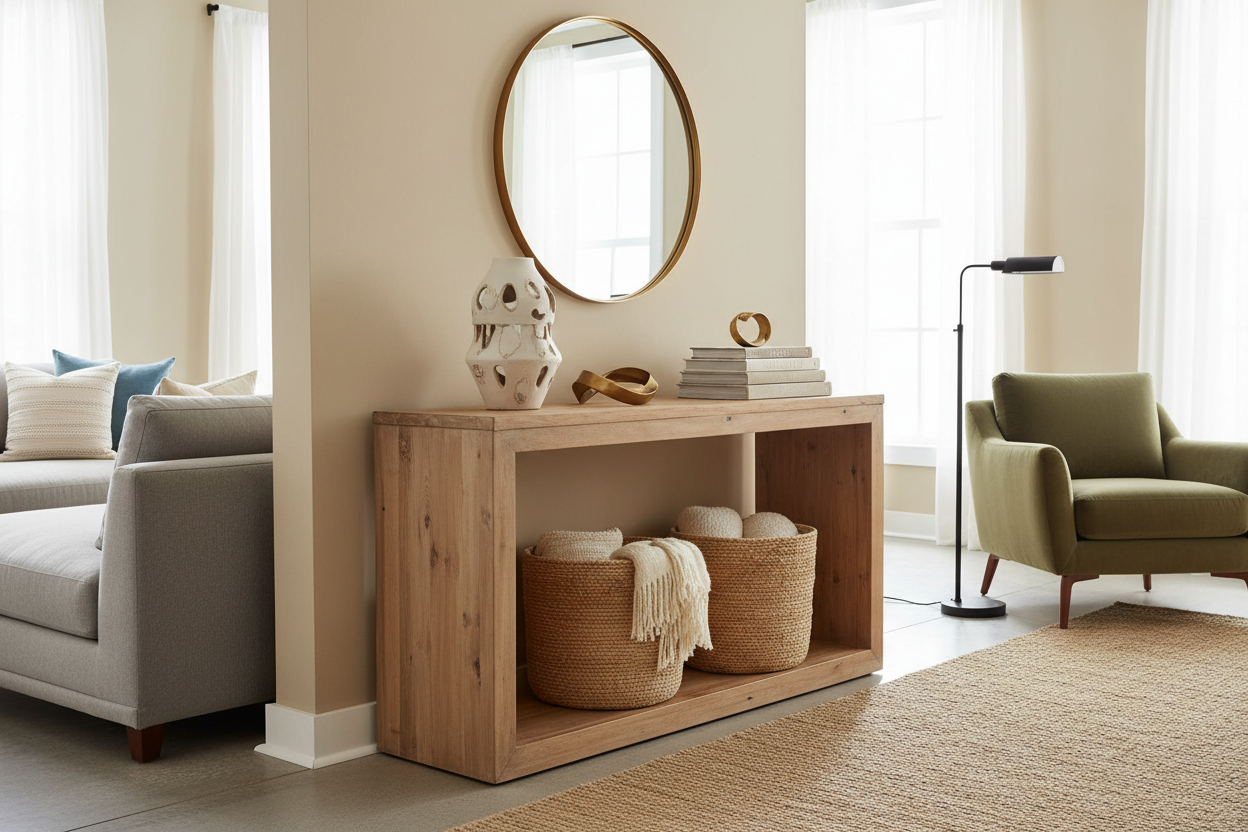
Styling the Frame
What the camera sees should be curated. Avoid high-traffic areas or visible doorways. A bookshelf is a classic backdrop, but style it with breathing room—group books by size or color and intersperse them with sculptural objects or plants. The goal is texture, not clutter. A large, leafy plant (like a Ficus or Monstera) in the corner of the frame adds life and absorbs sound, serving both aesthetic and functional purposes.
Ergonomics and Camera Placement
Design is useless if it isn't functional. The placement of your webcam dictates your posture. If the camera is clipped to a laptop lid on the desk surface, you will hunch over, compressing your diaphragm and projecting a "looming" presence.
Elevate your monitor or use a dedicated tripod so the lens aligns with your eyes. This encourages an upright, confident posture. If you use multiple monitors, place the webcam on the screen you look at most frequently to maintain simulated eye contact with your audience.
My Personal Take on best home office webcam setup
I learned a hard lesson about lighting angles during a consultation with a high-profile client last year. We had designed a stunning office with dark walnut cabinetry, but on camera, he looked tired and severe. The culprit wasn't the room—it was his glasses.
He was using a popular ring light placed directly in front of him. The reflection of the ring was perfectly visible in his lenses, dancing around every time he moved his head. It was distracting and broke the immersion. We swapped the ring light for two soft-box lights and bounced them off the white ceiling and adjacent walls rather than pointing them directly at his face.
The result was a soft, ambient glow that filled the room without creating hotspots or reflections. It taught me that sometimes the best equipment isn't about power, but about diffusion. Also, a matte finish on your desktop is a lifesaver; glossy lacquer reflects the monitor glow right under your chin, creating a weird "ghost story" lighting effect that no one talks about until they see it.
Conclusion
Creating a studio-quality video presence doesn't require turning your home into a film set. By applying interior design principles—layering your lighting, creating depth in your layout, and curating your background—you can build a space that looks sophisticated on screen and feels inviting in person. Elevate your environment, and you elevate your professional image.
Frequently Asked Questions
What is the best wall color for a video background?
Avoid stark white, which can cause camera exposure issues, and pitch black, which can make you look like a floating head. Mid-tone neutrals like sage green, navy blue, or slate grey provide excellent contrast and look rich on camera.
How do I hide the cables for a clean setup?
Cable management is vital for visual peace of mind. Use velcro ties to bundle cords behind the monitor stand and route them down the monitor arm or desk leg. For webcams on tripods, run the cable along the tripod leg using small zip ties so it disappears from view.
Do I really need a 4K webcam?
For most streaming and conferencing, lighting is more important than resolution. A 1080p camera with excellent three-point lighting will always look better than a 4K camera in a poorly lit room. Focus your budget on lights and mounting arms first.
Leave a comment
This site is protected by hCaptcha and the hCaptcha Privacy Policy and Terms of Service apply.