




To connect cabinets together, set the units side by side, level them so the tops and fronts line up, clamp the two side panels with the fronts flush, drill pilot holes from inside the less visible cabinet, and join them with screws shorter than the two panels combined (or connector bolts sized to that thickness), two or three per joint near the top, middle and bottom. Then anchor every cabinet to the wall on its own. Joining keeps the run straight and gap-free; it does not keep a tall cabinet from tipping.
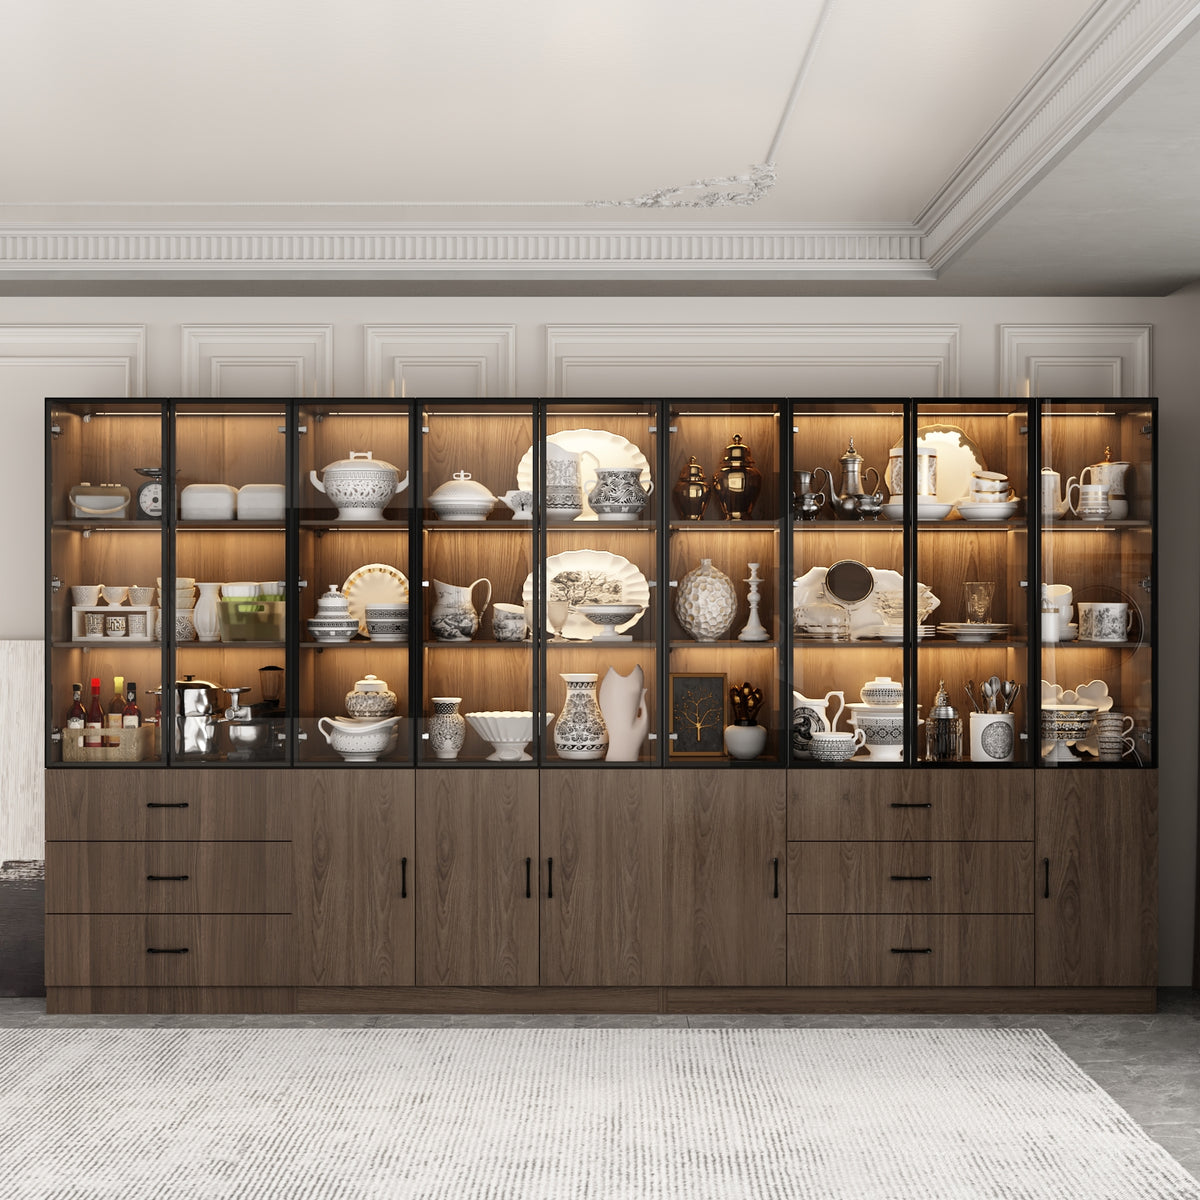
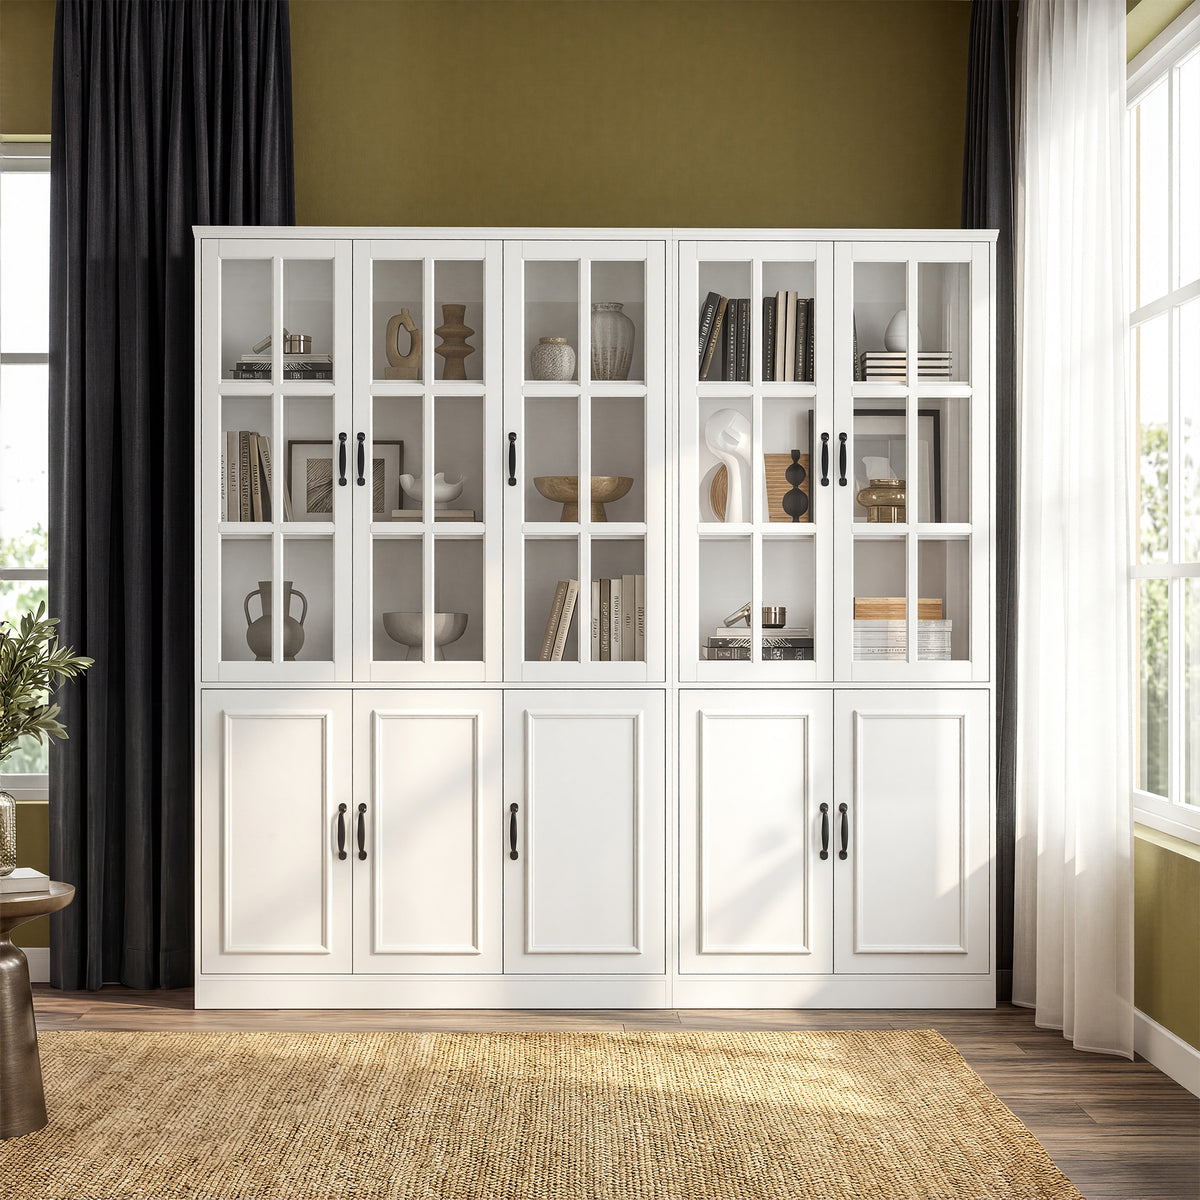
This guide is for anyone lining up freestanding storage or display cabinets into one wall, like the units in the FUFU&GAGA modular storage cabinets collection, with notes on how kitchen installers join base cabinets and wall cabinets. Getting the joint right matters: a misaligned seam shows along the whole run, a screw that is too long breaks through the next cabinet, and a run that is joined but not anchored can still tip.
Do You Need to Connect the Cabinets at All?
Not always. Freestanding cabinets that are level and individually anchored can stand next to each other without being joined. Connecting two cabinets is worth it when:
- You want the fronts perfectly flush and the seam closed, so the run looks like one built-in piece.
- The floor is uneven and units tend to drift apart or lean.
- Doors on neighboring units should line up across the whole wall.
Read the manual first. Some wide sets are designed as several cabinets that stand together: the Sofna 141.7" storage cabinet ships as 3 pieces and the Geyma 141.7" display cabinet as 5. If connector hardware is included, use it and follow its hole positions.
Tools and Hardware
| Item | What it is for |
|---|---|
| Two clamps (hand-screw, bar or cabinet clamps) | Hold the side panels tight and the fronts flush while you drill |
| Level (24" or longer) and tape measure | Check each unit side to side and front to back, and the tops across units |
| Shims | Raise the low side of a cabinet on an uneven floor |
| Drill with a 1/8" bit and a countersink | Pilot holes so screws don't split the panel or wander |
| Wood screws or connector bolts | Join the two side panels |
| Stud finder and the included tip-over kit | Anchor every unit to the wall |
| Screw caps or matching touch-up stickers | Hide screw heads inside glass-door cabinets |
Screws vs connector bolts
Wood screws go through one side panel and bite into the next. They are quick and nearly invisible from outside, but the length matters: the screw has to be shorter than the two panels together or the tip will poke through the inside of the neighboring cabinet. If each side panel is 5/8" thick, the pair is 1-1/4" and a 1" screw is safe. Measure your own panels at an exposed edge before buying.
Connector bolts (also called joint connector bolts or cabinet connector screws) are a two-part bolt and barrel nut that pass through a hole drilled through both panels and tighten from each side. They pull the cabinets together firmly, can be taken apart and reused when you move, and leave a neat round head on each side. Buy a length that matches the combined panel thickness.
Whatever you use, skip drywall screws. Family Handyman warns they snap off and leave you with an extra hole; use cabinet or wood screws instead.
Face Frame vs Frameless Cabinets
Kitchen cabinets often have a face frame, a solid-wood frame around the front of the cabinet box. Installers join those cabinets through the face frame. This Old House drills counter-bored pilot holes through the edge of the face frame, top and bottom, and drives 2-inch screws to pull the cabinets tightly together; Family Handyman pre-drills a 1/8" hole and uses a 2-1/2" screw.
Freestanding storage furniture is usually frameless: the doors mount directly on the side panels, which are typically manufactured wood such as MDF. There is no face frame to screw through, so you join through the side panels, near the front edge where the seam shows, with shorter screws or connector bolts as described above.
How to Connect Cabinets Together, Step by Step
1. Plan the order and lighten the cabinets
Assemble the new cabinets fully before installation, then decide which unit goes first. With a run of three, start with the center unit or the one against a corner, then work outward. Take off glass doors and pull out drawers before you move anything. It reduces weight and keeps glass out of harm's way.
2. Find the high spot and level each unit
Floors are rarely flat. Find the high point of the floor along the wall, set the first cabinet there and shim the others up to match. This Old House shims base cabinets up from the high point rather than scribing them down. Check each unit with the level side to side and front to back, then lay the level across two tops to make sure they sit at the same height. A difference of even 1/8" shows on a long run.
3. Push the run back and line up the fronts
Slide the units back until they touch the wall or the baseboard. If the wall bows, the fronts may not line up; the front edges matter more than the backs, because that is what you see.
4. Clamp the side panels
Line up the two front edges so they are flush, then clamp the panels together with one clamp near the top and one near the bottom. Run your fingers over the seam; you should not feel a step. Pad the clamp jaws with a scrap of cloth so they don't mark the finish.
5. Drill pilot holes
Drill from inside the less visible cabinet, as Family Handyman advises. Place holes about 2" back from the front edge, near the top, middle and bottom of the panel. Avoid shelf-pin holes, hinge plates, drawer slides and any LED wiring channel; lighted units such as the Varda 110.2" bookcase with LED lights route cables you do not want to hit. Use a depth stop or a piece of tape on the bit so you never drill through the second panel.
6. Drive the screws or bolts
Drive the fasteners until they are snug, then stop. Manufactured wood strips easily if you overtighten. Countersink the screw heads so doors and shelves clear them, and cap any heads that will show behind glass.
7. Anchor every unit to the wall
This is the step that keeps people safe. The U.S. Consumer Product Safety Commission tells families to anchor furniture such as bookcases and dressers to the wall. Locate the wall studs with a stud finder, attach each cabinet's tip-over kit, fasten it into a stud (or a suitable anchor where there is none), and tug on the strap afterward, as the Anchor It! campaign recommends. Joined cabinets still each get their own anchor. Our guide on how to anchor a bookcase to the wall covers drywall, studs and masonry.
8. Rehang doors and adjust the hinges
Put the doors back and adjust the hinge screws until the gaps between doors match across the seam. Fit drawers, load the heaviest items on the lowest shelves, then double check that every door and drawer opens without rubbing.

How to Fill or Fix Gaps
- Gap between two units at the top or bottom: one cabinet is out of level or the floor dips. Re-shim before tightening the screws rather than forcing the panels together.
- Gap at the end of the run, against a wall: use a filler strip painted or finished to match. Family Handyman recommends test-fitting the strip and planing the edge until it fits snugly.
- Gap between the cabinet back and the wall: usually the baseboard. Leave it; the anti-tip strap spans it. Don't push hard enough to rack the cabinet out of square.
- Gap above the cabinets: modular units stop short of the ceiling by design. Leave the space open or use it for baskets.
Planning the run so these gaps are even from the start saves most of this work. See how to plan a modular storage wall for layouts with real cabinet widths.
How Kitchen Installers Join Base Cabinets and Wall Cabinets
If you install cabinets in a kitchen or laundry room, the process is similar but the cabinets are fixed to the structure rather than freestanding. This Old House's installation sequence, in short:
- Mark the high spot and stud locations first. Measure down from a level reference line to find the floor's high point, and find the studs with a stud finder, confirming them with small test holes.
- Base cabinets: shim each cabinet level at every stud, fasten it to the studs through the shims, and join neighbors with 2-inch screws through counter-bored holes in the face frame.
- Upper cabinets: a temporary support board, or cleat, screwed into every other stud holds the wall cabinets at the right height while you work. Each upper cabinet is clamped flush to its neighbor, joined through the face frame, then secured with four 2-1/2-inch deck screws with washers through the back into the studs.
In a kitchen, also plan the toe kick line and any plumbing or appliance openings before the first cabinet goes in. The same principle applies to all the cabinets in a run: align and join them to each other, but attach every one to the wall.
Freestanding Cabinets That Line Up Well
Units from the same series are made to match, which makes joining simple. In the FUFU&GAGA Sofna, Vila and Geyma series, every cabinet is 78.7" high and 15.7" deep, so tops and fronts line up once the floor is leveled. Good starting points:
- Sofna 63" white bookcase with glass doors and 2 drawers
- Vila 63" white display cabinet and bookcase with 3 drawers
- Sofna 141.7" storage cabinet set for a full wall
Browse every width in our modular storage cabinets.
FAQ
How are kitchen cabinets joined together?
Kitchen installers clamp neighboring cabinets so the face frames are flush, drill counter-bored pilot holes through the edge of the face frame, and drive screws (2" to 2-1/2" in the guides above) near the top and bottom. Each cabinet is also screwed to the wall studs through its back.
Can you stack two cabinets on top of each other?
Only when the manufacturer designs them to stack, such as wardrobes sold with a matching top cabinet, and only with the hardware provided. Stacking unrelated cabinets raises the center of gravity and makes tipping more likely. Anchor stacked units to the wall.
How do you fill a gap between two cabinets?
Between two units, fix the cause first: re-level and clamp. At the end of a run, fit a filler strip finished to match the cabinets, trimmed until it fits snugly, and fasten it to the cabinet side.
What screws should I use to connect cabinets side to side?
Use cabinet or wood screws, not drywall screws. On face-frame cabinets, guides use 2" to 2-1/2" screws in pre-drilled holes; on frameless furniture panels, choose a screw shorter than the two panels combined, or use connector bolts sized to that thickness.


Leave a comment
This site is protected by hCaptcha and the hCaptcha Privacy Policy and Terms of Service apply.