


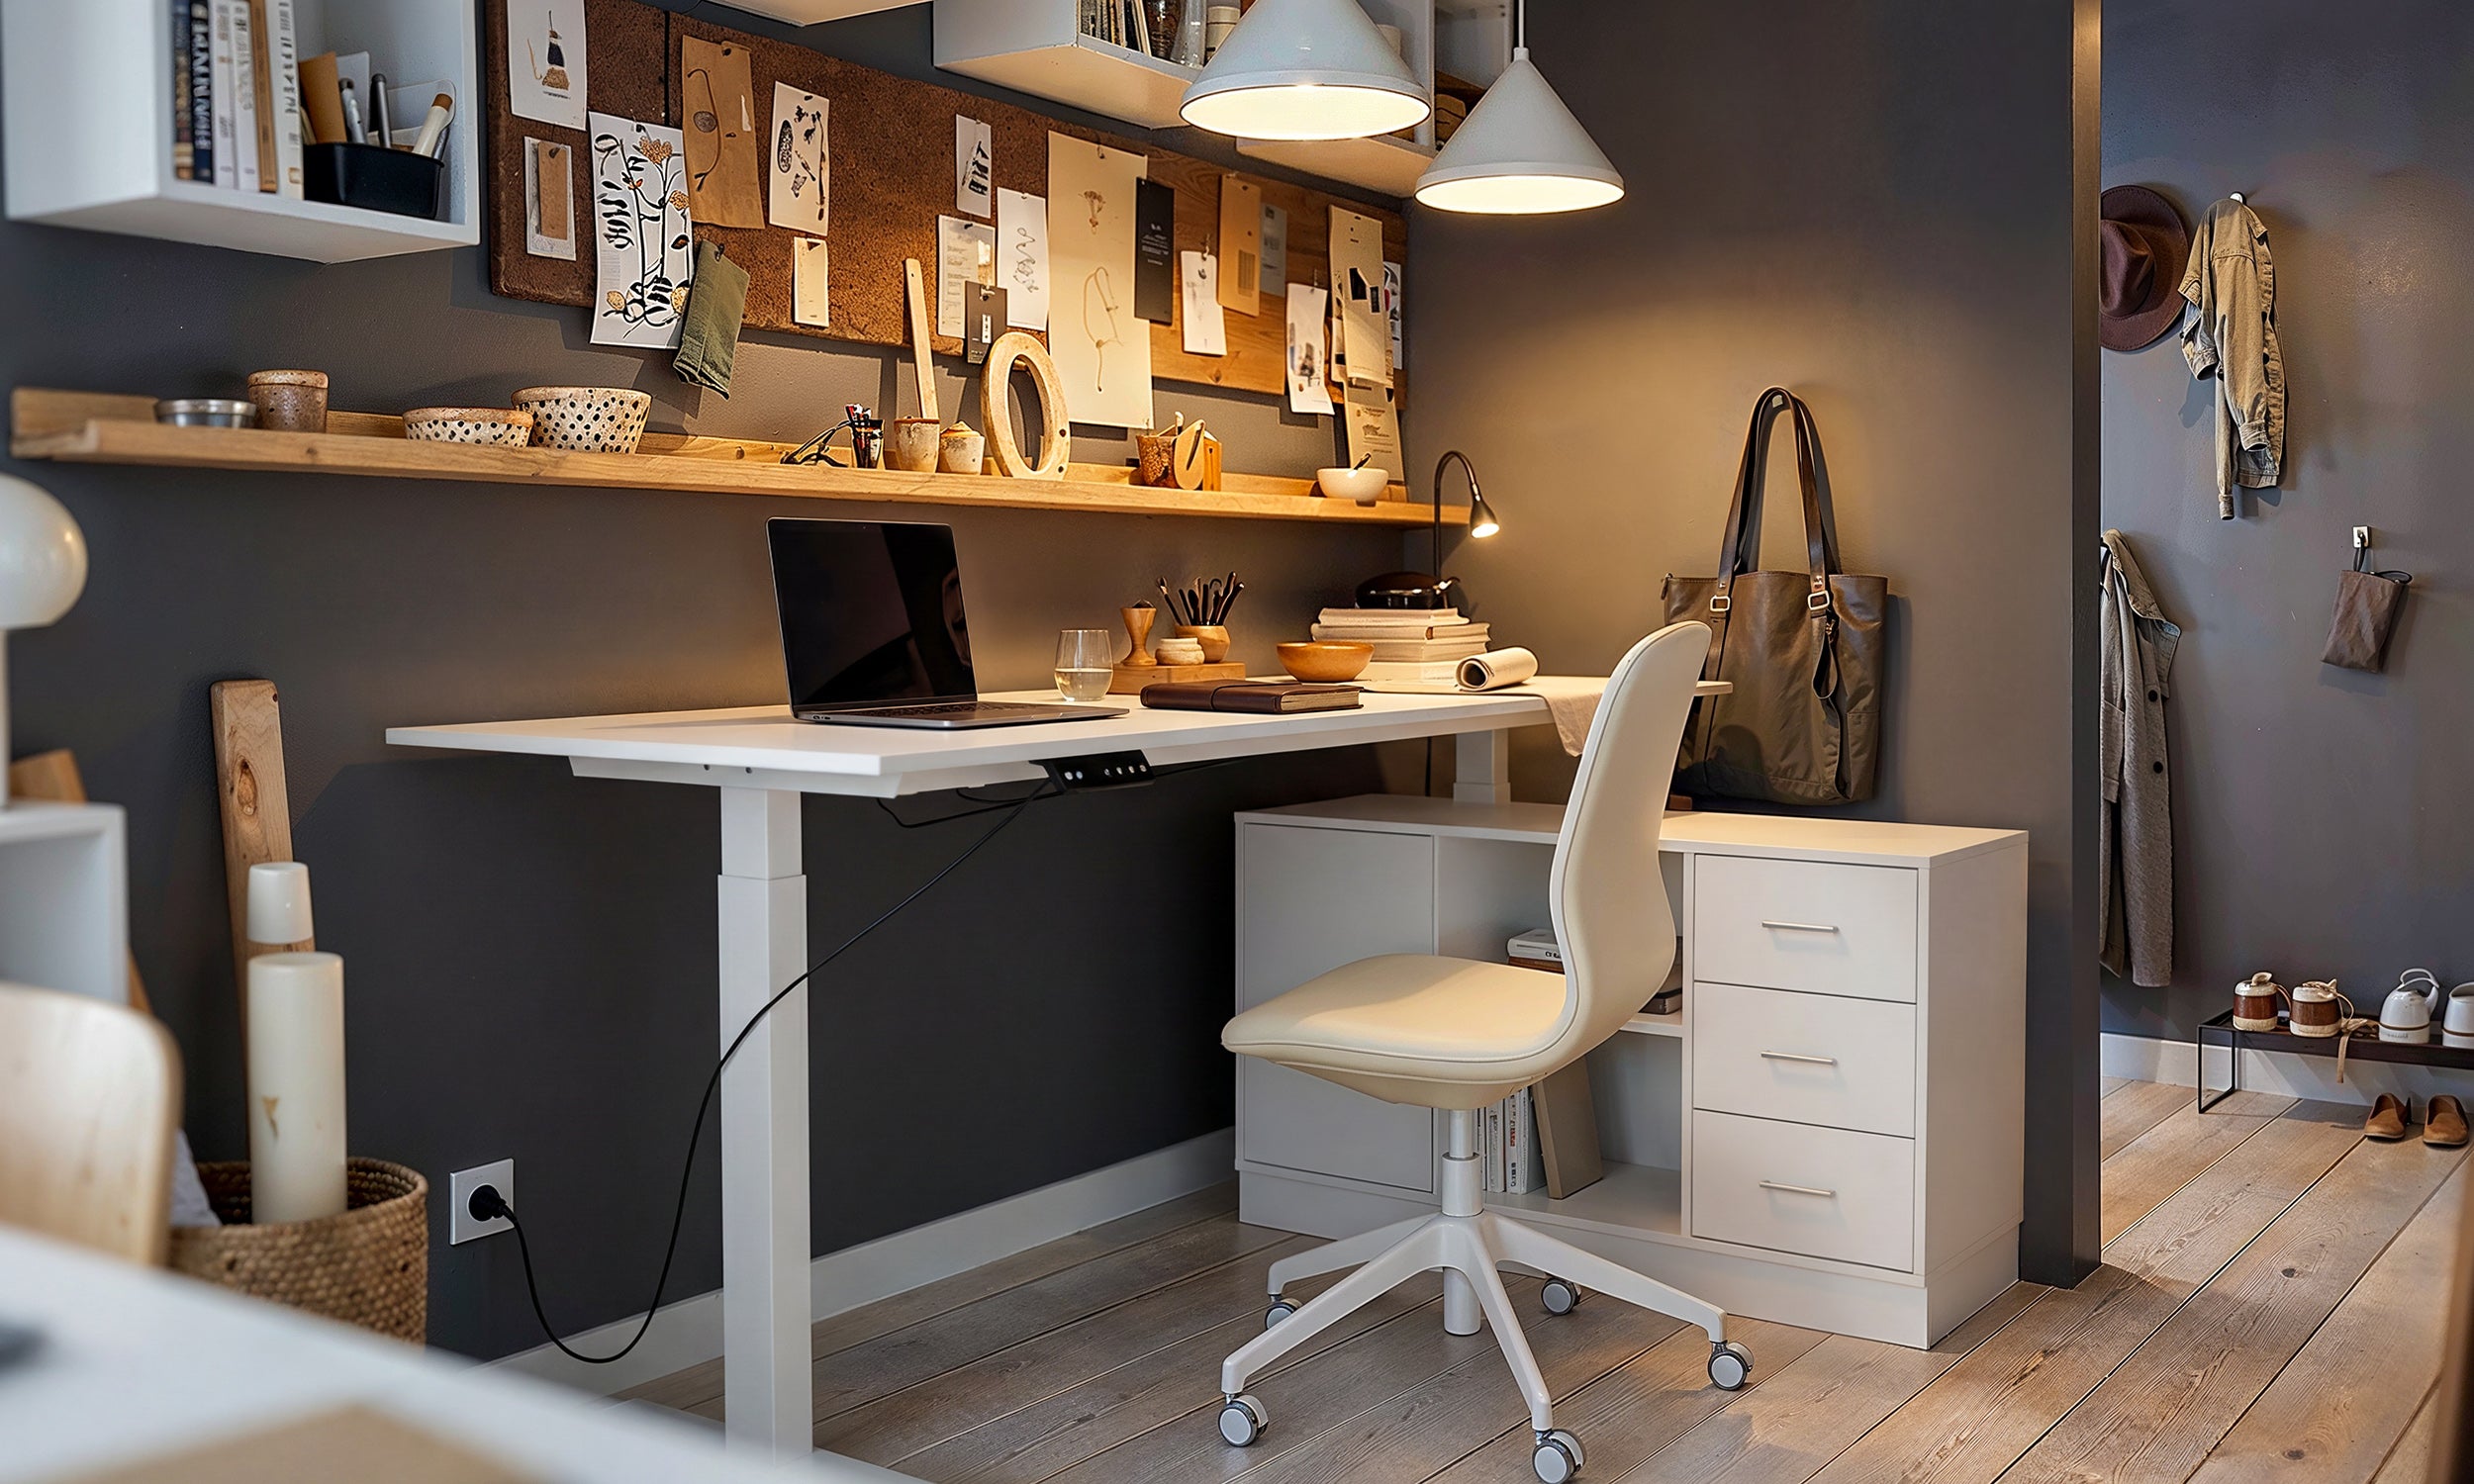
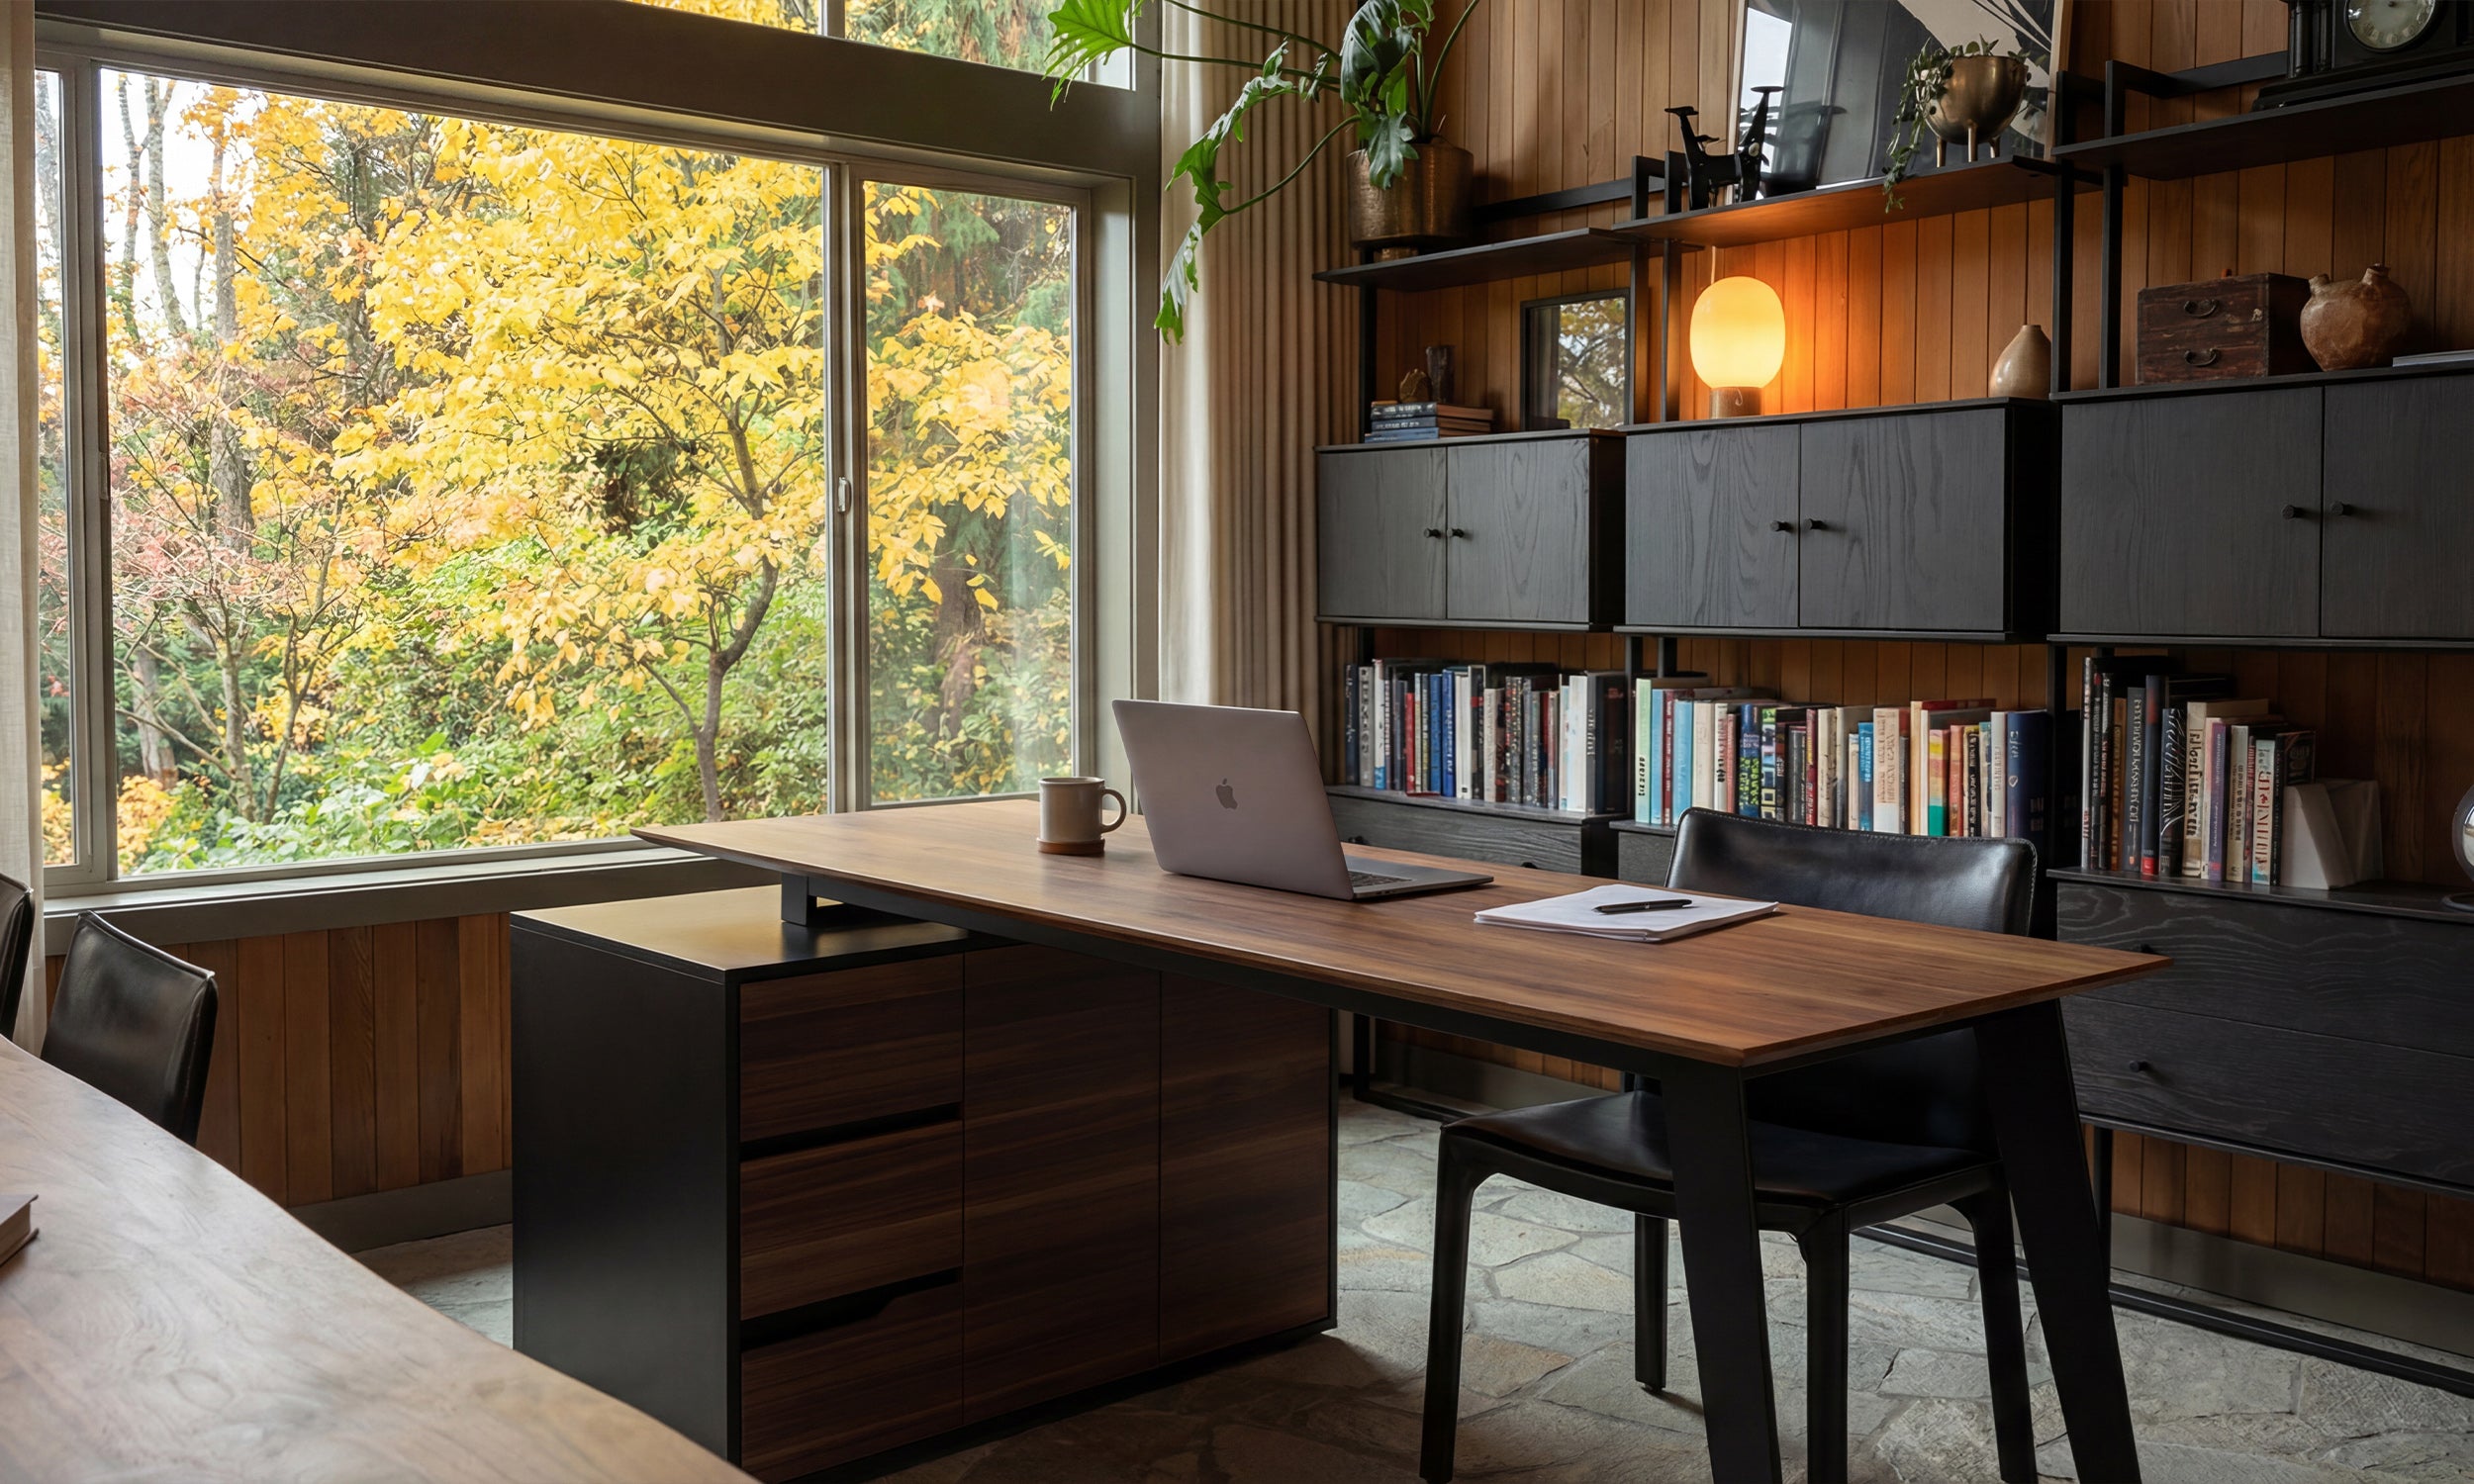


My entryway used to look like a crime scene for outerwear. Boots were scattered like landmines, mail piled up on a rickety side table, and three different backpacks tripped me every time I walked through the door. I finally called a contractor for a quote on a custom mudroom built-in and nearly choked when he told me it would start at $4,000 for basic MDF and labor.
I didn't have four grand, but I did have a car and a nearby hardware store. I realized that with a few home depot wood storage cabinets, some trim, and a weekend of sweat equity, I could fake the high-end look for about a tenth of the price. If you are tired of the clutter but refuse to pay a 'custom' tax, this is how you cheat the system.
Quick Takeaways
- Skip the flimsy particle board; look for solid pine or heavy-duty plywood utility cabinets.
- Anchoring to wall studs is non-negotiable for safety and that 'built-in' feel.
- High-end hardware is the easiest way to hide the fact that your cabinets came from a warehouse.
- Caulk and trim are your best friends for hiding gaps against the floor and ceiling.
The $4,000 Quote That Made Me Laugh Out Loud
When the contractor handed me the estimate for a 6-foot wide mudroom unit, I thought he’d accidentally added an extra zero. Four thousand dollars? For some cubbies and a bench? He explained it was the cost of 'custom cabinetry,' but I knew better. Most of that cost is labor and the markup on materials that aren't actually that much better than what you can find yourself.
I spent that night scrolling through Pinterest and realized that the 'custom' look is really just a series of boxes tied together with molding. I didn't need a master carpenter; I needed a smart way to arrange pre-made boxes. The goal was to find something deep enough for parkas but narrow enough not to block the hallway. That’s when I headed to the garage organization aisle.
Why I Chose Home Depot Wood Storage Cabinets Over IKEA
I love a good Swedish flat-pack as much as anyone, but let’s be honest: a Billy bookcase isn't designed to hold a soaked winter coat or a heavy bin of sports gear. IKEA furniture is often made of honeycomb paper or thin particle board. When you’re dealing with the high-traffic chaos of an entryway, you need something that won't sag the moment you put a heavy boot on the shelf.
The utility units at the hardware store are built for garages, which means they are actually designed to hold weight. Choosing solid wood or heavy-duty plywood units is the ultimate organization hack because you aren't constantly worried about the shelves snapping. These cabinets are usually 18 to 24 inches deep, which is the sweet spot for hiding bulky winter gear without it spilling out into the room.
The 'Fake Built-In' Process (It's Easier Than You Think)
The secret to making freestanding cabinets look like they were built with the house is all in the base and the edges. First, I ripped out the existing baseboard where the cabinets were going to sit. This allows the cabinets to sit flush against the wall. If you leave the baseboard, you’ll have a weird gap that screams 'I just pushed this furniture here.'
Once the cabinets were in place, I screwed them together through the side frames and then used long wood screws to anchor them directly into the wall studs. This is vital. If you don't anchor them, they will wobble, and the 'built-in' illusion is ruined. After they were secure, I ran a new piece of baseboard across the bottom of all the units. It ties them into the floor and makes the whole unit look like it grew out of the wall.
Dealing With the Awkward Gap at the Ceiling
Unless you have very short ceilings or very tall cabinets, you’re going to have a gap at the top. This is a dust magnet and a total giveaway that these are store-bought boxes. I fixed this by building a simple 'soffit'—basically just a small wooden frame—and nailing it to the top of the cabinets and the ceiling joists.
I covered that frame with a flat piece of trim and then finished it off with crown molding. If you aren't great at miter cuts, don't panic. Use plenty of wood filler and caulk. Once it's painted the same color as the cabinets, nobody will ever know there’s a gap up there. It adds that vertical height that makes the whole room feel more expensive.
Hardware is the Ultimate Disguise
The stock handles that come with garage cabinets are usually hideous—think cheap plastic or thin brushed nickel. Throw them away immediately. I went to a specialty hardware site and ordered heavy, unlacquered brass pulls. The weight of a real metal handle changes the entire experience of opening the door.
When you touch something that feels substantial, your brain registers it as 'high quality.' I also opted for oversized pulls—about 8 to 10 inches long—which gives the cabinets a modern, designer feel. It cost me about $100 for the hardware, but it added about $1,000 in perceived value to the project. Don't skimp here; it's the one thing you'll touch every single day.
What Actually Fits Inside (And What Doesn't)
These cabinets are workhorses. I dedicated one full cabinet to 'the abyss'—the place where the vacuum cleaner, broom, and steam mop live. Because these are garage-grade, the bottom shelf doesn't flex under the weight of a heavy upright vacuum. The other cabinets got adjustable shelves for bins of hats, gloves, and those random reusable grocery bags we all have too many of.
The only downside? The depth. At 24 inches, things can get lost in the back if you don't use bins. I found that adding a corner wooden bench with storage compartments next to the tall units gave us a place to actually sit down and put on shoes, which the cabinets alone couldn't provide. My one big mistake was not checking if my floor was level first. I had to spend two hours shimming the bottom of the middle cabinet so the doors would actually line up. Check your levels before you start drilling!
FAQ
Can I paint these cabinets if they come finished?
Yes, but you have to sand them first. Use a high-quality primer like Zinsser BIN to make sure the paint actually sticks to the factory finish, otherwise it will peel off in a month.
How long does this project take?
If you have all your materials ready, you can get the cabinets anchored and trimmed out in a full Saturday. Painting and hardware usually take a second day because of drying times.
Do I really need to remove my baseboards?
Technically no, but you'll regret it. If you don't, the cabinets won't be flush, and you'll have to use much thicker trim to hide the gaps, which usually looks clunky and amateur.


Leave a comment
This site is protected by hCaptcha and the hCaptcha Privacy Policy and Terms of Service apply.