



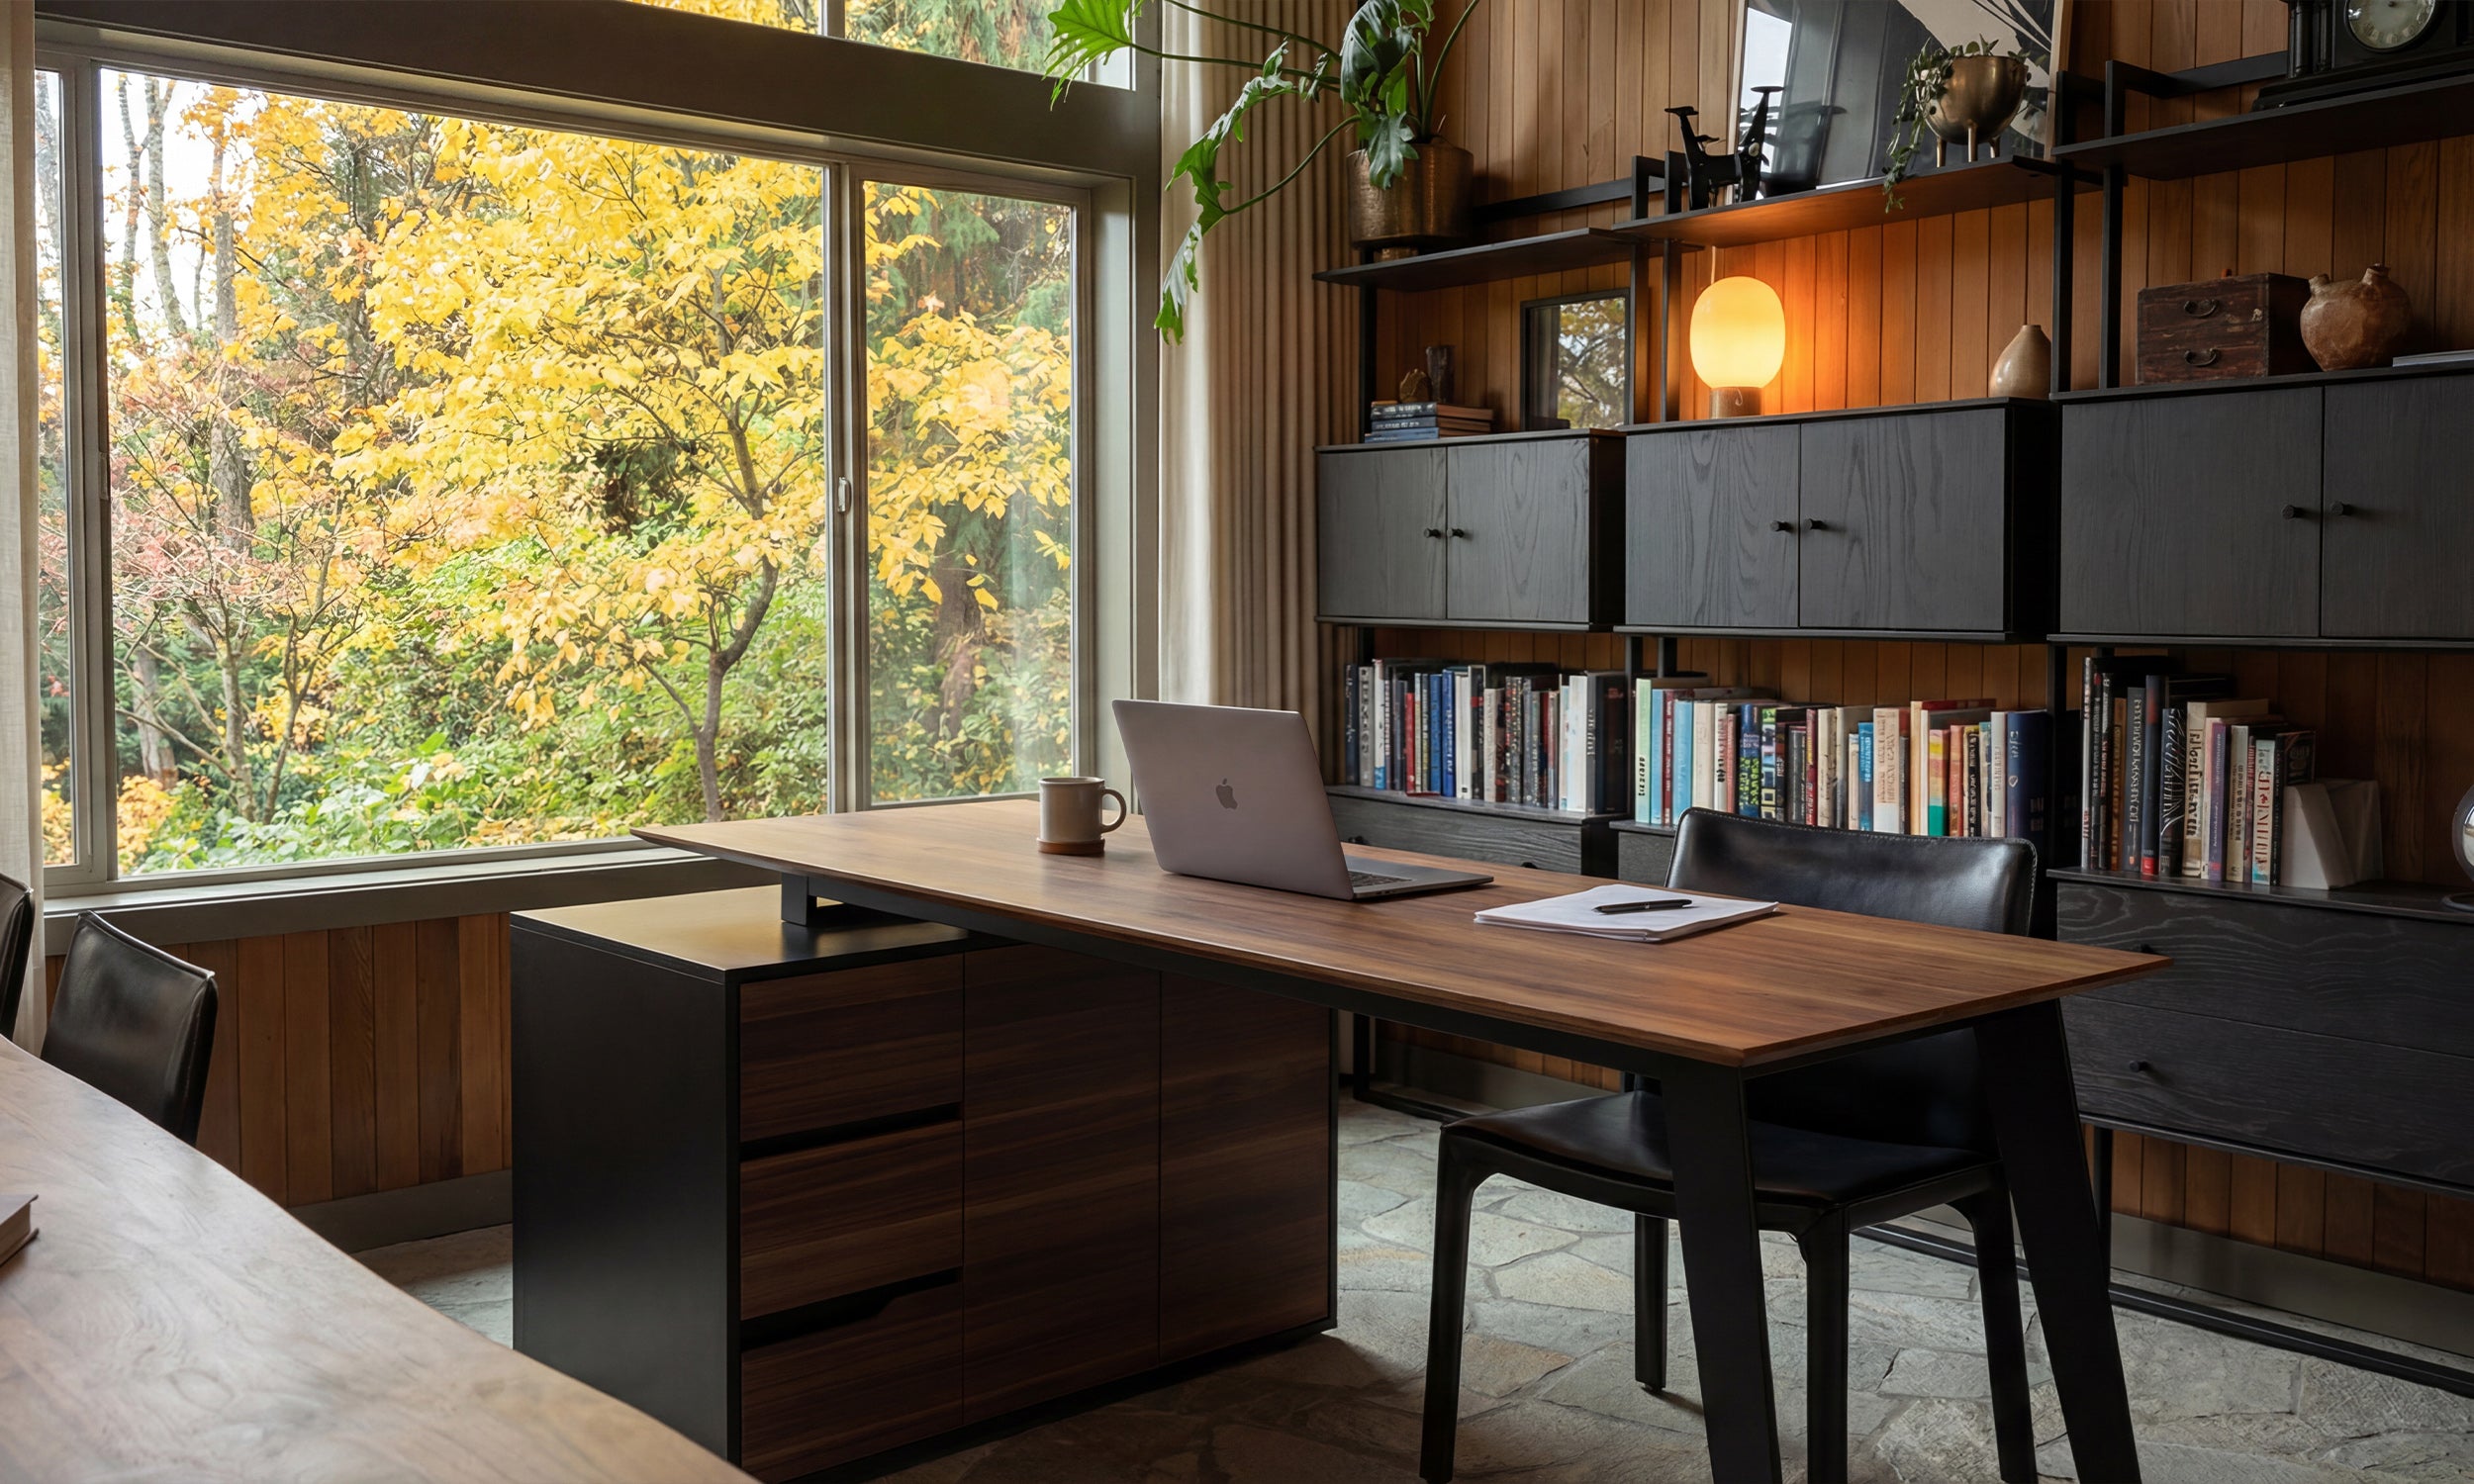


I spent three weeks staring at a blank 14-foot wall in my living room, sketching out grand plans for floor-to-ceiling oak cabinetry. Then I got a quote from a local carpenter that cost more than my first car. I wasn't about to drop five grand on a wall I might hate in two years, so I started looking for a workaround. That's when I realized a tv stand with built-in mount was the secret weapon for faking the custom look without the permanent commitment or the contractor bill.
Quick Takeaways
- Save thousands by skipping custom millwork and using modular pieces instead.
- Renter-friendly: Get the floating screen look without drilling into wall studs.
- Integrated cable management hides the 'spaghetti' mess of HDMI cords.
- A heavy, weighted base is non-negotiable for stability with 65-inch+ screens.
The Problem With Real Built-Ins (And Why I Bailed)
Real built-ins are a marriage. Once they are in, they are in. You're drilling into studs, painting trim to match the baseboards, and praying your next TV isn't three inches wider than the current one. The quotes I got averaged $4,500 for a basic MDF setup. For a custom hardwood build? Forget it.
Beyond the cost, the thought of permanently anchoring my 65-inch OLED into the drywall gave me actual hives. I like to rearrange my furniture every six months to keep things fresh. A permanent wall unit makes that impossible. I needed something that looked architectural but moved like furniture.
The 'Aha' Moment: Faking It With a TV Stand Integrated Mount
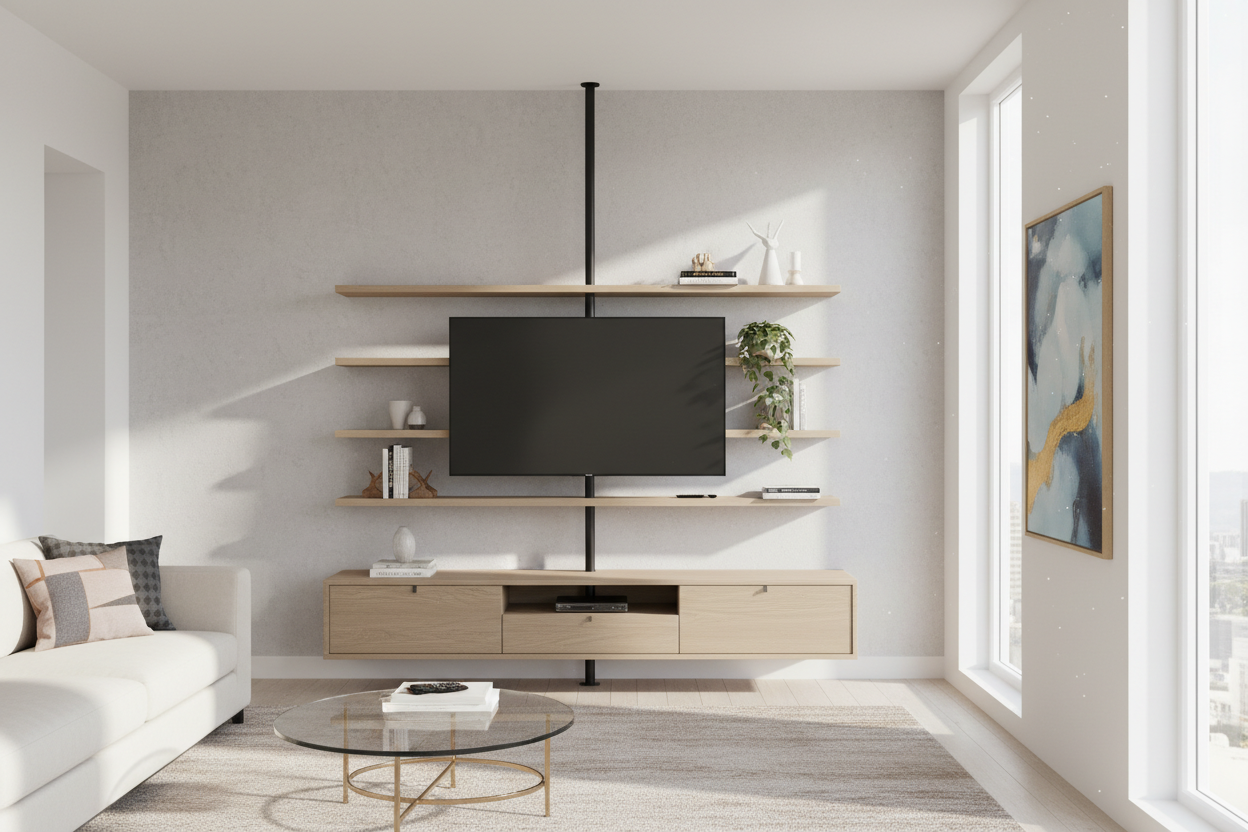
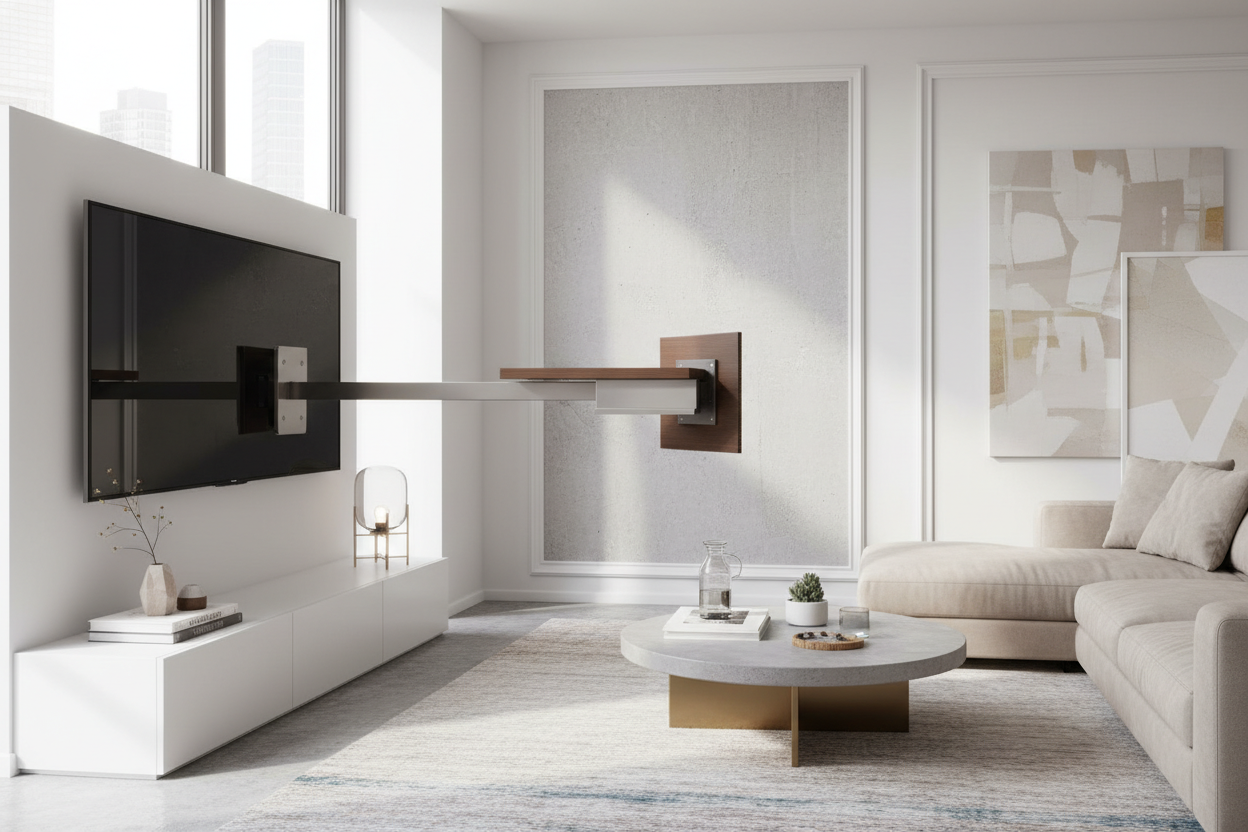
I realized I didn't need a carpenter; I needed a hybrid. By using a tv stand integrated mount, you get the 'floating' screen look of a wall mount without the drill. The trick is finding the right base from a collection of Tv Stands that sits low enough to let the integrated mast do the heavy lifting.
The strategy is simple: place the stand in the center, then flank it with modular bookcases that share the same depth—usually around 15 to 18 inches. When you push them flush against each other, the integrated tv stand becomes the 'bridge' that holds the screen, while the side units provide the massive storage footprint of a custom build.
How I Built the Illusion for Under $1,000
To make it look like one piece, I matched the finish of my side shelves to the base of the mount. If you aren't into the DIY hunt of matching wood grains, you can grab something like this Modern 3 Piece Entertainment Center With Overhead Cabinets And 69 Tv Stand Natural Wood And Black Finish. It does the heavy lifting for you by providing a cohesive, three-piece look right out of the box.
I used small black mending plates on the back of my units to pull them together so there were no gaps. Total cost for my setup? $840. Total time? One Saturday afternoon and two beers. If you align the depths perfectly, guests will assume it’s a single unit bolted to the wall.
Choosing an Entertainment Center With Built-In TV Mount
You need a heavy base. If you go too light, the whole thing feels tippy and cheap. Look for an entertainment center with built-in tv mount that has a weighted bottom or a wide footprint. I opted for one with a steel spine because I didn't want to worry about my expensive screen sagging over time.
I’ve found that Why I Swapped My Console for a TV Stand With Mount and Shelves is a great resource for understanding the ergonomics here. Having those extra display surfaces right under the screen makes it look intentional, not like a TV just stuck on a pole. It creates a focal point that anchors the entire room.
Hiding the Wires in a TV Mount Stand With Shelves
Nothing kills the 'custom' vibe faster than a black HDMI cable dangling like a vine. This is where the tv mount stand with shelves wins every time. Most of these units have a hollow central spine. I threaded my power strip and three HDMI cables through the back of the pillar, completely hiding them from view.
From the front, it looks like the TV is magically hovering against the wood or the wall. No cord covers, no plastic raceways, and no cutting holes in the drywall to fish wires through the insulation. It is the cleanest look you can get without a professional electrician.
The Final Result: A Flawless Focal Point (No Tools Required)
The finished wall looks massive. It anchors the room and gives me all the storage of a custom unit without the permanence. Using a tv stand with integrated mount allowed me to get the height exactly where I wanted it—eye level, not 'above the fireplace' neck-strain level.
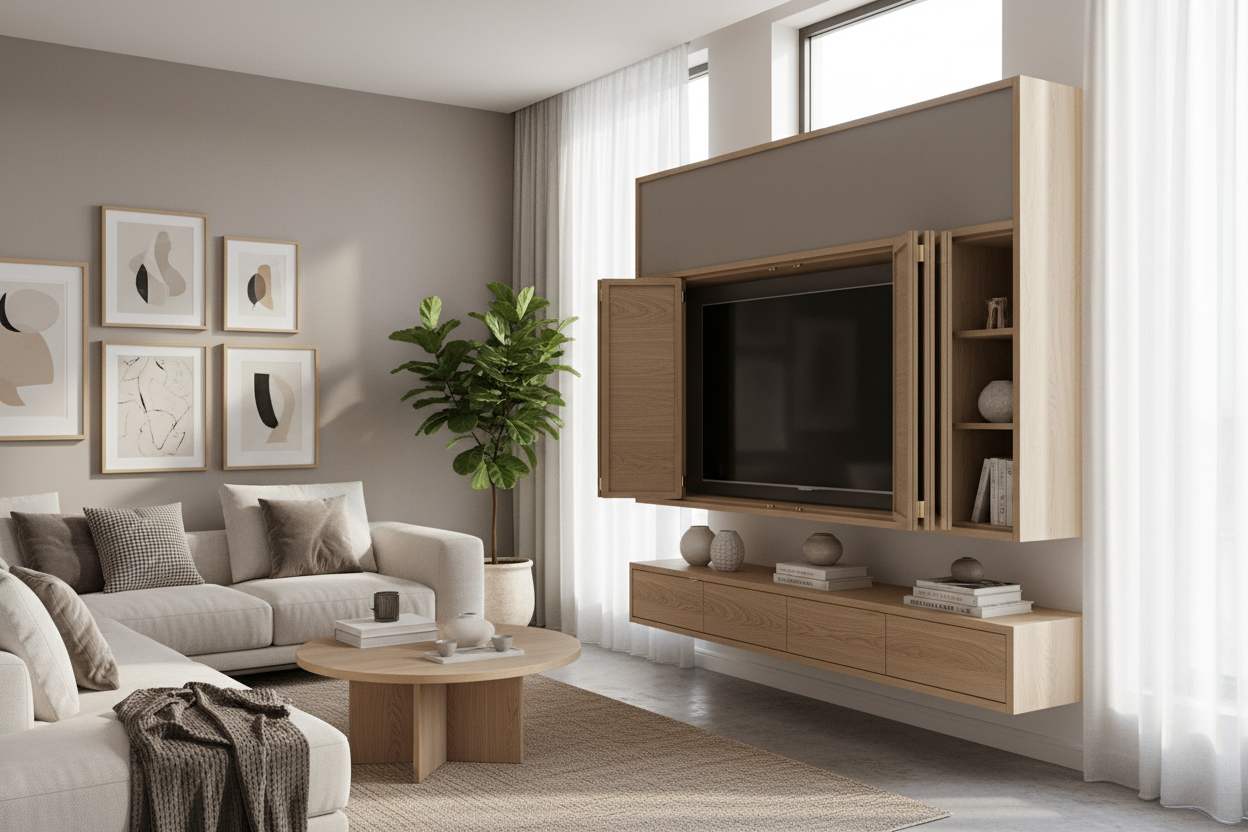
The combination of the central mount and flanking bookshelves creates high-end drama on a budget. The best part? If I move to a new apartment next year, it all comes with me in pieces. It’s the high-end look I wanted, without the $5,000 price tag or the security deposit deduction for wall damage.
FAQ
Will it tip over if I have a large TV?
Not if you check the weight rating. Most quality stands are rated for 100 to 130 lbs, which is plenty for a modern 65 or 75-inch screen. Just make sure the base is wide enough.
Can I adjust the height later?
Yes, that is the best part. Most integrated mounts have 3 to 5 height settings on the back bracket, so you can raise or lower the screen as you change your seating or add a soundbar.
Does it fit any TV brand?
These stands use standard VESA patterns. If your TV was made in the last decade, the mounting holes on the back will almost certainly line up with the stand's bracket.

Dejar un comentario
Este sitio está protegido por hCaptcha y se aplican la Política de privacidad de hCaptcha y los Términos del servicio.