


I’ve spent too many Sunday afternoons staring at my basic flat-pack bookcase feeling like I failed at adulting. It was functional, sure, but it had all the charm of a doctor’s waiting room. I realized the difference between my sad particle-board unit and the stunning libraries I saw on Pinterest wasn't just the wood—it was the led shelf lighting.
Quick Takeaways
- Never leave LED diodes exposed; always use a diffuser channel.
- Choose 3000K (warm white) for a high-end, cozy library feel.
- Front-mounting the lights provides better visibility for book titles.
- Hide your wires behind the vertical supports or inside routed grooves.
The Difference Between Flat-Pack and Custom is Usually Lighting
High-end interior designers have a secret: they don't just build shelves; they build light boxes. When you see a $5,000 custom unit, your eyes are being drawn to the depth and shadows created by integrated pucks or strips. Most of us just buy a box, shove it against a wall, and wonder why it looks flat.
You don't need a master carpenter to fix this. By adding light, you create a sense of intentionality. It stops being a place where you dump mail and starts looking like a curated display. The goal is to make the light feel like it’s part of the architecture, not something you slapped on as an afterthought.
The 'Dotted Line' Problem (And Why Bare Tape Fails)
The biggest mistake I see—and I've made it myself—is sticking bare shelf strip lights directly onto the wood. You end up with those ugly, bright 'dots' reflecting off your glossy book covers or glass vases. It looks like a cheap DIY project from 2012. This is exactly why floating shelf lighting looks cheap when people first try it.
Bare led light strips for shelves are also incredibly harsh on the eyes. If you’re sitting on the sofa, you don’t want to be blinded by a tiny diode every time you look up. You want a wash of light, not a laser beam. Diffusion is the only way to get that high-end glow without the headache.
The $15 Hack That Makes LED Strips for Shelves Look Expensive
The secret is aluminum LED channels with milky diffusers. You can find these for about $15 to $20 for a multi-pack. You stick your led strips for shelves inside the metal U-channel and snap the frosted plastic cover over the top. It turns those individual dots into one solid, seamless bar of light.
I prefer the 45-degree angled channels. If you mount these at the front inner corner of each shelf, they aim the light back toward your books and decor at a perfect angle. It hides the light source from your eyes while drenching the shelf contents in a soft, expensive-looking glow. It’s the single most effective way to make cheap furniture look like custom millwork.
Front or Back? The Placement Debate
Where you put the lights depends on what you’re showing off. If you mount the strips at the back, you get a cool silhouette effect—great for glass bottles or sculptural pieces. But for books, I always go front-mount. It illuminates the spines so you can actually find what you're looking for at night.
If you're working with adjustable shelf storage, routing the wires is the trickiest part. I usually drill a small 1/4-inch hole in the back corner of each shelf and run the wires down the 'dead space' behind the back panel. If your bookcase is flush against the wall, you might need to use a small bit of white gaffer tape to keep the wires tight against the corners so they disappear.
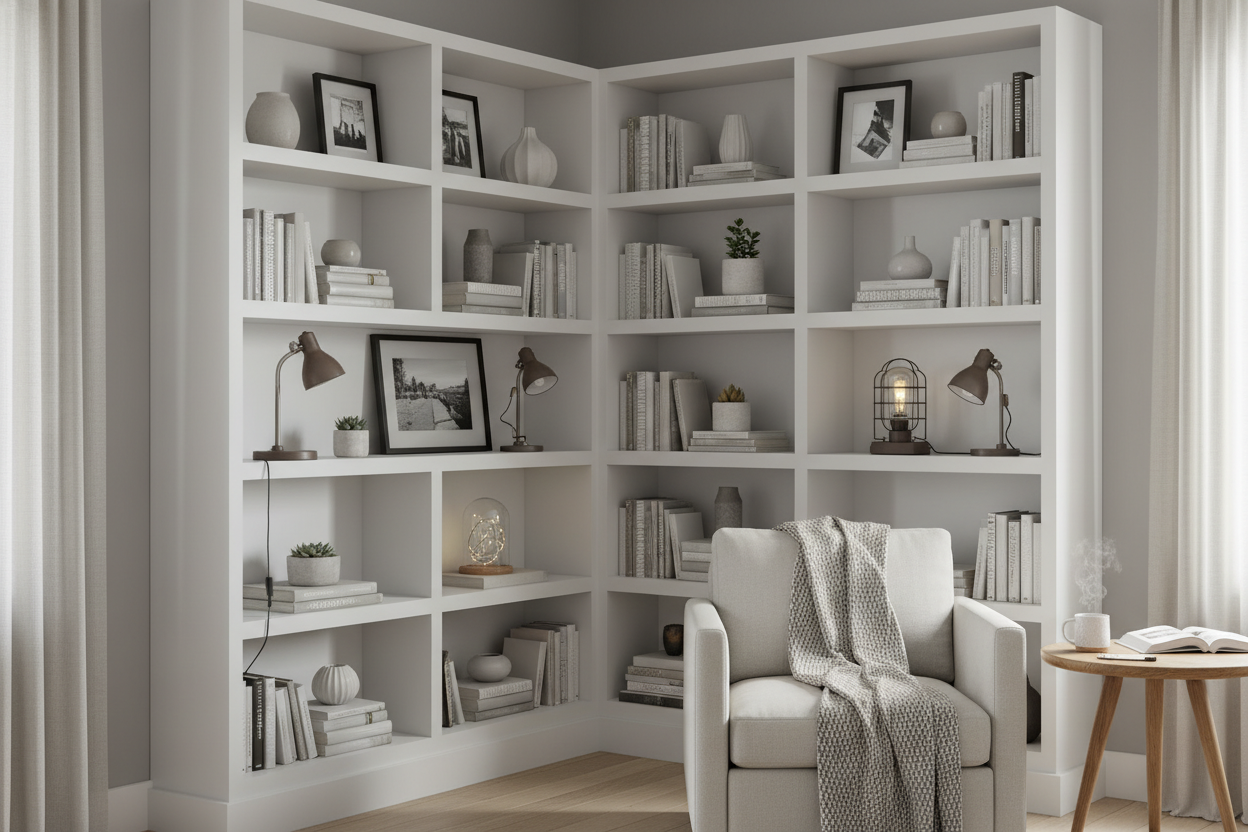
Rather Not DIY? These Pre-Lit Units Actually Look Good
Look, I get it. Not everyone wants to spend a Saturday soldering wires and drilling holes into their furniture. If the idea of 'wire management' makes you want to nap, there are plenty of pieces that come with the tech already baked in. You get the professional look without the sticky-tape-peeling-off-at-3-AM drama.
For instance, a bookcase with dual cabinets glass shelves is a great 'set it and forget it' option. The lighting is integrated into the structure, so the wires are completely invisible. If you have a larger collection and want to go vertical, a display bookcase with led light gives you that museum-quality feel right out of the box. Sometimes paying a bit more upfront saves you ten hours of frustration later.
My Biggest Mistake (Don't Do This)
When I first started, I bought 'Cool White' strips (around 5000K). My living room ended up looking like a sterile dental office. It was miserable. I ripped them all out two days later and replaced them with 3000K Warm White. Always check the Kelvin rating before you peel the adhesive. Warm light makes wood look rich; cool light makes it look like plastic.
FAQ
How do I hide the messy wires?
Use plastic cable raceways that match the color of your shelf. If the shelf is white, a white raceway tucked into the corner is virtually invisible. You can also run wires behind the backboard of the bookcase.
Can I use battery-powered lights instead?
You can, but I wouldn't. Battery pucks die quickly and they are never as bright as plug-in strips. If you want that 'custom' look, go with a 12V or 24V plug-in system that you can put on a smart plug or a dimmer.
Do I need to be an electrician to do this?
Nope. Most LED kits are 'plug and play' with simple barrel connectors. As long as you can use scissors to cut the strip at the designated marks, you’re qualified.
Dejar un comentario
Este sitio está protegido por hCaptcha y se aplican la Política de privacidad de hCaptcha y los Términos del servicio.