


I spent three months staring at a tangled nest of HDMI cables behind a $40 particle-board stand before I decided I was a 'carpenter.' I convinced myself that building a built-in entertainment center would be a simple weekend project that would magically turn my cluttered living room into a high-end library. I was wrong. It took four weekends, three trips to the emergency room for more wood glue, and a lot of swearing at my level.
The reality of a do it yourself built in entertainment center is that it is less about the 'creative vision' and more about fighting with crooked walls and sawdust that finds its way into your coffee. It is a massive undertaking, but if you have the patience, it is the only way to get that custom, floor-to-ceiling look without spending five figures on a professional contractor.
Quick Takeaways
- Blueprints are mandatory; winging it leads to crooked shelves and tears.
- Your TV needs at least 2 inches of breathing room on all sides to prevent overheating.
- Cable management must be planned before you drive a single screw.
- Sometimes, a high-quality modular kit is cheaper and looks better than a botched DIY job.
The 'Custom Wall' Delusion vs. Reality
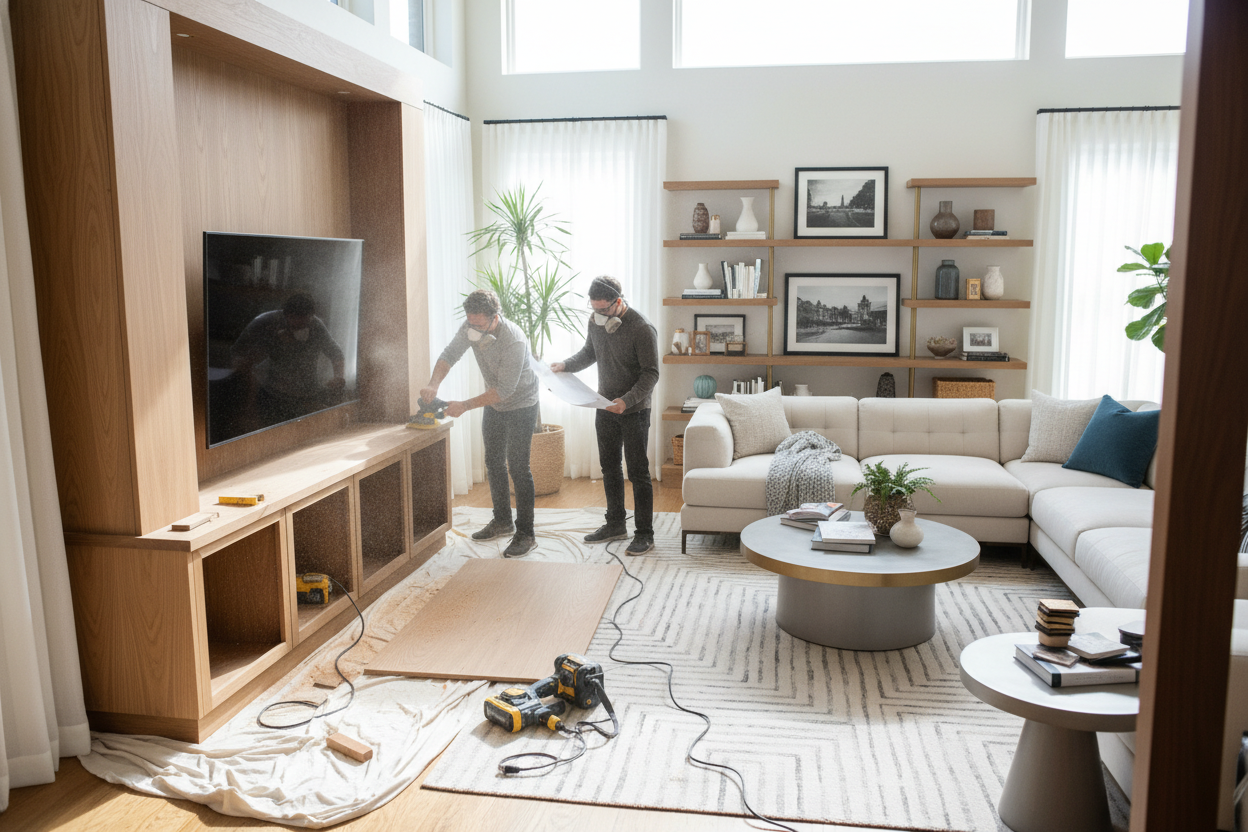
We have all seen those 30-second reels where a diy home entertainment wall goes up in a flash. In the real world, a do it yourself entertainment center requires you to understand framing. Most people think they can just screw some plywood boxes to the wall and call it a day. If you do that, your shelves will eventually sag under the weight of your books or that vintage receiver you refuse to get rid of.
Making an entertainment center involves more than just woodworking; it involves drywall work and baseboard matching. If your house was built after 1950, your walls are not straight. I spent six hours just shimming the base of my unit because my floor had a half-inch slope that I never noticed until I tried to build something level on top of it. This is not a project for the faint of heart or the person who hates sanding.
Getting Your Blueprints and Measurements Right
Before you buy a single sheet of birch plywood, you need blueprints for entertainment center success. I once tried to 'sketch as I go' and ended up with a unit that was three inches too wide for the alcove. It was a $400 mistake. You need to account for the thickness of your lumber, the height of your crown molding, and the depth of your deepest component.
If you are working with a tricky layout, like a sloped ceiling, you need to be even more precise. I’ve seen people struggle with How to Fix a Built In Entertainment Center Vaulted Ceiling Layout because they didn't account for the angle of the roofline. Your entertainment center design plans should look like a professional architectural drawing, not a napkin sketch. Measure your wall at the top, middle, and bottom. Then do it again. You will be surprised how much those numbers vary.
Factoring in Your TV and Cable Routing
When you are making entertainment center plans, the TV is the star, but the cables are the villain. I see so many people build beautiful units only to have a black cord dangling down the middle. You need to build a 'chase'—a hollow space behind the back panel—where you can run your wires. If you are learning how to build a tv entertainment center, don't forget about heat. Receivers and gaming consoles get hot. If you trap them in a tight cabinet without ventilation, you’re basically slow-cooking your electronics.
The Woodworking Tools You Actually Need
Entertainment center woodworking is not a 'hammer and nails' situation. To get professional results, you need a table saw for long, straight rips and a miter saw for clean crosscuts. If you want to avoid visible screw heads, a pocket hole jig is your best friend. It allows you to join wood from the inside, giving you that 'built-in' look without the ugly hardware showing. I also recommend a router for adding decorative edges to your shelving.
And let’s talk about wood filler. If you are a beginner, you will use a lot of it. It is the secret sauce that hides your 'oops' moments. When I was building my first diy entertainment cabinet, I used enough wood filler to practically reconstruct a whole tree. Once it’s sanded and painted, nobody knows the difference. Just make sure you buy a high-quality, non-shrink version, or your seams will reappear in six months.
When to Skip the Sawdust and Buy Pre-Made
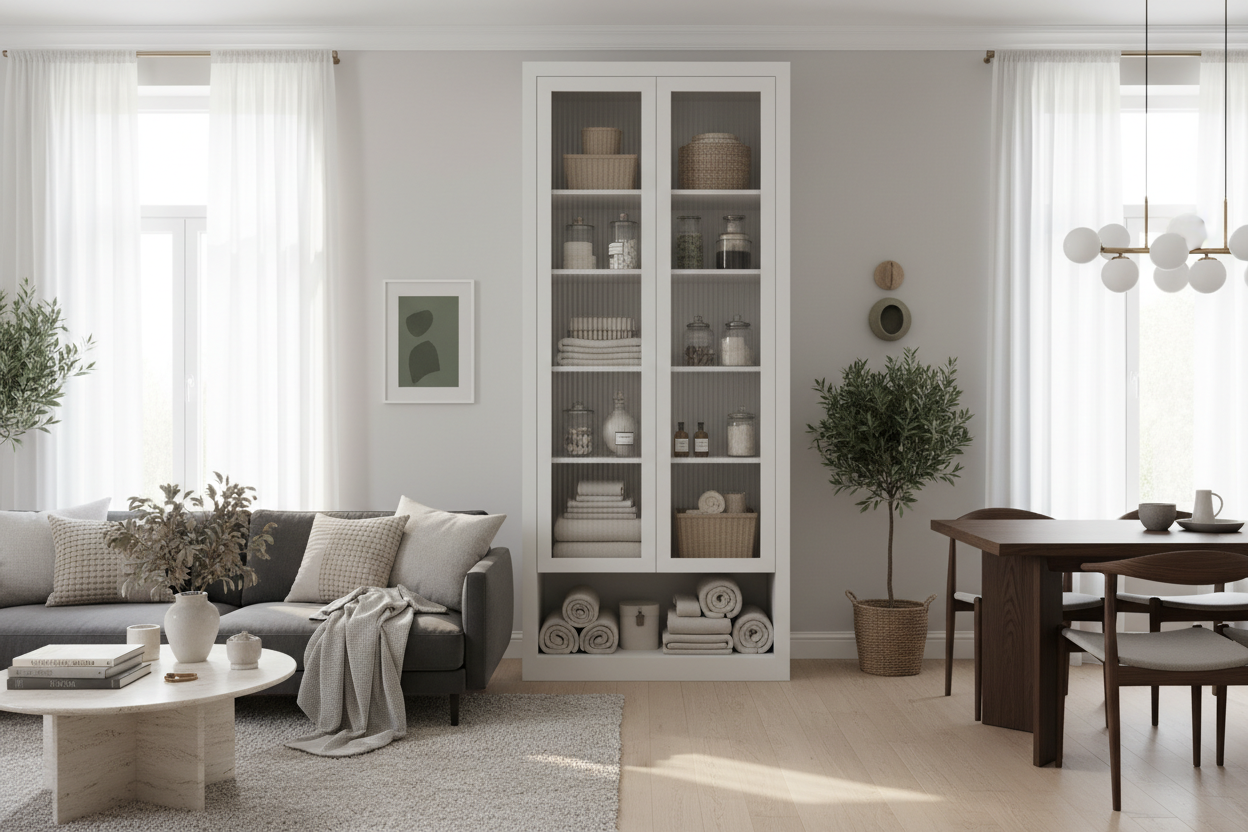
There is no shame in realizing that a custom build is out of your league. Sometimes, the cost of lumber, tools, and paint adds up to more than just buying a high-end Entertainment Center from a reputable shop. If you aren't comfortable with a table saw, you might end up with a 'homemade' look that actually devalues your home rather than improving it.
If you want the massive, custom look without the six months of dust, look at modular options. For instance, the Modern 3 Piece Entertainment Center With Overhead Cabinets And 69 Tv Stand Natural Wood And Black Finish gives you that floor-to-ceiling presence and integrated storage without requiring you to own a single power tool. It’s often cheaper, the finish is more durable than DIY paint, and it won't leave your living room looking like a construction zone for three months.
My Personal Sanding Nightmare
I once decided to build a 12-foot wide entertainment center out of solid oak. I thought I could sand it by hand. By the third day, my hands were vibrating even when I wasn't holding the sander. I ended up with a finish that looked like orange peel because I got impatient. The lesson? If you DIY, buy a high-quality random orbital sander and a shop-vac attachment. Your lungs and your marriage will thank you.
FAQ
How much does it cost to build a built-in entertainment center?
For a basic DIY unit using furniture-grade plywood, expect to spend between $800 and $1,500. If you go with hardwoods like oak or walnut, that price can easily triple. Don't forget to budget $200 just for paint and supplies.
What is the best wood for a built-in entertainment center?
Birch or Maple plywood is the industry standard for built-ins. It is stable, takes paint beautifully, and is much cheaper than solid wood. Just make sure to use iron-on edge banding to hide the plywood layers on the front.
How deep should a built-in entertainment center be?
Most units are 16 to 20 inches deep. This is enough to fit a standard AV receiver and most gaming consoles while still leaving room for cable management behind them. If you only have a TV and a soundbar, you can get away with 12 to 14 inches.
Dejar un comentario
Este sitio está protegido por hCaptcha y se aplican la Política de privacidad de hCaptcha y los Términos del servicio.