


I once spent $85 on a custom-sized acrylic box for a vintage camera, only for it to arrive with a hairline fracture and a 'no returns' policy. I tried to fix it myself with standard super glue, which immediately clouded the plastic and made the whole thing look like it had been salvaged from a dumpster. That was the day I decided to figure out how to make a diy display box that actually looks professional without the custom-order price tag.
- Glass is easier to clean and scratch-resistant compared to cheap acrylic.
- Skip the power tools; pre-cut glass sheets from the hardware store are the secret.
- Use E6000 or silicone-based adhesives to avoid the 'clouding' effect of super glue.
- Corner clamps are the only specialty tool you really need to keep things square.
Confession: I Ruined Three Attempts Before Getting This Right
My first attempt at making display cases involved a hand saw and a prayer. I thought I could just cut some scrap plywood, slap some plexiglass on top, and call it a day. I was wrong. The wood split, the plexiglass cracked when I tried to drill it, and I ended up with more bandages on my fingers than display-worthy items. It turns out that building a display case requires a bit more finesse than a standard birdhouse project.
After that, I tried the 'glue-only' method for a diy glass display case. I used too much glue, and it squeezed out of the seams like toothpaste, leaving permanent smears that mocked me every time the sun hit the shelf. I almost gave up and went back to buying overpriced plastic boxes. But then I realized the trick: you don't build the box around the item; you source the glass first and let the dimensions dictate the design.
The 'No Power Tools' Supply List
To build a display box without a woodshop, you have to be smart about your shopping list. Head to the glass section of your local hardware store. Most carry pre-cut 8x10 or 5x7 glass sheets for picture frames. These are your walls. Buying these means you don't have to learn how to make a glass display box by cutting glass yourself—which is a recipe for stitches.
You will also need a tube of clear E6000 adhesive or clear aquarium silicone. Avoid 'instant' glues; you need the 10-minute wiggle room to get your angles straight. Pick up some 1/2-inch square wooden dowels or 'L' shaped molding for the base and corners. If you want to make a glass display cabinet look high-end, grab some black spray paint for these wooden bits before you assemble. Finally, get a set of 90-degree corner clamps. They cost about $5 each and are the difference between a square box and a leaning tower of glass.
How to Build the Enclosure (Without Losing Your Mind)
Start by prepping your base. I like to use a piece of finished pine or even a sturdy picture frame with the glass removed. This gives your homemade display case a solid foundation. Lay your first glass pane down and apply a tiny, bead-sized amount of glue to the edge. Use a toothpick to spread it thin. You want just enough to bond, not enough to squish out.
This is where people usually fail at how to build a display case with glass: they try to hold the pieces by hand. Don't do that. Use your corner clamps to hold two pieces of glass at a perfect 90-degree angle while the glue sets. Repeat this for all four sides. Let it cure for at least 24 hours. If you try to move it sooner, the whole thing will fold like a house of cards. For the top, you can either glue a final pane of glass or leave it open if you're making a diy wall display case that hangs vertically.
When to DIY and When to Just Buy the Cabinet
I love a project, but I also know my limits. If you're trying to house a single signed baseball or a pair of vintage shoes, a diy display case is perfect. However, if your collection has grown to the point where you're looking at how to build a display cabinet for fifty items, stop. Building a large-scale diy glass display cabinet that is structurally sound and dust-proof is a massive undertaking that usually ends in frustration.
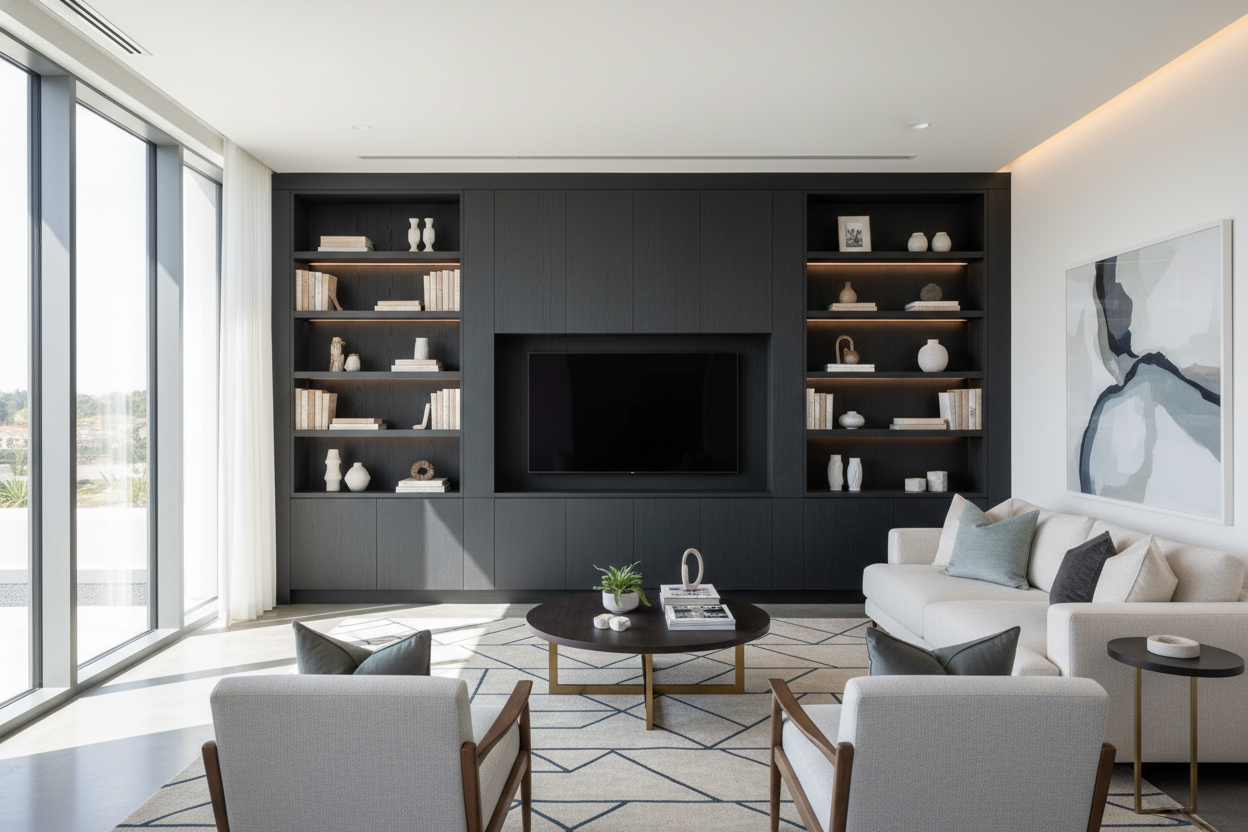
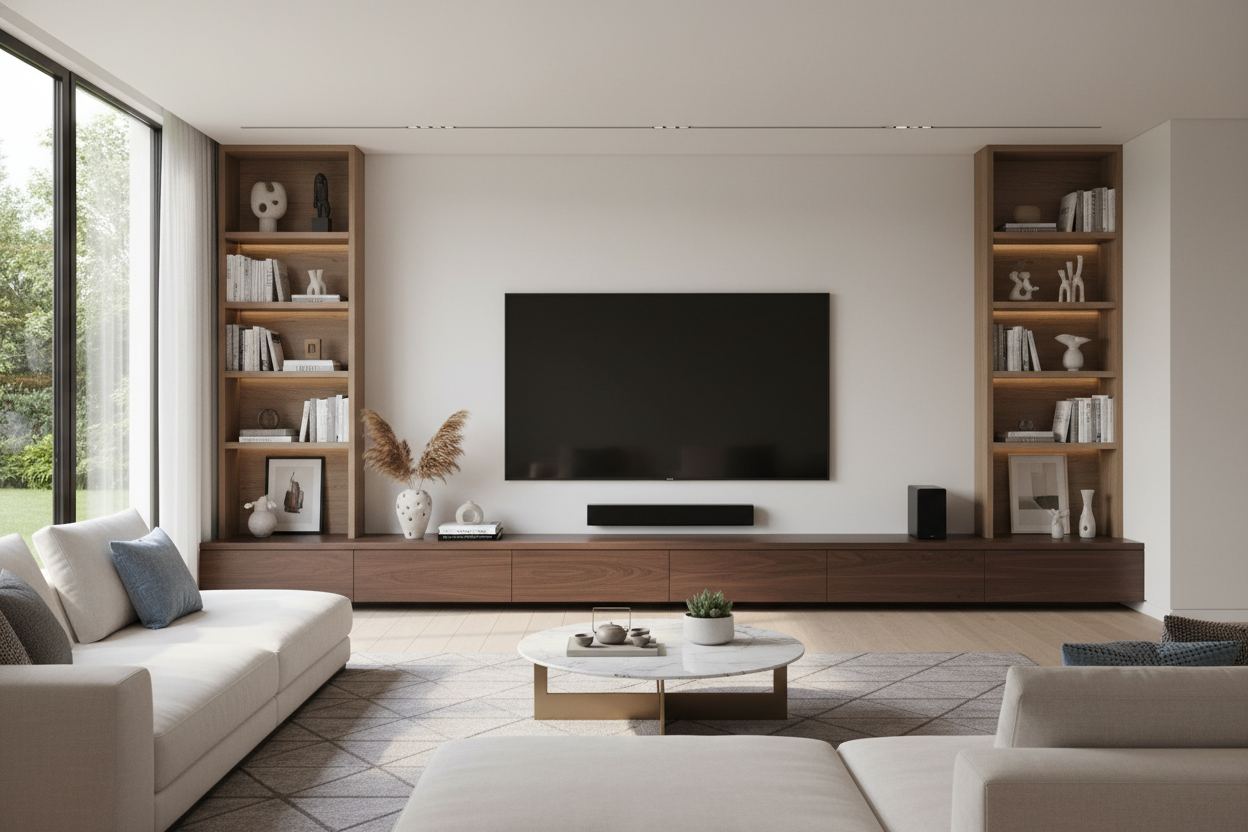
If you have a massive collection, it’s often cheaper and safer to make a display cabinet cheap look high end by adding custom lighting to a pre-built unit. For something substantial and clean, I’d suggest a white display case with glass doors to keep the room feeling bright. If you prefer a moodier, museum-style look, a black cabinet with glass doors provides that high-contrast backdrop that makes collectibles pop without the risk of a DIY disaster collapsing under its own weight.
3 Ways I Styled My New Homemade Display Case
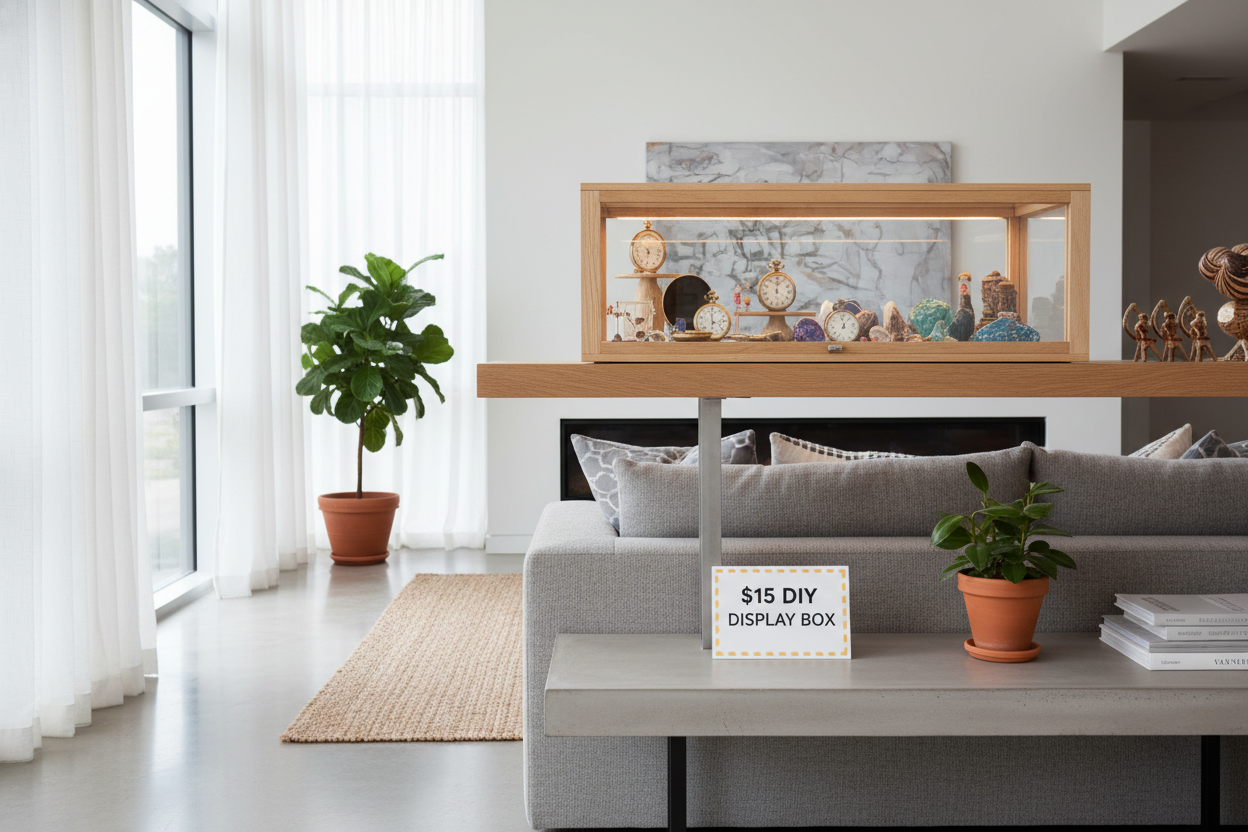
A glass box is just a box until you style it. First, I added a piece of adhesive velvet to the bottom of my diy glass display. It hides the wood grain and makes the item inside look like it belongs in the Smithsonian. Second, I used a battery-powered LED puck light hidden in the top 'lid' of the box. Lighting from above eliminates shadows and makes even a cheap plastic figurine look like a work of art.
Finally, remember that your living room needs a glass display cabinet or box to create 'visual breathing room.' Don't cram the box full. Leave space around the object. I personally use my homemade cases to highlight one 'hero' item while the rest of the collection stays in a larger cabinet. It creates a focal point that draws the eye without cluttering the shelf.
Can I use plexiglass instead of real glass?
You can, but it’s a trade-off. Plexiglass is harder to break but much easier to scratch. It also attracts dust like a magnet due to static electricity. If you go the plexi route, use a dedicated acrylic cement rather than standard glue, or the seams will look messy.
How do I clean the inside once it's glued?
The short answer: very carefully. Use a microfiber cloth and a bit of glass cleaner on a Q-tip for the corners. This is why I recommend leaving the top pane unglued or using a 'lift-off' design where the glass box sits on top of a wooden base rather than being permanently attached to it.
Is it cheaper to build or buy?
For small boxes (under 12 inches), DIY is significantly cheaper. You can build one for about $15 in materials. For anything larger than a microwave, the cost of thick tempered glass and specialized hardware quickly exceeds the price of a mass-produced cabinet.
Leave a comment
This site is protected by hCaptcha and the hCaptcha Privacy Policy and Terms of Service apply.