




I sat on my living room floor with three different contractor quotes, feeling like I was being punked. One guy wanted $4,800 for a single wall of shelving. Another wouldn't even show up for a job under five grand. I just wanted a built in display case to house my growing collection of vintage glassware and ceramics without it looking like a college dorm setup.
After the fourth cup of coffee and a deep dive into architectural catalogs, I realized something: most high-end millwork is just a box with fancy molding wrapped around it. I decided to stop waiting for a contractor to call me back and spent my weekend proving I could do it myself for a fraction of the cost.
Quick Takeaways
- Standard freestanding cabinets can be 'built-in' with less than $100 in trim and MDF.
- Always choose a cabinet with flat sides; decorative eaves make seamless gaps impossible.
- Lighting is the difference between a DIY project and a professional installation.
- Caulk is your best friend—it hides every imperfect cut you make.
Why I Refused to Pay $4,000 for Custom Carpentry
Custom millwork is expensive for a reason—labor and expertise aren't cheap. But when I looked at the built in display cabinet ideas I had saved on my Pinterest boards, I noticed a pattern. The 'custom' part wasn't the cabinet itself; it was the way the cabinet met the ceiling and the floor.
Most contractors were quoting me for solid oak or maple boxes built from scratch. While that is lovely, my budget was more 'thrift store' than 'heirloom.' I realized that if I could find a sturdy, well-proportioned freestanding unit, I could handle the trim work myself. If you can use a miter saw and a tube of caulk, you can save yourself $4,000.
The Secret is Starting With the Right Freestanding Cabinet
You cannot just grab any old armoire and expect it to look built-in. I learned this the hard way with a curved-top unit that left awkward triangular gaps against the wall. To make this hack work, you need a unit with perfectly flat sides and a square top. This allows you to butt your filler pieces directly against the unit without gaps.
I eventually settled on a white display case with glass doors because the lines were clean and the base was solid. Avoid anything with spindly legs or 'shabby chic' distressing. You want a blank canvas that looks like it was meant to be part of the architecture, not a piece of furniture that's just leaning there.
How I Tricked the Eye With Baseboards and Crown Molding
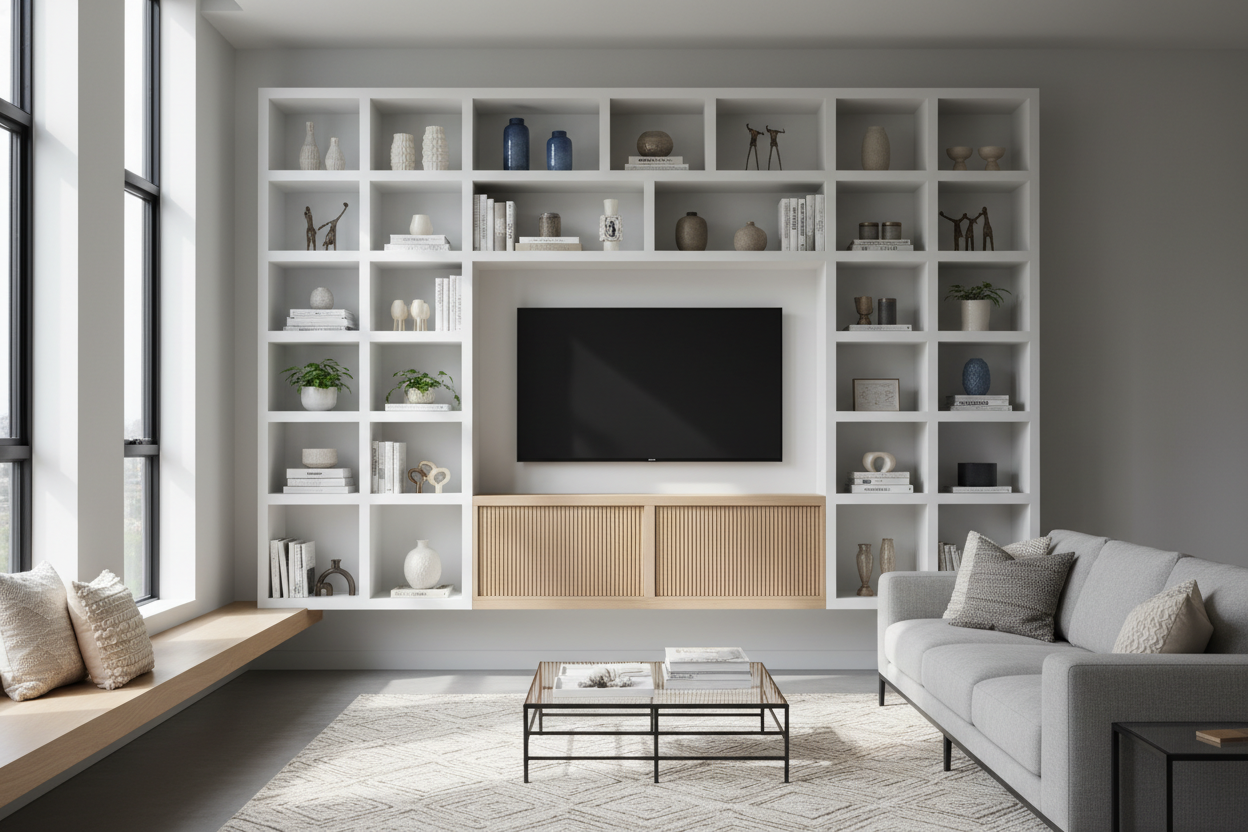
The magic happens in the gaps. I pushed my cabinet into the corner, anchored it to the studs (please, do not skip the wall anchors), and then used 1x3 MDF strips to fill the space between the cabinet and the side wall. Once those were nailed in, the cabinet no longer looked like it was floating.
The real 'pro' move was the baseboard. I pulled the existing baseboard off the wall and ran it across the bottom of the cabinet instead. This tethers the unit to the room. I did the same with crown molding at the top. Suddenly, the ceiling, the wall, and the cabinet were one continuous piece of architecture. It is a visual trick that makes your brain assume a carpenter spent a week on it.
Lighting Makes the Whole Illusion Work
If you have a deep cabinet, the back corners will always look like a dark cave. That is the biggest giveaway of a cheap DIY. Professional built-ins almost always have integrated puck lights or vertical LED strips that make the contents pop. I didn't want to deal with a licensed electrician, so I looked for a shortcut.
I found that starting with a glass door display case with LED light pre-installed saved me hours of frustration. Having the wiring hidden within the frame of the unit meant I didn't have to drill messy holes through my new trim work. When the sun goes down and those internal lights kick on, the glass shelves glow, and the whole unit looks like a high-end gallery feature.
Would I Fake It Again?
Absolutely. It has been eighteen months, and not a single person has realized this wasn't original to the house. The MDF trim has held up perfectly, and because I used a high-quality cabinet as the base, there is zero wobbling or sagging. It’s the most complimented feature in my home, and I still have that $4,000 in my pocket.
My Honest Mistake
I’ll be real with you: I messed up the first time by not accounting for my floor being uneven. My house was built in 1924, and the floor slopes nearly half an inch. I didn't shim the cabinet before I started the trim, which meant my crown molding looked crooked. I had to rip it all out, shim the base, and start over. Check your levels before you drive a single nail.
FAQ
Do I need to paint the cabinet to match the wall?
Not necessarily, but painting the trim to match the cabinet is essential. If you use a white cabinet, buy 'color matched' paint for your wood filler and trim pieces so the transition is invisible.
How do I hide the cords?
I drilled a small hole in the floorboard behind the unit and ran the cord into a nearby outlet. If you're building it into a corner, you can usually hide the cord behind the side filler panels.
Is MDF better than real wood for this?
For painted built-ins, yes. MDF doesn't have grain, so once it's painted, it looks perfectly smooth like a factory finish. It's also cheaper and easier to cut.


Dejar un comentario
Este sitio está protegido por hCaptcha y se aplican la Política de privacidad de hCaptcha y los Términos del servicio.