


I spent three weeks staring at a blank 12-foot wall in my living room, sketching out grand visions of floor-to-ceiling library shelves. Then I got a quote from a local finish carpenter for $14,000. I almost choked on my coffee. That is the exact moment most of us start Googling built-ins cabinets and falling down the rabbit hole of modular DIY kits.
We all want that custom, 'this house was born with this millwork' look, but few of us have the five-figure budget or the six-month patience to wait for a pro. I have assembled enough flat-pack furniture to populate a small village, and I have learned the hard way that there is a very thin line between a 'bespoke masterpiece' and 'three cheap bookcases shoved against a wall.'
- Trim is everything: The difference between cheap and expensive is 100% in the molding and caulk.
- Leveling is a lie: Your floors are crooked; if you do not shim your cabinets, the doors will never hang straight.
- Paint matching: If you buy a kit, be prepared to paint the wall behind it the exact same shade to hide gaps.
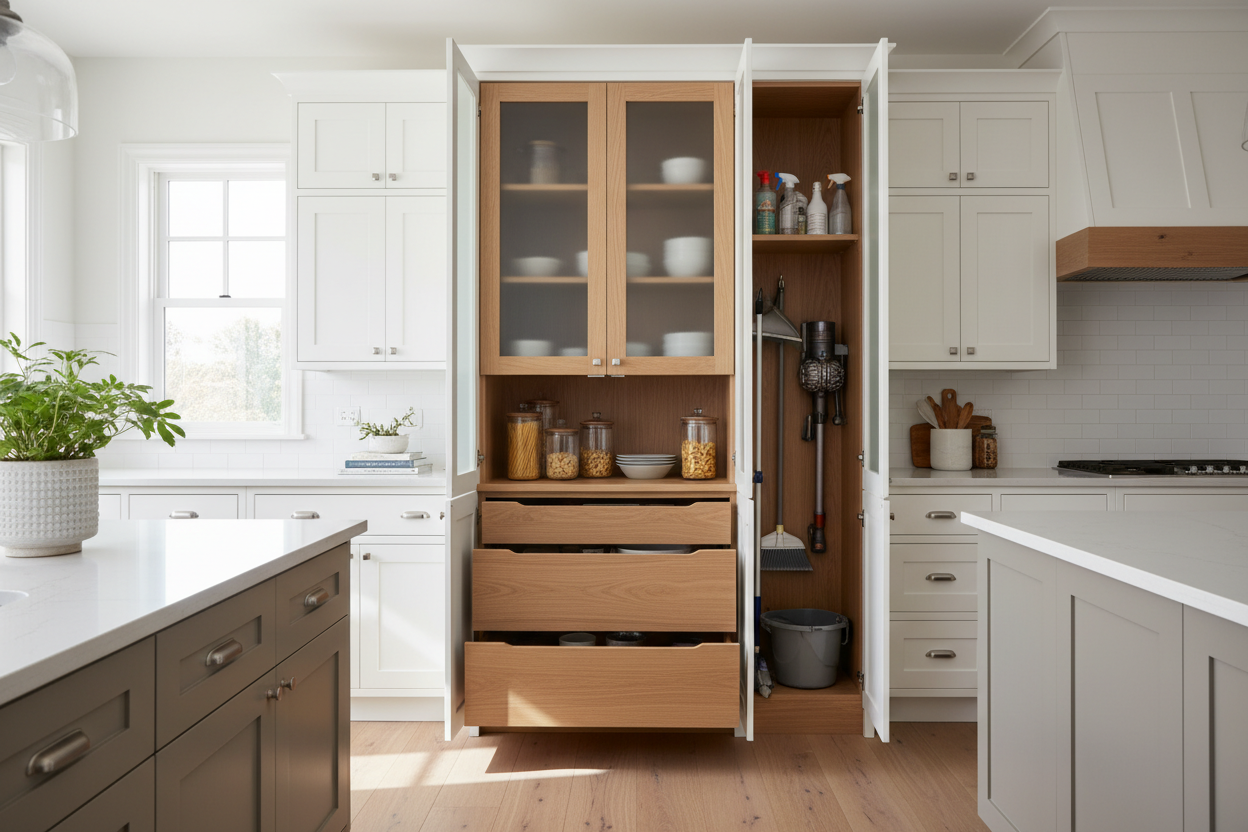
- Depth matters: Most prefab units are 12 inches deep; make sure your largest books or baskets actually fit before you bolt them to the studs.
The Allure of the Overnight Custom Wall
The rise of prefab built-in cabinets is basically a response to the 'fast furniture' fatigue we all feel. We want the permanence of a custom home without the permanent dent in our savings. A built in kit offers a shortcut: the boxes are already engineered, the holes are pre-drilled, and the hardware is included. You are essentially paying to skip the math.
In the time it takes a custom carpenter to even return your initial email, you could have a premade built ins system delivered to your driveway. For the impatient DIYer (guilty as charged), that instant gratification is intoxicating. You can go from a bare drywall graveyard to a functional library in a single weekend. But the ease of assembly often masks the reality that these units are usually made of MDF or thin plywood, not the 1-inch thick solid maple a pro would use.
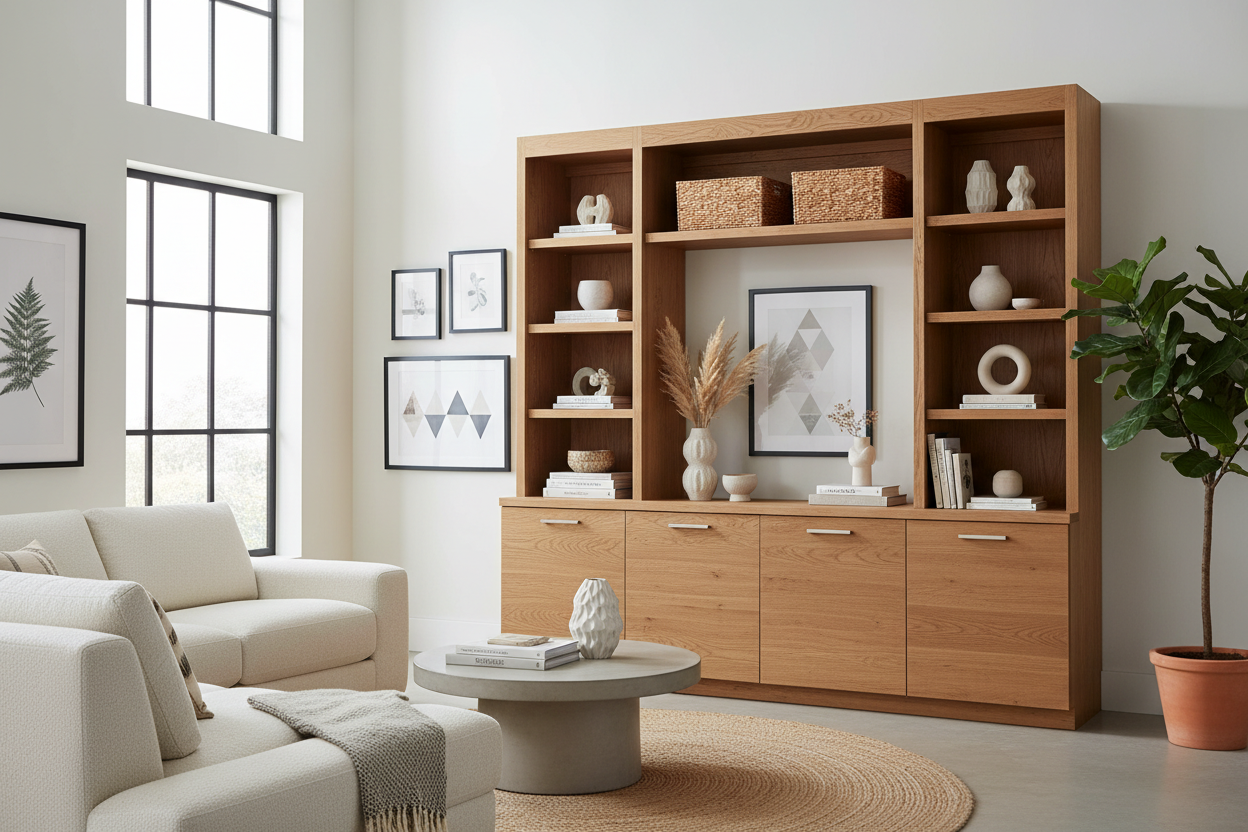
Where Premade Built Ins Actually Look Expensive
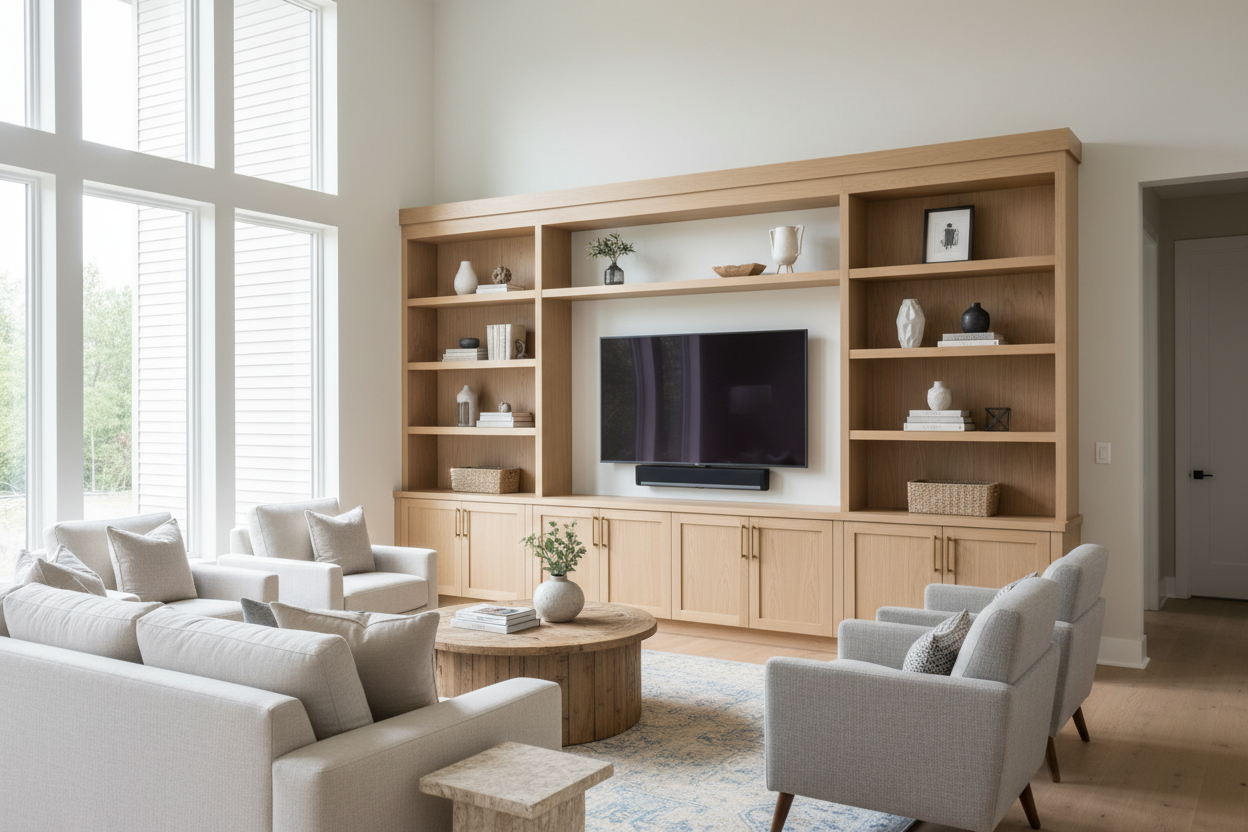
If you have a standard rectangular room with a symmetrical layout, prefab built ins are a total win. I have seen them work beautifully in fireplace alcoves. When you have two identical recesses on either side of a chimney breast, a standard 36-inch wide kit fits like a glove. Because the edges are hidden by the 'nook,' you do not have to worry about finishing the sides of the cabinets.
The illusion of 'custom' is easiest to pull off when the furniture spans from wall to wall. If you can fill the entire width of a room so that the cabinets touch both side walls, the eye stops looking for seams. I once used three 40-inch wide units to fill a 122-inch span. Those extra two inches were eaten up by filler strips, and once it was all painted the same 'Swiss Coffee' white, it looked like it was built with the house in 1924.
The Trim and Baseboard Trick You Cannot Skip
If you just set a built in kit on top of your existing carpet or hardwood, it will always look like a piece of furniture you bought at a big-box store. To make it look permanent, you have to commit to some light surgery. Rip out the baseboards behind the unit so the cabinets sit flush against the wall. Then, run a new piece of baseboard across the bottom of the entire unit.
The same goes for the top. A 2-inch crown molding bridging the gap between the top of the cabinet and the ceiling is the 'secret sauce.' It hides the fact that your ceiling is probably sagging half an inch in the middle. A tube of high-quality acrylic caulk is your best friend here. Fill every seam where the wood meets the wall, and suddenly, the 'kit' becomes part of the architecture.
When Modular Kits Completely Fail You
I have tried to force prefab built-in cabinets into a 100-year-old farmhouse with 'character' (read: walls that look like a Pringles chip). It was a disaster. Modular boxes are perfectly square; old houses are not. If your wall bows out in the middle, you will be left with a massive gap that no amount of caulk can save. You end up spending more time scribing trim pieces than it would have taken to just build the thing from scratch.
There is also the issue of permanence. Once you anchor these things into your studs and caulk them to your ceiling, they are part of the house. I actually swapped my boring built-ins in my last place because the rigid layout felt too claustrophobic in a small room. If your space has weird angles or a sloped attic ceiling, a kit will look like a square peg in a round hole every single time.
Should You Just Buy Free-Standing Furniture Instead?
Before you spend $2,000 on a built in kit and another $300 on trim and paint, ask yourself if you actually want a permanent fixture. The labor involved in leveling, shimming, and painting a prefab unit is significant. It is not just 'assembly'; it is a minor renovation. I have spent many Sundays covered in sanding dust, wondering why I didn't just buy a high-quality sideboard.
If you are a renter or someone who likes to rearrange the living room every six months, you should look at free standing cabinets for living room storage instead. You get the storage without the commitment. However, if you are looking to add actual value to your home and you have a straight wall that is begging for some gravity, a well-trimmed kit is the best 'cheat code' in interior design. Just do not skip the caulk.
FAQ
Do I need to paint prefab built-ins?
Usually, yes. Even if they come 'pre-finished' in white, the filler strips and molding you add won't match perfectly. A fresh coat of cabinet-grade paint across the whole thing is what makes it look like one solid unit.
Can I install these over carpet?
You can, but you should not. The weight of the books will cause the carpet to compress unevenly, making your cabinets lean forward over time. It is always better to cut out the carpet and sit the units directly on the subfloor.
Are they sturdy enough for heavy books?
Most built in kits use 5/8-inch or 3/4-inch shelving. If your shelves are wider than 30 inches, they will eventually sag under the weight of heavy hardcovers. Look for kits with a center support or plan to reinforce the shelves with a strip of solid wood trim on the front edge.
Leave a comment
This site is protected by hCaptcha and the hCaptcha Privacy Policy and Terms of Service apply.