


I spent three months staring at a living room wall that looked like a blank sheet of printer paper. It wasn't just 'minimalist'; it was depressing. My living room had zero personality—just four flat walls and a ceiling that felt like it was closing in. I wanted that cozy, library-vibe, but my budget was more IKEA-clearance than Architectural Digest.
That's when I realized I could fake built in shelves on wall without actually tearing into the drywall or hiring a contractor. By using modular pieces and a few trim tricks, I turned a boring 'white box' into a room that actually feels like it belongs in a real home. It’s the difference between a house you just sleep in and a home you actually want to spend time in.
Quick Takeaways
- Skip the $5,000 custom carpenter; use high-quality modular units to save thousands.
- Remove your baseboards to get a flush, professional fit against the wall.
- Mix open shelving with closed cabinets to hide the 'ugly' essentials.
- Add crown molding at the top to bridge the gap between the unit and the ceiling.
- Always anchor everything to the wall for safety and stability.
The Problem With 'White Box' Architecture
Modern builder-grade homes are often soul-crushing. They’re built for speed, which means you get flat drywall, no architectural interest, and zero storage. It’s hard to feel grounded when you’re living in a space that looks like a high-end hospital waiting room. You need texture, and you need depth.
Flat walls offer no place for the eye to rest. By adding built in shelving and storage, you’re not just adding a place for books; you’re adding shadows, lines, and character. It even changes the acoustics of the room, making it sound less hollow and feel more substantial. Without some kind of vertical interest, your furniture just looks like it's floating in a void.
Why I Skipped the $5,000 Custom Millwork Quote
I called a local carpenter for a quote. For a true floor-to-ceiling built-in shelf unit, he wanted five grand. That didn’t even include the paint. I almost laughed him out of the house. For most of us, $5,000 is a down payment on a car, not a shelf budget. I knew there had to be a way to get that custom look without the custom invoice.
The modular approach is just smarter for a normal budget. You can buy high-quality units that look custom once they’re trimmed out. But before you go clicking 'add to cart,' you have to design storage that actually works for your specific mess. Do you have a massive vinyl collection? Do you need a spot for a printer? Plan your layout first, or you'll just end up with expensive clutter.
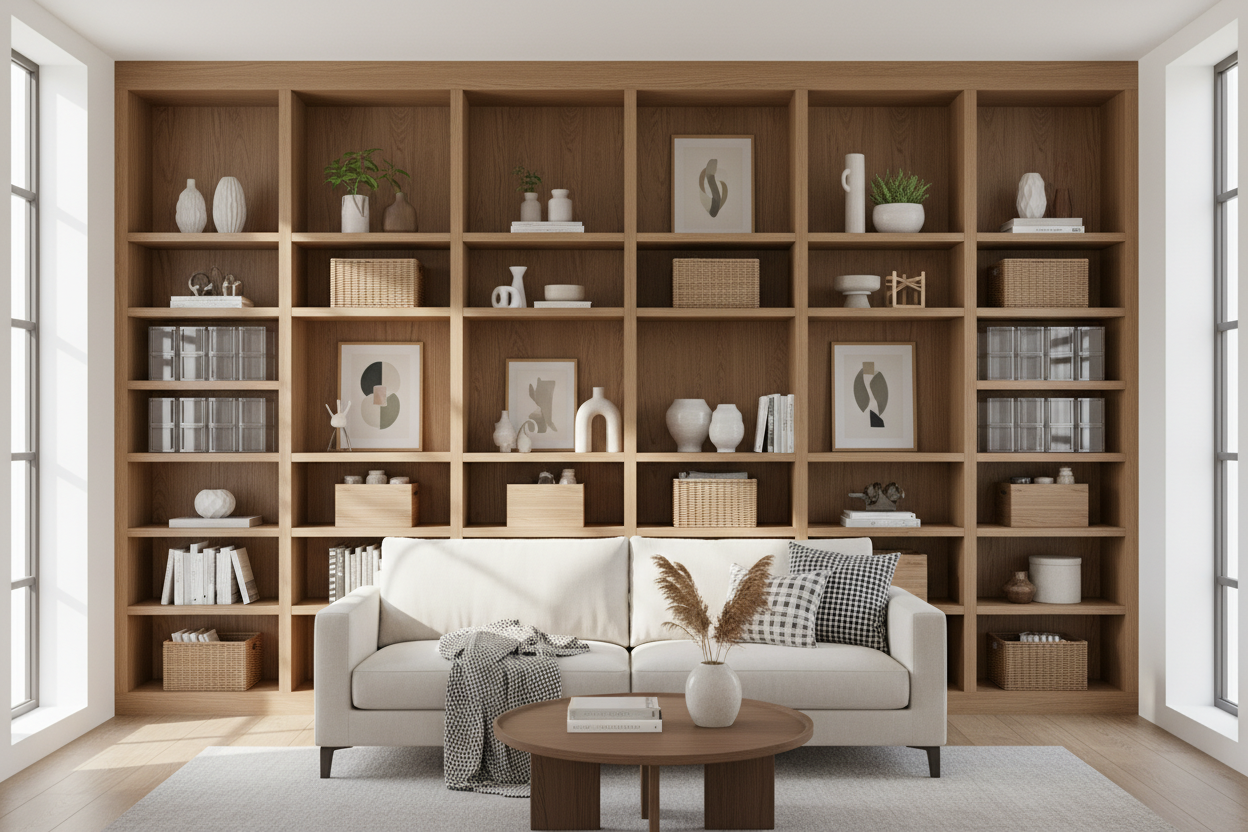
The Anatomy of a Believable 'Fake' Built-In
The difference between a 'bookcase against a wall' and a true built-in is the gap. If you can see the wall behind the unit or a gap at the floor, the illusion is dead. I took a crowbar to my baseboards so the units would sit flush against the drywall. It felt destructive, but it’s the only way to make the furniture look like it grew out of the wall.
I also prioritized adjustable shelf storage. Fixed shelves are a nightmare because they never fit that one oversized art book or tall vase. Being able to move things around makes the unit look like it was bespoke-designed for your collection. I used 1x4 pine boards to cover the vertical seams where two units met. A little wood filler and some sanding, and they looked like one solid piece of built-in wooden shelves.
Don't Forget the Bottom: Why You Need Drawers and Doors
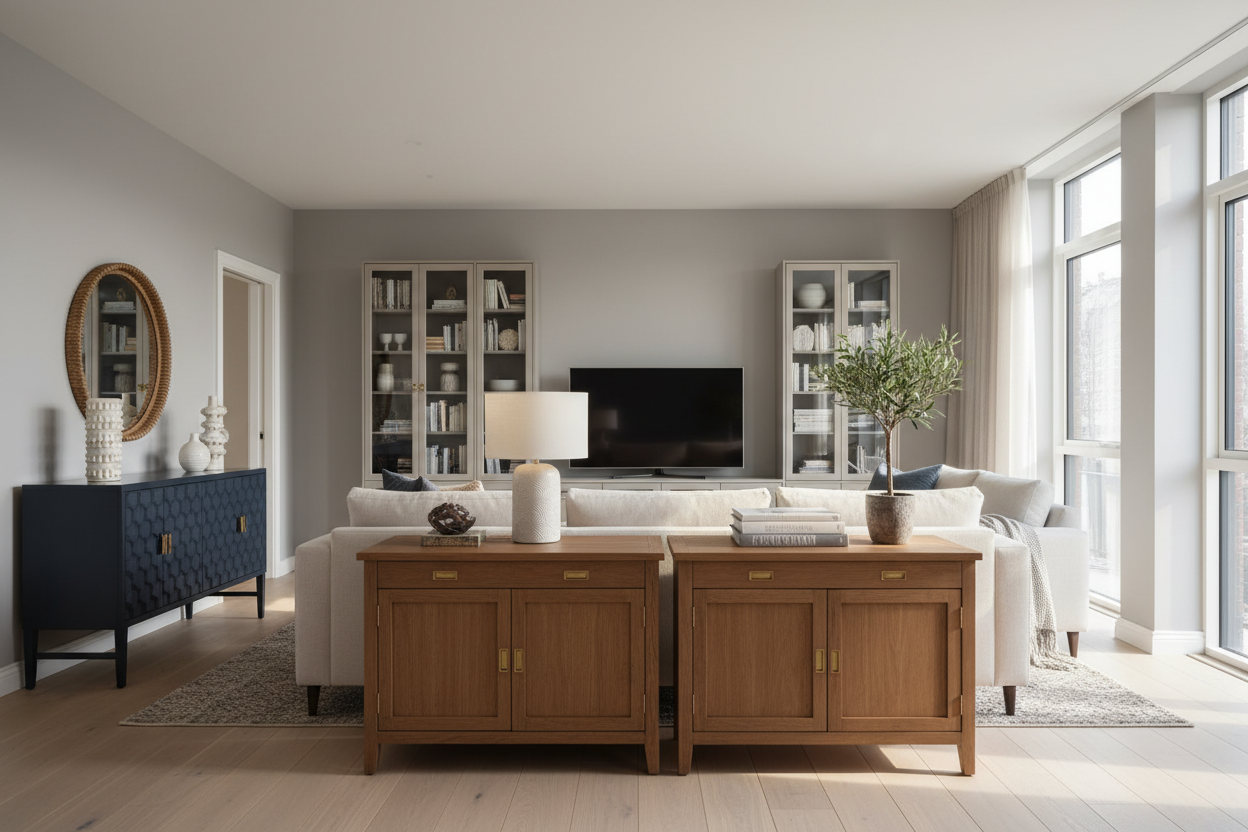
Floor-to-ceiling open shelves can look like a cluttered mess very quickly. You need 'visual weight' at the bottom to anchor the room. I used a solid wood modern sideboard as the base layer for my project. It provides a sturdy foundation that looks much more expensive than a flimsy shelving unit.
Having built-in drawers and shelves gives you the best of both worlds. The top half is for the pretty things—your grandmother’s ceramics, your favorite novels—while the bottom half hides the eyesores. Routers, tangled HDMI cables, and that stack of mail you haven't opened all go behind closed doors. It keeps the room looking intentional rather than chaotic. My biggest mistake in my first apartment was doing all-open shelving; it looked like a dorm room within a week.
Styling Your New Built-In Wooden Shelves Without the Clutter
Once the shelves are up, the temptation is to fill every square inch. Don't. You have to balance display and concealment. Leave some 'negative space' where nothing sits. It allows the eye to actually appreciate the items you like instead of being overwhelmed by a wall of stuff.
I like to group my books by size, then intersperse them with objects like small plants or framed photos. And please, hide your cords. I drilled a small hole in the back of one shelf to snake a lamp cord through. It’s a five-minute task that makes a massive difference in how professional the final product looks. If you can see a black power cord hanging down your white wall, the 'built-in' magic is gone.
FAQ
How do I hide the seams between multiple bookcases?
Use thin wood trim or 'mullion' strips. Glue and nail them over the vertical gaps where the units meet, then use wood filler to smooth the edges before painting everything the same color.
Do I really need to remove my baseboards?
Yes. If you don't, the shelves will lean forward or have a 1-inch gap at the bottom. It’s the number one thing that makes a project look like a DIY 'hack' instead of a professional installation.
What is the best material for built-in shelving?
Avoid thin MDF if you’re storing heavy books. Look for kiln-dried solid wood or high-density furniture-grade plywood. Cheap shelves will 'smile'—or sag—under the weight of a heavy collection within months.

Leave a comment
This site is protected by hCaptcha and the hCaptcha Privacy Policy and Terms of Service apply.