


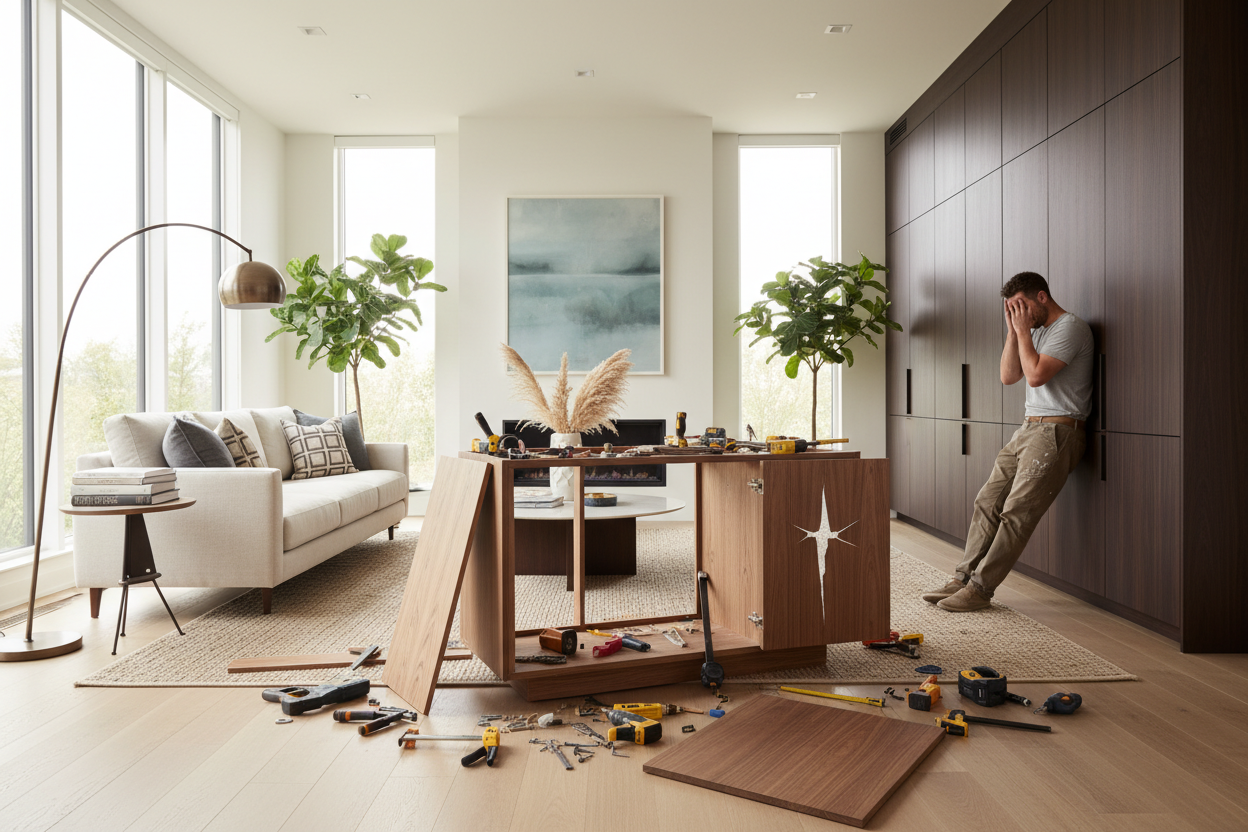
I remember standing in my gutted kitchen with a tape measure in one hand and a $40,000 custom cabinetry quote in the other, feeling like a total failure. I had 14 tabs open on my laptop featuring diagrams of dovetail joinery and integrated LED channels that looked like they required a PhD in structural engineering. Making your own kitchen cabinets doesn't have to be a descent into madness; it just requires you to stop trying to out-build a high-end German factory.
The truth is, most of those 'pro' features are there to justify the price tag, not to hold up your cereal boxes. I decided to strip everything back to the basics, and honestly, the cabinets I built in my dusty garage three years ago look better and feel sturdier than the particle-board junk I replaced. Here is how I survived the process without losing my mind.
Quick Takeaways
- Pocket holes are the DIYer’s best friend—skip the complex joinery.
- Plywood is vastly superior to MDF for box construction.
- Start with doors and shelves; avoid drawers until you have some wins under your belt.
- Iron-on edge banding is the ultimate 'cheat code' for a professional look.
Why I Ditched the Fancy Custom Blueprints
When I first started researching this project, I fell into the Pinterest trap. I wanted the hidden pull-outs, the soft-close everything, and the kind of intricate molding that belongs in a Victorian manor. I spent three weeks obsessing over blueprints that were so complex I couldn't even figure out the cut list. I was paralyzed by the fear of making one wrong cut and ruining a $90 sheet of maple plywood.
Then I had an epiphany: the 'kitchen cabinet simple' mindset isn't about being lazy; it's about being realistic. Most of your cabinet is a box that nobody will ever see once the doors are closed. Shifting my focus to a basic carcass design changed everything. I stopped worrying about fancy joinery and started focusing on making things square and level. If the box is square, everything else—the doors, the hardware, the counters—falls into place perfectly.
I realized that the pros use CNC machines to cut those intricate joints. I had a circular saw and a pair of plastic sawhorses. By embracing a simple kitchen cabinet design, I went from staring at wood to actually cutting it. The momentum of finishing one simple box is worth more than a month of planning a masterpiece you'll never actually build.
The Anatomy of a Truly Basic DIY Box
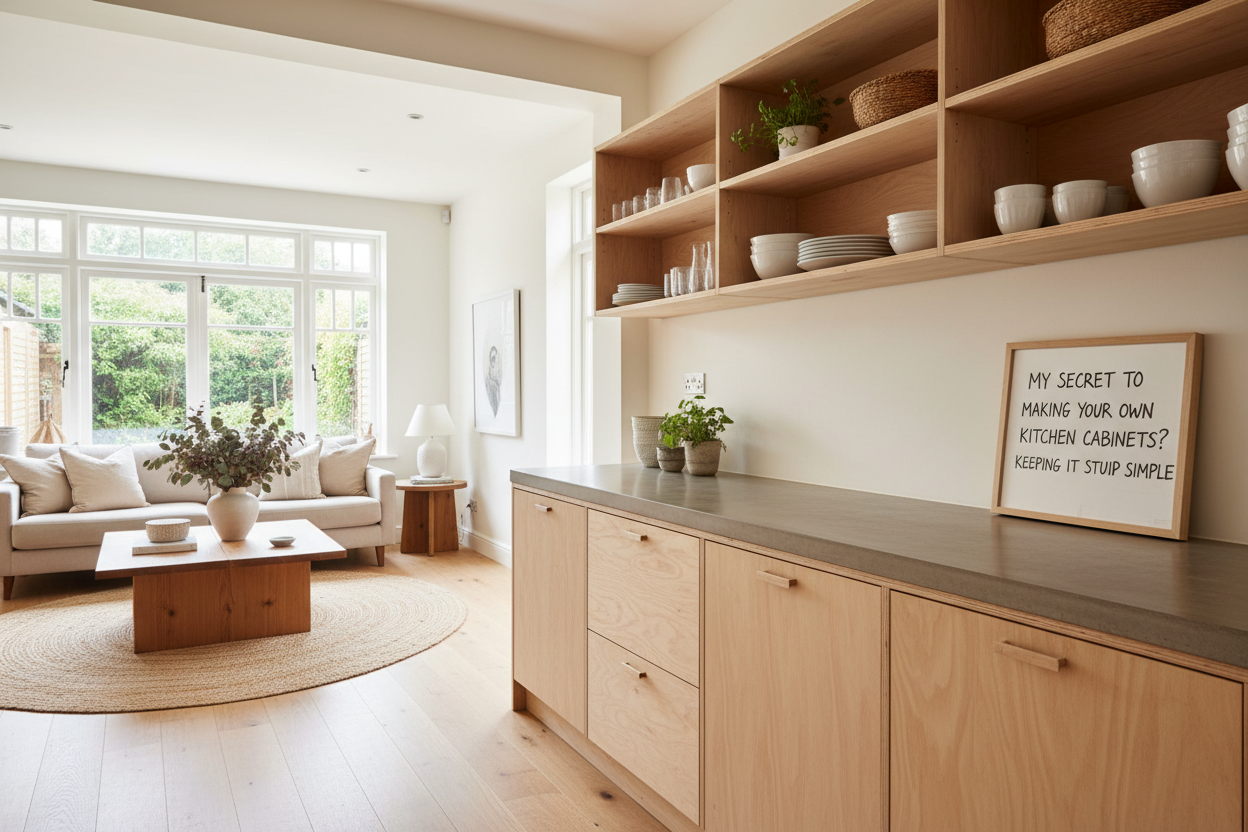
A simple design kitchen cabinet is essentially five pieces of 3/4-inch plywood held together by pocket screws and wood glue. That is the entire secret. You don't need a biscuit joiner, you don't need a router table, and you definitely don't need a degree in carpentry. I used maple-faced plywood because it’s durable and takes paint like a dream, but birch is a great budget-friendly alternative.
What do you actually need? A Kreg jig for pocket holes, a decent drill, and a dedicated space to work. Pocket holes allow you to screw the boxes together from the outside or underside where the holes will be hidden by adjacent cabinets or the floor. It’s fast, it’s incredibly strong, and it’s forgiving. If you’re off by a hair, you can unscrew it and try again—something you can't do with traditional glue-and-clamp joinery.
Forget the integrated lighting and the routed-out channels for backsplashes. Use iron-on edge banding to cover the raw plywood edges. You just run a household iron over it, trim the excess with a $10 tool, and suddenly that plywood looks like a solid slab of timber. It’s a simple cabinet for kitchen use that looks high-end because the 'simple' parts are executed cleanly.
Drawers Are Your Enemy (At Least Initially)
Everyone wants deep, sweeping pot drawers until they try to install the slides. Drawer slides are the devil’s invention. If your cabinet box is even 1/16th of an inch out of square, those 'easy-close' slides will bind, grind, and drive you to tears. When you are starting out, your simple kitchen cabinet layout should rely heavily on doors and adjustable shelves.
I recommend sticking to a 2 door kitchen cabinet design for about 80% of your kitchen. It’s the ultimate beginner hack. You build the box, you hang two doors on concealed hinges (which are very adjustable), and you’re done. If you need specialized storage, you can always buy aftermarket wire pull-outs later that just screw into the bottom of the cabinet. It gives you the functionality of a drawer without the mathematical nightmare of building one.
On my first build, I tried to make a five-drawer stack for my silverware. I spent two days shimming and cursing at those slides. The next cabinet I built was a simple two-door unit, and I finished it in three hours. Guess which one I’m more proud of? The one that didn't make me want to sell my house and move into a tent.
Getting the Finish Right Without a Spray Booth
You’ll see YouTubers with $5,000 spray booths telling you it’s the only way to get a factory finish. They’re wrong. Unless you’re living in a literal museum, a hand-applied finish is not only fine—it’s actually more repairable. I used a high-quality foam roller and a self-leveling cabinet paint. The trick is to do thin coats and lightly sand with 320-grit paper between them.
My garage is dusty and cramped, but I made it work by vacuuming like a maniac and hanging plastic sheets. Is it a 100% sterile, glass-smooth finish? No. But it has a slight texture that feels 'handmade' in a good way. It feels like a home, not a showroom. If you’re nervous about paint, a simple clear coat on nice plywood is even easier and very 'Scandi-chic' right now.
When to DIY and When to Just Buy the Hard Stuff
Total honesty: I will never build a corner cabinet again. Building a 'Lazy Susan' or a blind corner unit that actually functions is a masterclass in frustration. This is where you should put your ego aside and spend your money wisely. I’d much rather buy a 40 corner kitchen pantry cabinet set to anchor the difficult parts of the room.
Let the professionals handle the weird angles and the complex pivot hardware. You can then build your straight runs of simple cabinets to match. It saves you weeks of work and ensures that the most used parts of your kitchen—the corners and pantries—actually work. Your time is worth something; spend it building the easy boxes and buy the ones that would require a bottle of aspirin to finish.
FAQ
Can I use a circular saw instead of a table saw?
Absolutely. In fact, using a circular saw with a track or a straight-edge guide is often easier for breaking down huge 4x8 sheets of plywood alone. Just make sure you have a high-tooth-count finish blade to prevent splintering.
Is MDF okay for kitchen cabinets?
It’s fine for doors because it’s stable and paints well, but I hate it for the boxes. It’s heavy, the dust is toxic, and it doesn't hold screws nearly as well as plywood. If you have a leak under the sink, MDF turns into a wet sponge. Stick to plywood.
How do I make sure the cabinets are level on an uneven floor?
Don't build the 'toe kick' into the cabinet box. Build a separate 'ladder' base out of 2x4s, level that perfectly using shims, and then just sit your simple boxes on top. It’s a massive time-saver.

Leave a comment
This site is protected by hCaptcha and the hCaptcha Privacy Policy and Terms of Service apply.