


I spent three weeks staring at a $12,000 quote for custom built-ins that I knew I would eventually have to leave behind when my lease ended. It is that familiar gut-punch: wanting the high-end architectural look of wall units without the soul-crushing price tag or the permanent commitment. I wanted my space to feel like those glossy shelter magazines, not like a dorm room filled with flat-pack boxes.
The secret I discovered after three apartments and too many trips to the hardware store is that 'custom' is a feeling, not a price point. You can take basic, mass-produced frames and, with about $150 in extra materials and a dedicated weekend, create a living room wall unit that fools everyone who walks through your front door. Here is how I did it for exactly $784.
- Trim is everything: Use crown molding to close the gap between the unit and the ceiling.
- Ditch the backing: Replace flimsy cardboard with painted plywood for structural integrity.
- Hardware matters: Heavy metal pulls make a $200 cabinet feel like a $2,000 heirloom.
- Color drench: Paint the unit the exact same color as your walls for a seamless 'built-in' effect.
The 'Custom Carpentry' Illusion Is Mostly Just Good Trim
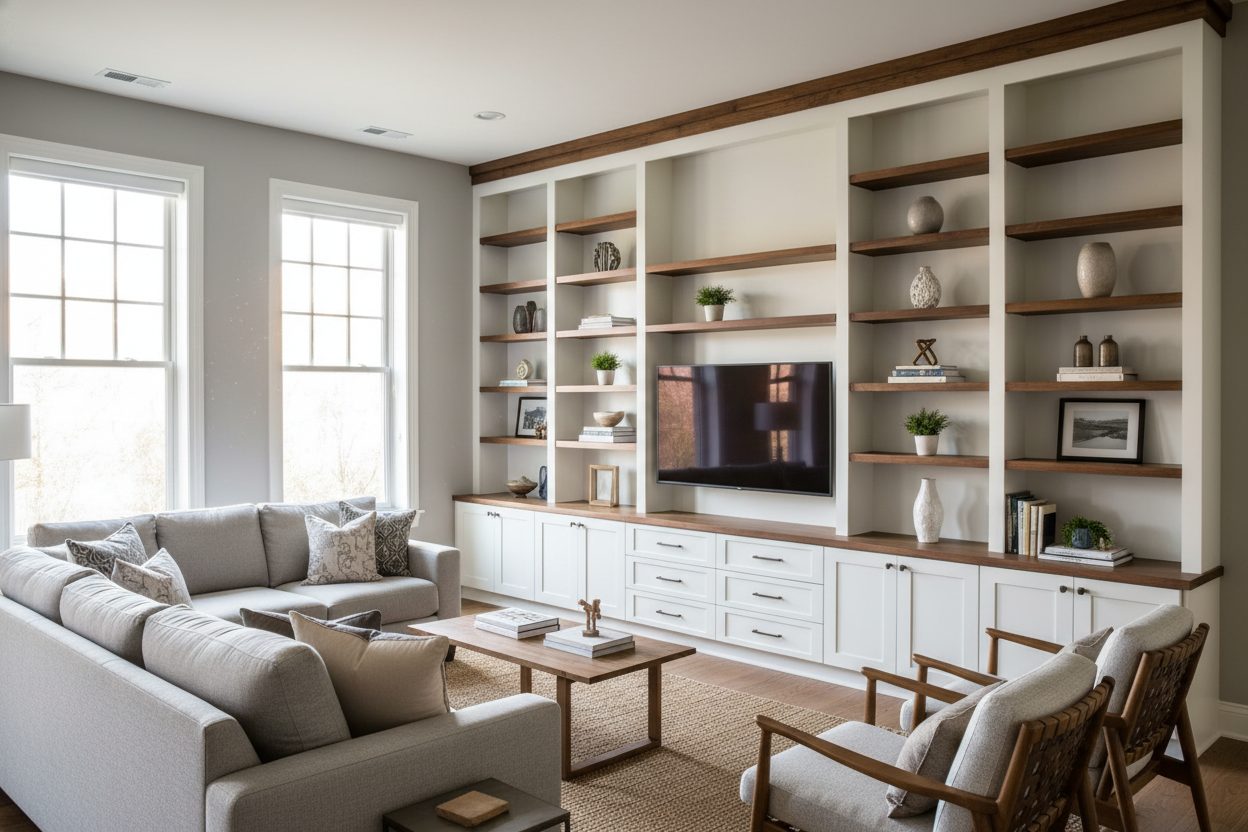
Most contemporary living room wall units look expensive because they 'hug' the architecture of the house. When you buy a standalone lounge wall unit, there is usually a weird six-inch gap at the top that collects dust and screams 'I bought this at a big-box store.' To fix this, I bought three standard bookcases and shoved them together, then ran a single piece of crown molding across the top of all three.
I also added a thick baseboard at the bottom that matched the rest of my sitting room. By extending your existing floor trim across the front of the furniture, you anchor the piece to the room. It stops being a piece of lounge wall furniture and starts being part of the house. It is a simple visual trick that makes modern wall units look like they were installed by a master carpenter during the original construction.
Finding Cheap Wall Units for Living Room Hacks That Actually Last
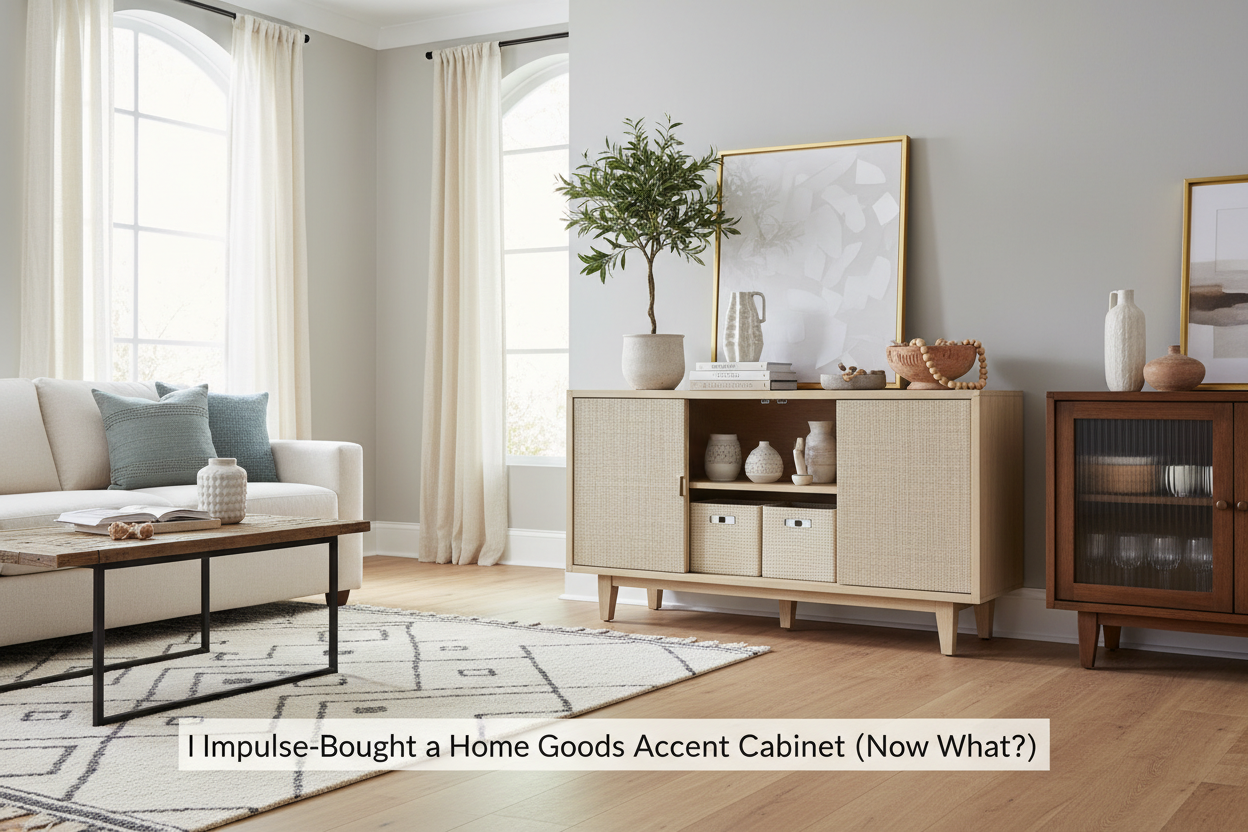
You cannot build a masterpiece on a shaky foundation. When searching for cheap wall units for living room projects, I look for two things: weight capacity and vertical stability. Avoid anything that wobbles when you give it a firm nudge. I prefer starting with a sturdy, enclosed base. For my latest project, I found that using a modern wall cabinet for living room storage as the anchor piece provided the necessary depth for electronics while keeping the profile slim enough for a small wall unit for living room layout.
Check the MDF density. If the shelves feel like they are made of compressed air, they will sag within six months under the weight of your books. I always look for units with a 1-inch thick frame. This thickness provides enough surface area to nail your trim pieces directly into the unit without splitting the wood. A family room wall unit needs to handle the chaos of real life, so don't settle for the absolute cheapest option if it feels like a house of cards.
Please, Toss the Flimsy Cardboard Backing
That folded piece of cardboard that comes in the box? Throw it in the recycling bin immediately. It is the number one giveaway of a budget design for wall unit. Instead, go to the hardware store and have them cut 1/4-inch plywood or beadboard to size. Nail it to the back with finishing nails. This not only makes the wall units for family room significantly more stable, but it also allows you to paint the back a contrasting color or add texture that looks like high-end modern wall units for lounge spaces.
The Paint and Hardware Swaps That Fool Everyone
If you are working with laminate, you must use a high-adhesion primer like Zinsser B-I-N. I learned this the hard way when my first modern wall unit living room project started peeling like a bad sunburn. Once primed, paint the unit the same color and sheen as your walls. This 'color drenching' technique is why modern built-in wall units look so sophisticated—they disappear into the room rather than standing out as a separate object.
Hardware is where you can really have fun with the design wall unit. Swap out the generic plastic or silver pulls for something with weight. I have seen basic lounge room wall units instantly look like a custom modern sideboard with gold legs just by adding heavy brass hardware. It is about the tactile experience; when a handle feels cold and heavy in your hand, your brain registers quality, regardless of what the cabinet is made of.
Styling the Final Product So It Does Not Look Cluttered
Once the wall unit design for living room is physically finished, the styling determines if it looks like a curated library or a junk drawer. I follow the 60-30-10 rule: 60% books (stacked both vertically and horizontally), 30% decorative objects, and 10% empty space. This 'negative space' is vital for wall units contemporary designs because it allows the eye to rest.
To make the unit feel integrated into the rest of the living room, I pull colors from my rug and upholstery into the objects on the shelves. If you have a large wall unit for living room, avoid the temptation to fill every square inch. A few well-placed decorative wall units for living room accents—like a heavy ceramic vase or a framed sketch—will do more for the vibe than fifty tiny knick-knacks. The goal is a wall unit for living room design that feels intentional and calm.
Personal Experience: The 'Gap' Mistake
I once built a massive wall to wall unit for living rooms and forgot to account for the thickness of my carpet. I installed the baseboard trim perfectly level, but because the floor sloped slightly, there was a visible wedge-shaped gap at the bottom. I had to rip it all off and use 'shoe molding' to hide the floor's imperfections. Now, I always use a level and shim the furniture before I even think about the trim. It is a pain, but it is the difference between 'DIY' and 'Professional.'
FAQ
Do I need to anchor these to the wall?
Absolutely. Especially if you are adding heavy trim or plywood backing. A wall cabinet design living room setup is top-heavy by nature. Use toggle bolts into the studs; do not rely on those cheap plastic anchors that come in the box.
Can I do this in a rental?
Yes. Instead of nailing the crown molding to the ceiling, nail it only to the top of the furniture. When you move, you just take the units for a living room with you. The only 'damage' is a few small holes in the wall from the safety anchors.
What is the best paint for furniture?
Use a cabinet-grade enamel paint. It dries harder than standard wall paint, so your books won't 'stick' to the shelves in humid weather. It costs more, but it saves your contemporary wall unit designs from looking like a sticky mess.
Leave a comment
This site is protected by hCaptcha and the hCaptcha Privacy Policy and Terms of Service apply.